Question & Answer
Question
How do you create users for accessing QRadar EDR (formerly ReaQta) Hive server dashboard?
Answer
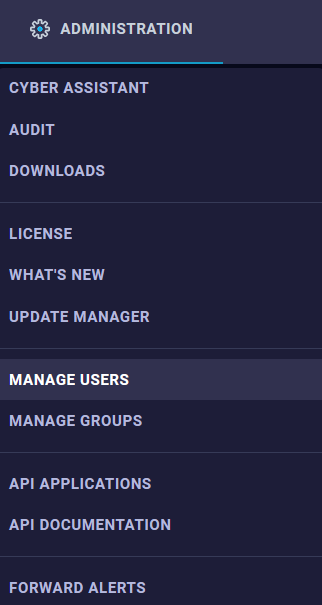
The Manage Users option from Administration tab on the dashboard allows you to create and manage users authorized to log in to the ReaQta Hive dashboard and their rights within the dashboard.
ReaQta has four user roles, out of which any one role can be assigned to the user during its creation. The roles are as follows:
- Administrator - Administrators have full dashboard access. They can view audit logs, create users and groups, and modify all endpoints. Administrators are top-level users with the highest level of privileges.
- Responder - Responders can inspect and modify endpoints. For example, a Responder can kill and suspend processes on connected endpoints, as well as create policies.
- Analyst - Analysts are users who are allowed only to inspect the dashboard and handle alerts. For example, they are not allowed to modify policies, and also cannot kill , suspend, download processes, or get process modules on endpoints.
- Observer - Observers are "read-only" users. They can view the dashboard, but cannot modify anything on it.
Steps to create a dashboard user:
- Log in to ReaQta Hive dashboard as an administrative user.
- Click Administration > Manage Users.
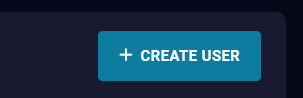
- On the Manage Users page, click Create User.
- Choose the appropriate role for the new user.
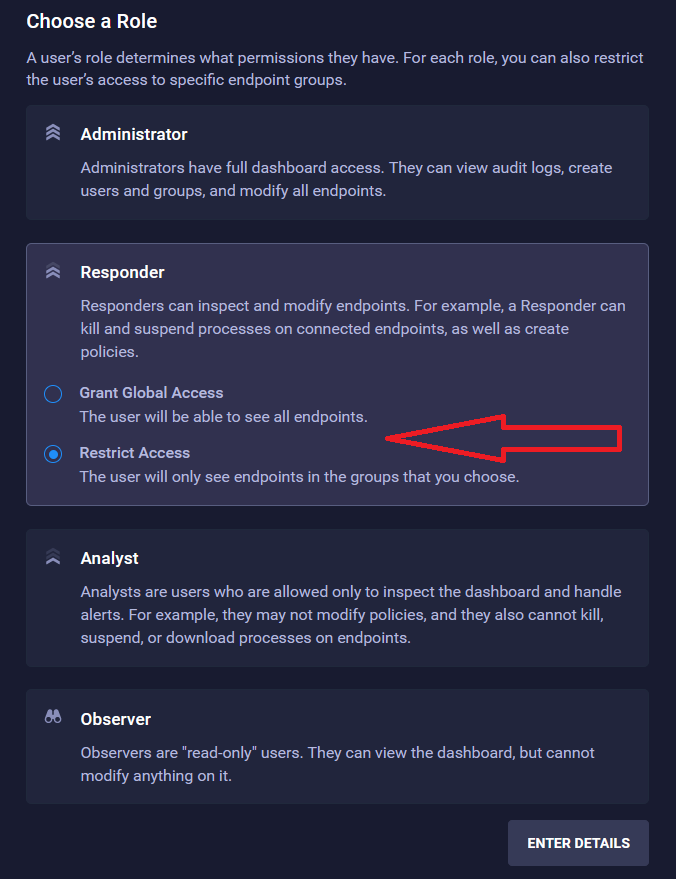
- After you select role, there is an option to limit access to a particular group of endpoints or to grant global access to all endpoints; to the user being newly created.
- Next, click Enter Details button.
- On next page, you will have to provide following information:
- First Name
- Last Name
- Email ID (this field is also the login ID for the user to the ReaQta Hive dashboard)
- Password
- Access Groups (only available for nonadministrator role and if "Restrict Access" option is checked in previous step)
- Two-Factor authentication requirement
Note: If a group is defined as mentioned in the Access Groups, the user sees only the information about endpoints belonging to one or more selected groups.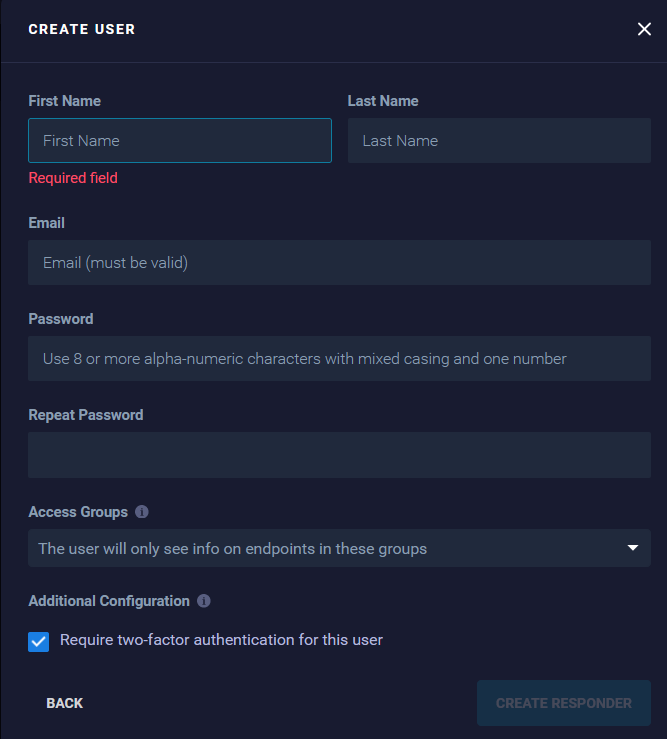
- Click Create <type-of-user> button.
- Once the user is created, it displays on the Manage Users page.
Note: If two-factor authentication is checked, you must enable it by logging in as the new user and creating the setup as mentioned here ReaQta: Managing two-factor authentication
Related Information
[{"Type":"MASTER","Line of Business":{"code":"LOB24","label":"Security Software"},"Business Unit":{"code":"BU059","label":"IBM Software w\/o TPS"},"Product":{"code":"SSVOEH","label":"Security ReaQta"},"ARM Category":[{"code":"a8m3p000000hBSPAA2","label":"Administrative Tasks-\u003EUsers"}],"ARM Case Number":"","Platform":[{"code":"PF025","label":"Platform Independent"}],"Version":"All Versions"}]
Product Synonym
ReaQta
Was this topic helpful?
Document Information
Modified date:
17 May 2023
UID
ibm16566407