How To
Summary
SSL enablement for DDM between two IBM i systems.
Steps
Client/server role definitions:
"Client/source" - The IBM i system that initiates the connection - usually the system where CRTDDMF is run. Commonly referred to as the DDM 'source' or the Application Requester (AR) using DRDA.
"Server/target" - Remote IBM i system the DDM file is referencing. Commonly referred to as a DDM 'target' or the Application Server (AS) using DRDA.
Note: Throughout this document the terms AR System and AS System will be used.
QIBM_OS400_QRW_CLT_DDM_DRDA
This is done within the DCM System Store.
ENDTCPSVR *DDM
Followed by:
STRTCPSVR *DDM
You can see if the certificate was assigned by checking if the DDM SSL/TLS port 448 is in a listen status via the NETSTAT command on the AS System:
NETSTAT *CNN
Change the third parameter from the top to:
Local port range:
  Lower value  . . . . . . . .   448
Press enter twice to return to the connection list."ddm-ssl" should be listed in a "Listen" status.
DDM Setup on the IBM i system:
At this point, all the DCM configuration has been done to setup a secure DDM connection from the AR System to the AS System.
If you want to setup the connection to work both direction between two systems, then the same steps are done, but The AR System becomes the AS system and the AS system becomes the AR system.
To setup the DDM SSL configuration from a AR System to the AS System there are a few things that must be done on the IBM i systems.
First on the AR system you must create a new Relational Database Entry (RDB entry)for the AS System that sets the secure connection to *SSL and the port used is set to port 448. If you have an existing connection that is not setup for DDM SSL for the AS System, just leave it and create a new one for SSL until your testing is complete. The following is an example for creating a RDB entry for a AS system for DDM SSL:
ADDRDBDIRE RDB(RMTDBSSL) RMTLOCNAME(remoteDB.xyz.com *IP) PORT(448) SECCNN(*SSL)
Note: On the AS System there must be a matching RDB entry name. This can be done with an alias if needed. This alias on the AS System doesn't need to have the secure connection set to *SSL nor do you need to set the port to 448. This is all handled at the SSL/TLS listener on port 448 of the AS System.
Test the DDM SSL setup:
The IBM i System comes with a example file in the library QIWS named QCUSTCDT.
We will create a DDM File QGPL/TESTSSL on the AR System first pointing to QIWS/QCUSTCDT.
CRTDDMF FILE(QGPL/TESTSSL) RMTFILE(QIWS/QCUSTCDT) RMTLOCNAME(*RDB) RDB(RMTDBSSL)
This next commend will display the contents of the remote file QIWS/QCUSTCDT to your display:
DSPPFM FILE(QGPL/TESTSSL)
The connection, once established will remain open even after an F3 to exist until you run:
RCLDDMCNV
This can be used as an advantage since you can use the previously mentioned NETSTAT *CNN commands to see the established connection over port 448.
Special case: Connecting to the local system that uses SSL
Admittedly, this case does not make a lot of sense. When you connect to the local system, no data ever leaves the TCP/IP stack; nothing is ever transmitted onto the network. Thus, encryption is not necessary. However, if this setup is wanted, it must be done by making an alias for the local database. The local database directory entry is simply a name, you cannot define the type of connection to the local system using the *LOCAL location, so it must be done using an alias. For example:
ADDRDBDIRE RDB(LOCALRDBNAME LOCALSSL) RMTLOCNAME(*LOOPBACK) PORT(448) SECCNN(*SSL) TEXT('SSL CONNECTION TO LOCAL DB')
Example walk through for a self-signed certificate
In this example I have two IBM I systems: JERRYLABA and JERRYLABB.
JERRYLABA (10.15.2.151) is the AR system.
JERRYLABB (10.15.2.160) is the AS system.
Note:
Keep in mind that the team that supports DDM/DRDA doesn’t support DCM. If you need help inside DCM or importing or exporting a certificate, please open a new case.
This example case will walk through setting up DCM from scratch using a self-signed certificate.
Then setting up DDM to use SSL/TLS along with testing the connection.
I will be using ACS Base and Navigator for I to get to the DCM link. These two products again are not supported by this team, please open a case for questions or problems with either of those two products.
This document assumes a functioning system.
Open the main ACS GUI and click the Navigator for I link.
Select the AS system from the drop down and click the link to Navigator for i: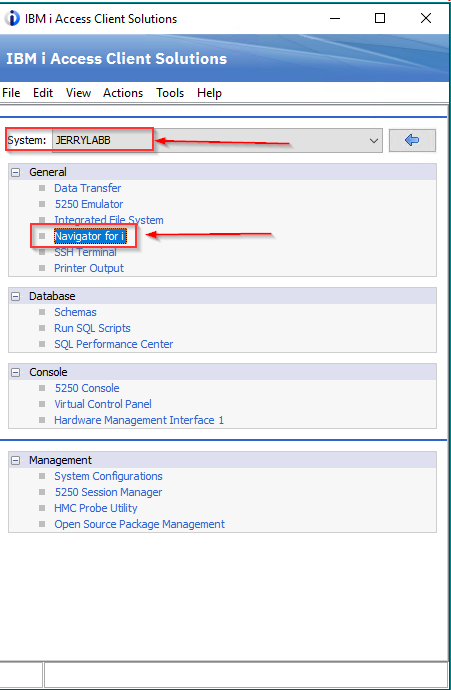
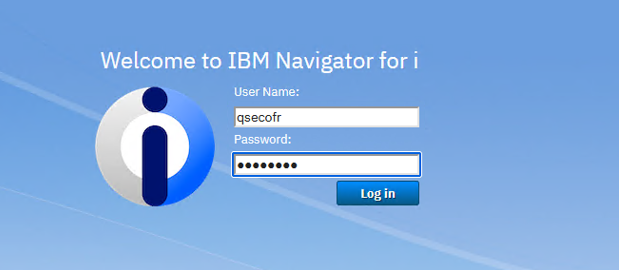
This will open the PC’s default web browser to the Navigator for I interface.
Use a secofr based profile or QSECOFR to log in:
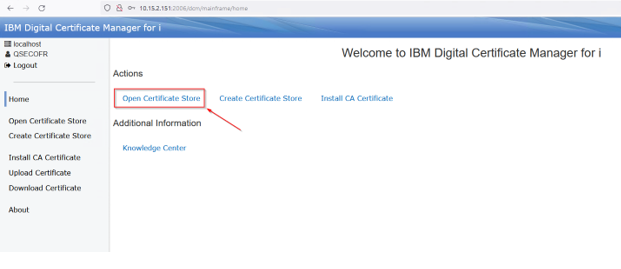
Once logged in, hover over the Bookmarks icon and select IBM Digital Certificate Manager for i: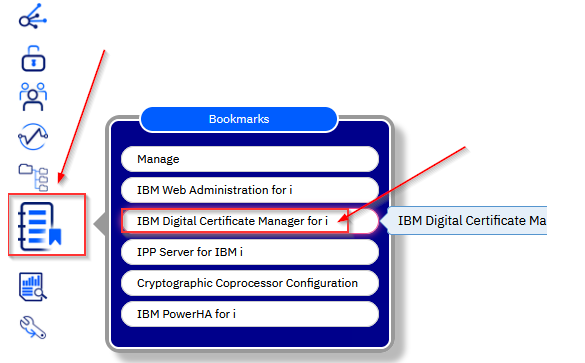
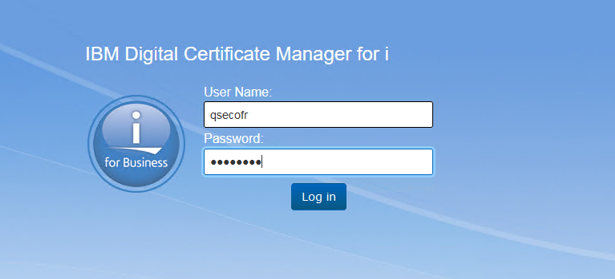
Log into DCM using the same credentials as you did with navigator for i:
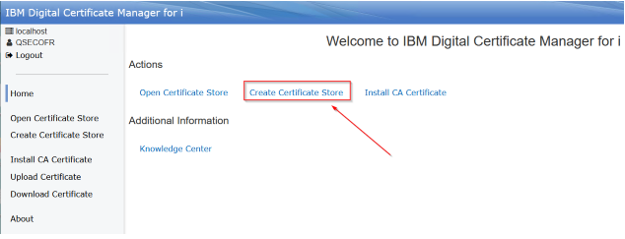
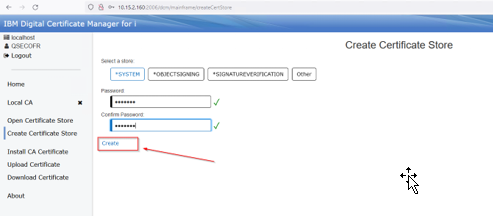
Select the option to Create Certificate Store:
Select Local CA:

Provide a password for the Local CA store. This can be whatever you would like:
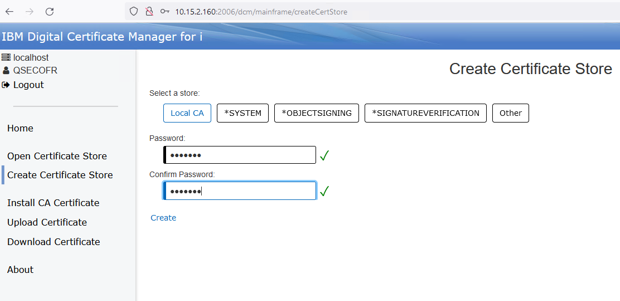
Select Create:
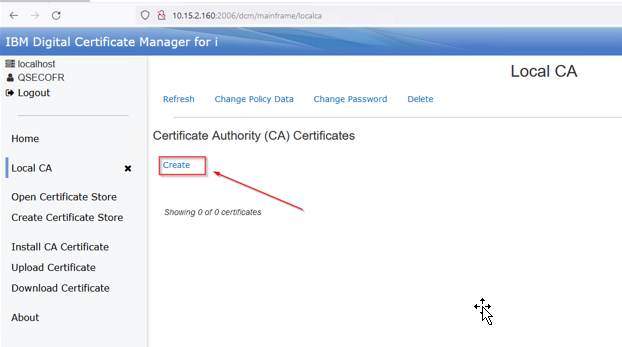
Then fill in the required fields and make any changes you may need. Click Create:
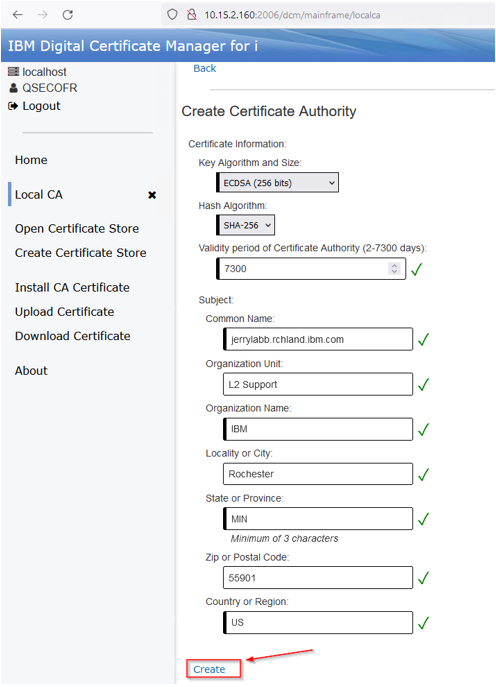
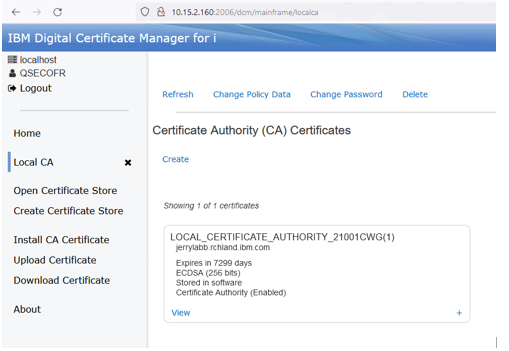
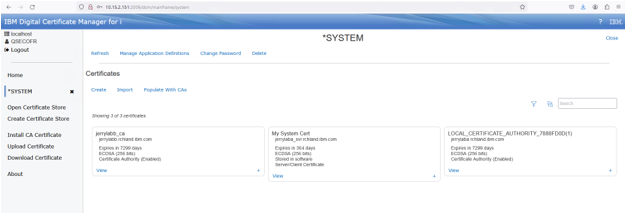
The new CA will be displayed:
Next, a Server certificate will be created.
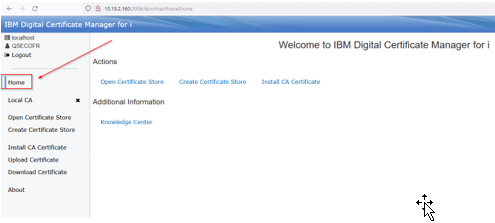
Click on the home button:
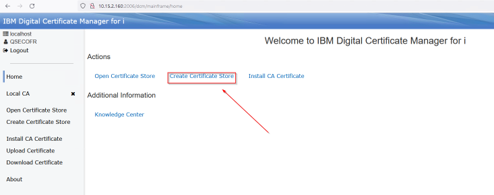
Click create Certificate store:
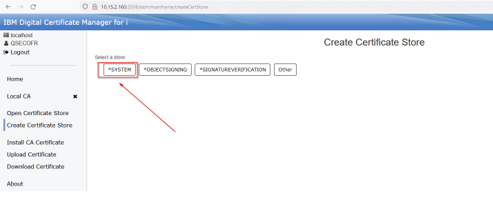
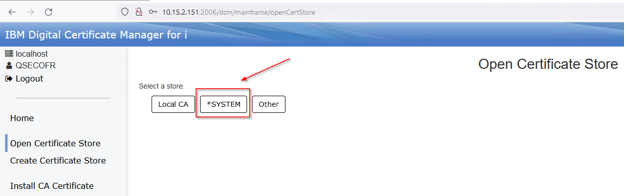
Select *System:
Provide a password for the *System store, again anything you want, and press Create:
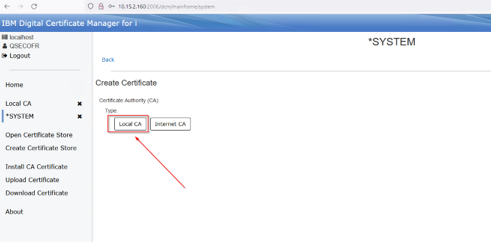
Press the Create button in the system store we just created:

Select Local CA for the CA type:
Make sure you have selected the Local CA you just created from the drop-down:
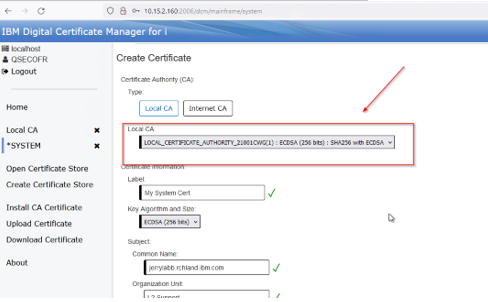
Continue filling out the required fields and optional fields, press create button when done:
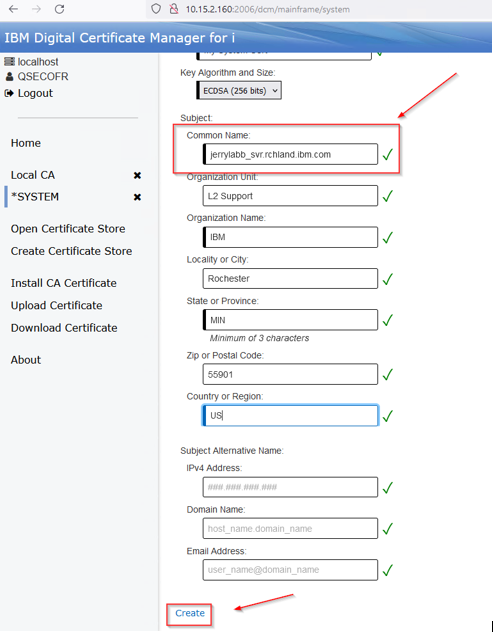
Note: I changed my common name from the CA, the certificate fails validation even though it creates.
The new System Certificate will be shown:
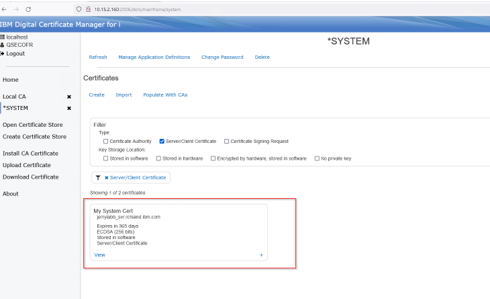
At this point you should now have a CA and an associated Server certificate created to use.
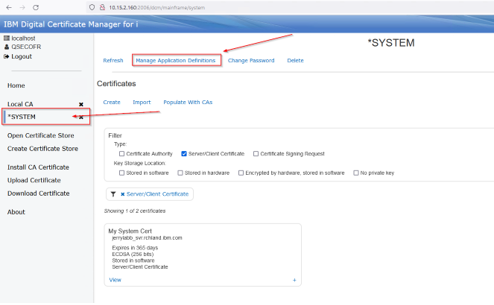
It’s time to assign the Server certificate to the DDM/DRDA application.
With the *System store selected, click on the Manage Application definition link:
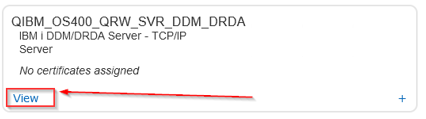
Locate the DDM/DRDA application and click view:
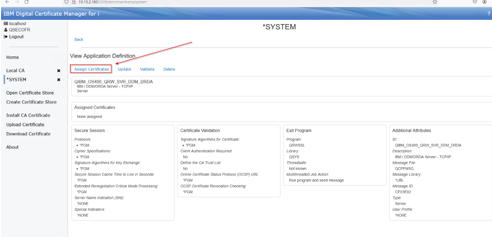
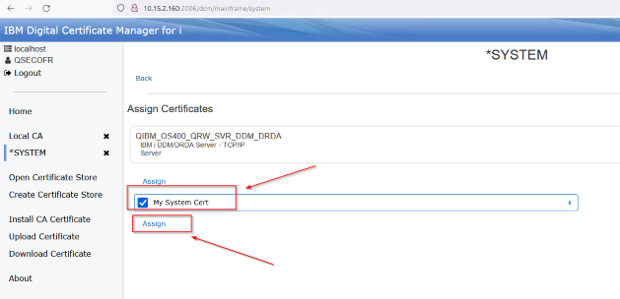
Click Assign Certificates:
Check the checkbox beside the certificate you just created and press Assign:
Once assign, click the back button:
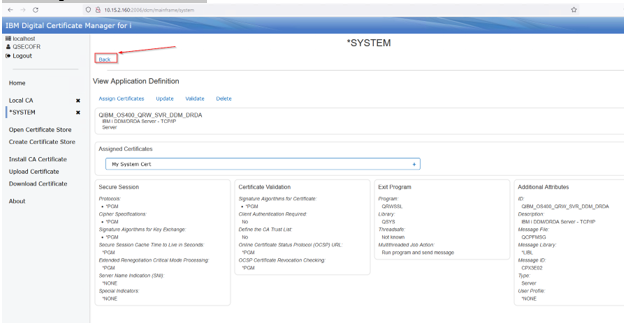
Notice that the certificate now shows up on the DDM/DRDA application:

Now we will recycle the DDM server via an ACS 5250 session for the AS system:
ENDTCPSVR *DDM
STRTCPSVR *DDM
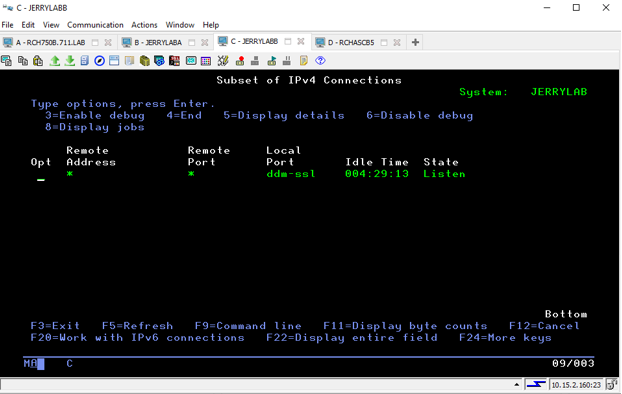
Then check in NETSTAT *CNN for the SSL/TLS enabled port 448.
NETSTAT *CNN
Press SHIFT+F3 (F15)
Enter port 448 for Local port range, Lower value.
Press the enter key twice.
This is what you’ll see:
Once that is confirmed, it’s back to DCM on the AS system still.
Now the CA must be exported from the AS system for the AR server import of this CA.
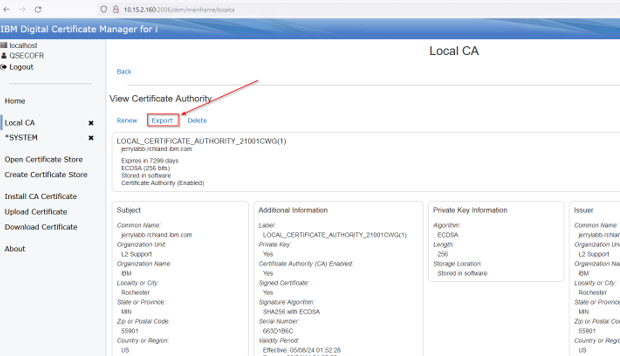
Open or select the Local CA store and click view on the local CA you just created:
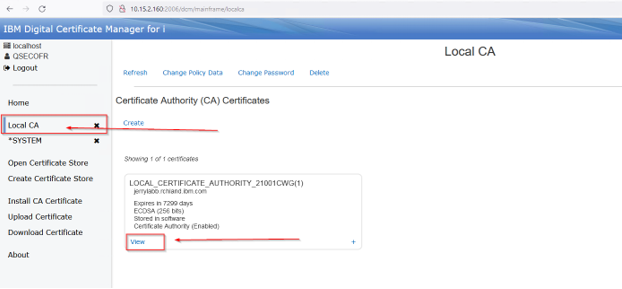
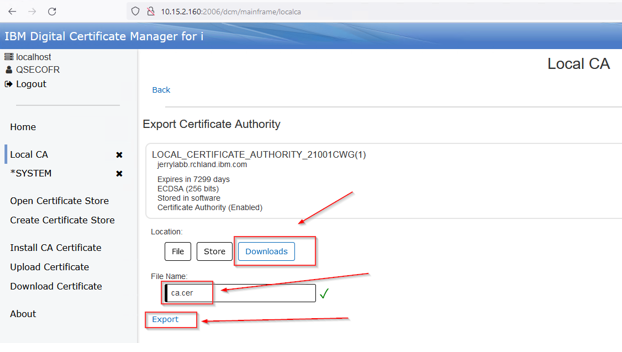
Select Export:
Select Downloads and give the CA file a name. The name can be whatever, but use a .cer extension.
This example uses ca.cer. Press Export:
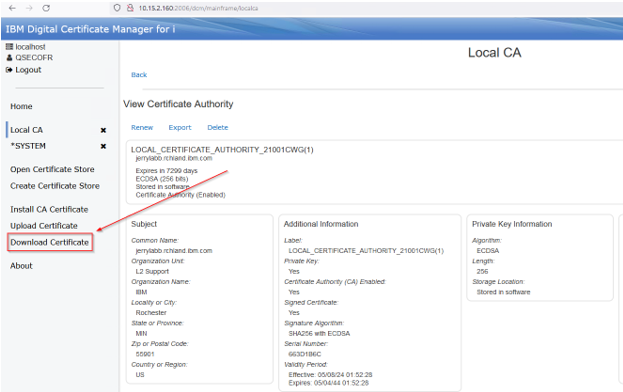
Select Download Certificate:
Select download on the file you just created:
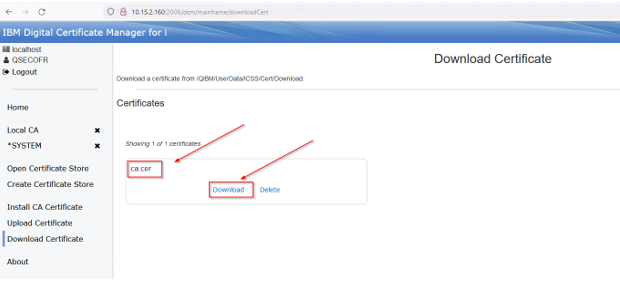
You’ll be prompted to save the file on your PC. Place it somewhere you can find it and click save: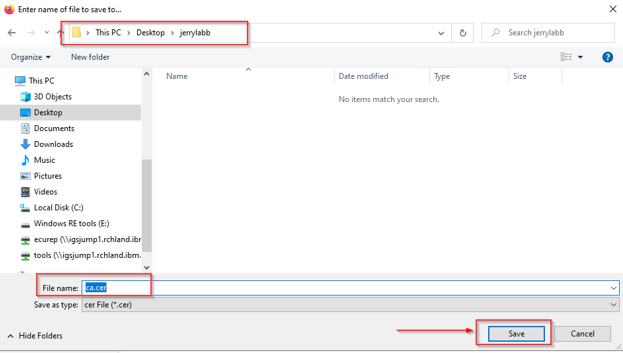
Now it’s time to import that CA to the AR system.
You may want to follow all the above steps to setup the AR system to be an AS server.
It will be required for DCM to be setup on the AR system prior to following these instructions.
On the AR system, select open Certificate Store.
Select the *System store:
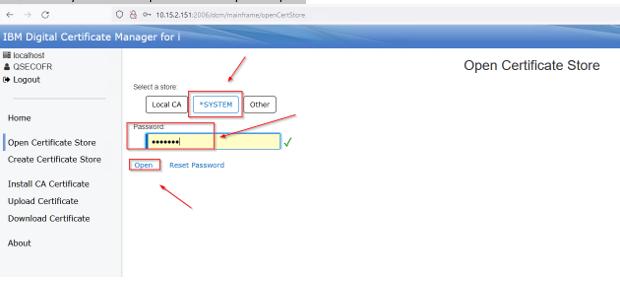
Enter the *System stores password and press Open:
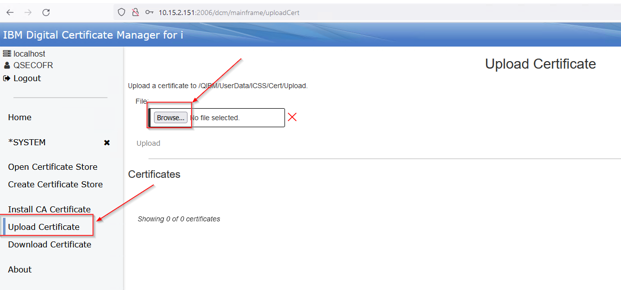
Click on the Upload Certificate and then the Browse:
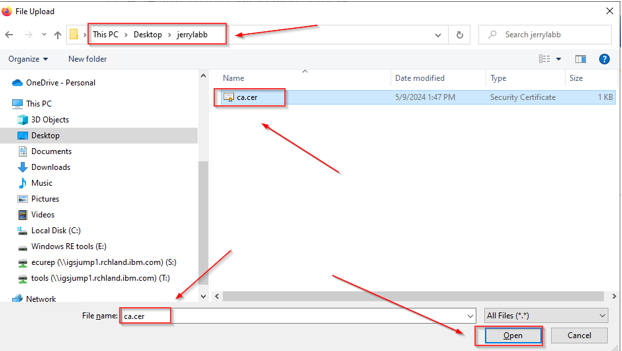
This opens a PC file dialog, browse to the path of the exported CA and select it. Click the open button:
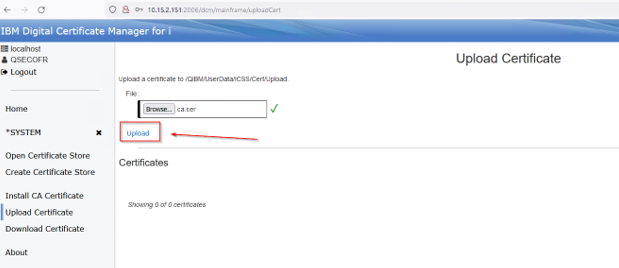
Click Upload:
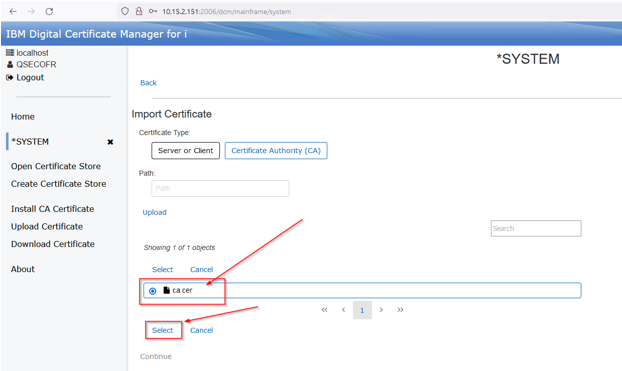
Go back to the *System store and click Browse uploads:
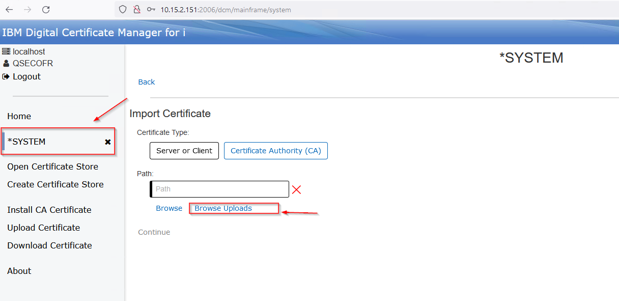
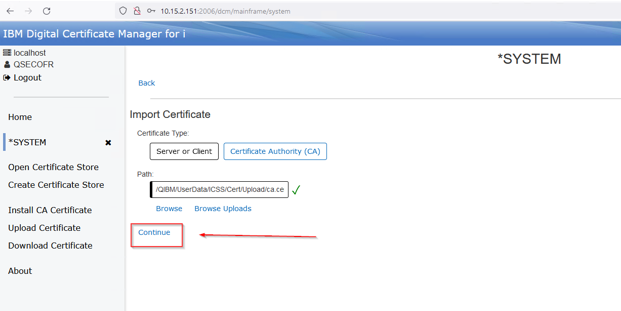
Select the CA you just uploaded and click the select link:
Press the Continue Button:
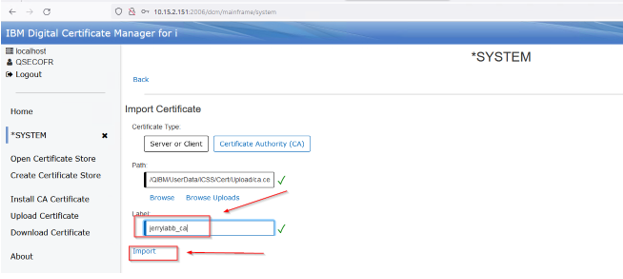
Give it a label, this can be whatever you want, then press Import:
If there is a filter applied (there is by default), this can be removed so you can see the CA you just imported. Just press the x to remove:
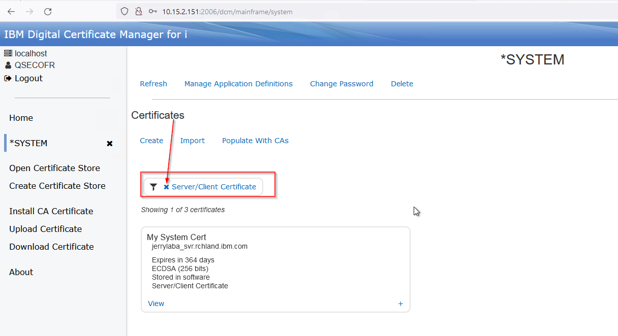
Here is the view with no filter:
Note:
You can click the filter icon and then select Server/Client certificate to add the filter back in if needed.
At this time, all the DCM operation is completed.
Now we can work on configuration on the IBM I side.
On the client side, the AR system, we must create a relational database entry that says we are using SSL and port 448.
The command for my system will be this:
ADDRDBDIRE RDB(JERRYLABB) RMTLOCNAME('10.15.2.160' *IP) PORT(448) SECCNN(*SSL)
Next, on the AS system we must have a matching relational database entry name.
I have an existing *local entry, but it doesn’t match what I called it on the AR system.
So I will create an alias with that name as follows:
ADDRDBDIRE RDB(JERRYLAB JERRYLABB) RMTLOCNAME(*LOOPBACK)
Back on the AR system we will create a test DDM file using the RDB entry we created for the AS system:
CRTDDMF FILE(JMCKEE/TEST) RMTFILE(QIWS/QCUSTCDT) RMTLOCNAME(*rdb) RDB(JERRYLABB)
Then test with:
DSPPFM FILE(JMCKEE/TEST)
Document Location
Worldwide
Was this topic helpful?
Document Information
Modified date:
20 May 2024
UID
ibm17154428