How To
Summary
This document discusses how to update user details or delete users.
Steps
As an administrator user, you can manage other ReaQta dashboard users. The Manage User page (Administration > Manage User) provides following information:
- Status – Status of the user - enabled or disabled.
- Name – full name of the user.
- Username – email of the user and also the login name.
- Role - a user's role determines what permissions they have. The roles available are:
- Administrator
- Responder
- Analyst
- Observer
Note: For more information about roles, see ReaQta: Creating dashboard users.
- Restrictions – Groups that the user is allowed to access, if they are restricted to specific groups. In an MSSP setting, this column also lists Clients to which the user has access.
- Last login – the last time the user logged in to the Dashboard.
Note: If a user was created but never logged in or the user does not log in for more than 3 weeks, a yellow triangle is displayed next to the Status.
Modify a user
- From the user list, click the user you want to modify. A user details page appears.
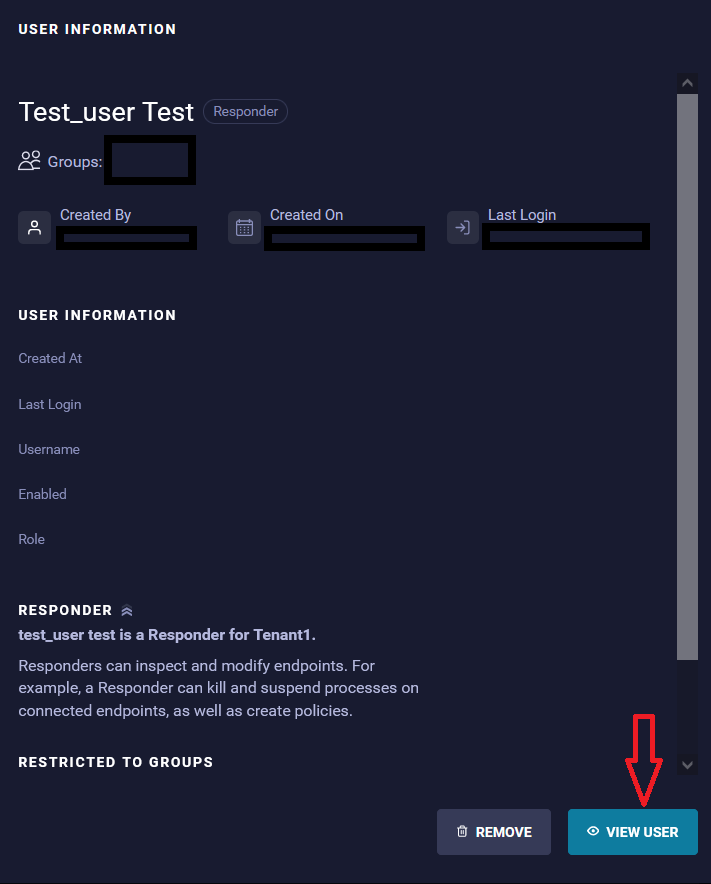
- Clicking a user entry opens the User Information page. The User information page contains:
- General information:
- The name and role of the user.
- Groups – list of groups the user is allowed to access.
- Created By – the name of the user that created the user account.
- Created On – date and time when the account was created.
- Last Login – when the user logged in for the last time.
- User information – specific information about the user account
- Create On - date and time when the account was created.
- Username – user’s login name.
- Enabled – Yes or No.
- Role – description of the role and group restrictions assigned to the user
- General information:
- Next, following actions are available:
- Remove – Deletes the user from the server.
- View User – It displays additional information such as a preview of the audit log, description of the role, restrictions, and allows the following actions:
- Enable and disable the account.
- Change the user’s password.
- Enable or Disable two-factor authentication.
- Change the user’s role - when changing the role to other than Administrator, it also allows users to define group restrictions.
- View All Activity – displays the user’s full audit. Clicking "View All Activity" redirects you to the Audit page filtered on the exact username.
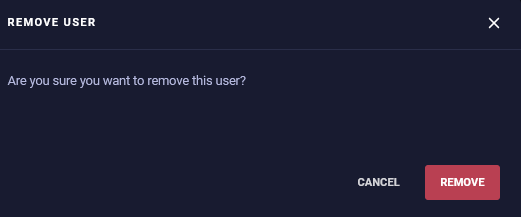
Delete user
- Go to Administration > Manage Users.
- Clicking a user entry that you want to delete, opens the User Information page.

- Click Remove and confirm deletion.
- Clicking a user entry that you want to delete, opens the User Information page.
Enable or Disable user account
- From the user profile section you can toggle the status by using the toggle bar:

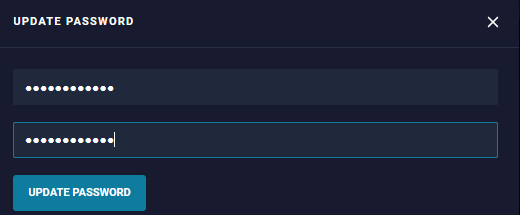
Change user password
- From the user profile section click the edit icon:

- Enter and confirm the new password and then click Update Password.
- Apart from administrator, a user can change password for own account, from My profile section after logging in to the ReaQta hive server.
Enable or Disable two-factor authentication
- See ReaQta: Managing two-factor authentication for more information.
Change user's role
- On the user profile section, click Change role.

- When changing the role to other than Administrator, it also allows you to define group restrictions.

- Click Edit Access Group.
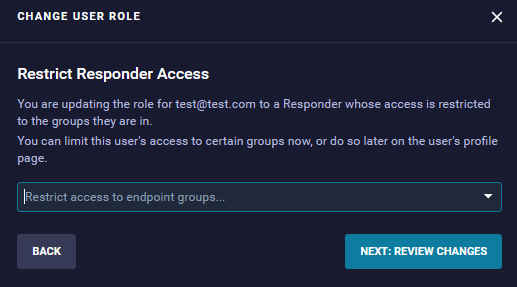
- From the drop-down list, select the group that needs updated.
- Click Next: Review Changes.
- On the summary page, click Update user role.

View All Activity
- From the Audit logs section of the user details page, clicking View All Activity redirects you to the Audit page filtered on the exact username.

Unlock locked user
- After 6 failed attempts to log in using a password, the user account is locked out for next 5 minutes.
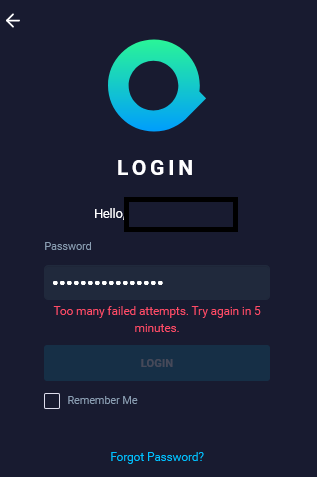
- You can click Forgot Password, which generates a reset request for that user account, provided your email server configuration is set properly.
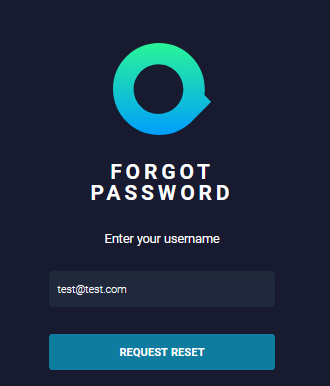
- Alternatively, you can ask an Administrator user to reset the password for locked out user. After the 5-minute lockout time period for the user, log in with new password provided by administrator. You are then asked to enter a new password.
Related Information
Document Location
Worldwide
[{"Type":"MASTER","Line of Business":{"code":"LOB24","label":"Security Software"},"Business Unit":{"code":"BU059","label":"IBM Software w\/o TPS"},"Product":{"code":"SSVOEH","label":"IBM Security ReaQta"},"ARM Category":[{"code":"a8m3p000000hBSPAA2","label":"Administrative Tasks-\u003EUsers"}],"ARM Case Number":"","Platform":[{"code":"PF025","label":"Platform Independent"}],"Version":"All Versions"}]
Product Synonym
ReaQta
Was this topic helpful?
Document Information
Modified date:
17 May 2023
UID
ibm16569919