General Page
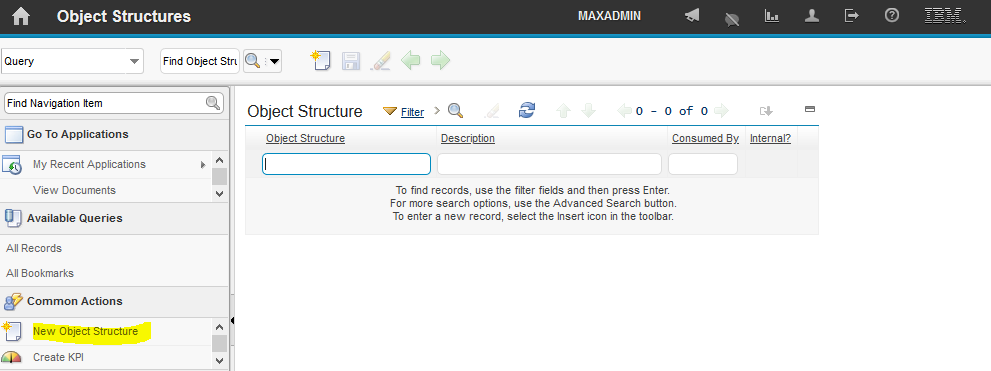
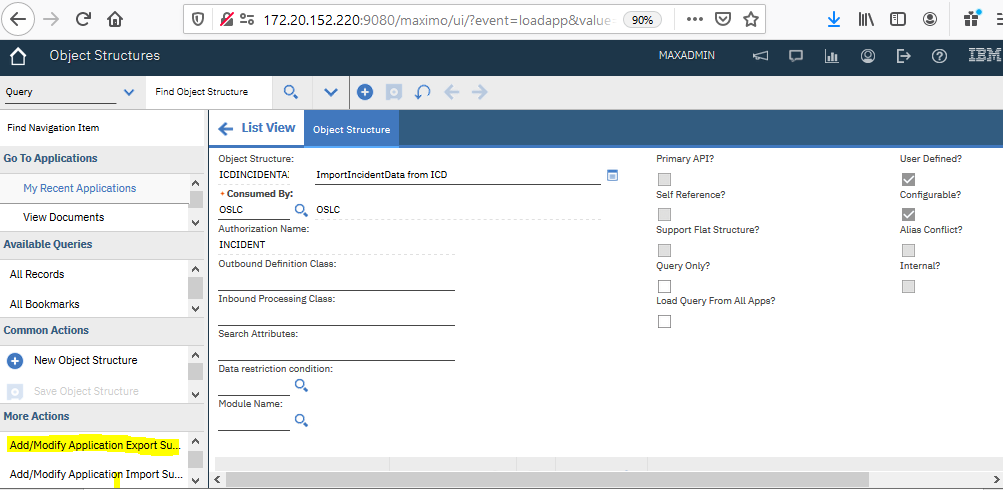
Step 1. Log in to IBM Control Desk and go to System Configuration > Migration > Object Structures.
Step 2. Click New Object Structure from the Common Actions section of the navigation bar to create a new Object Structure.
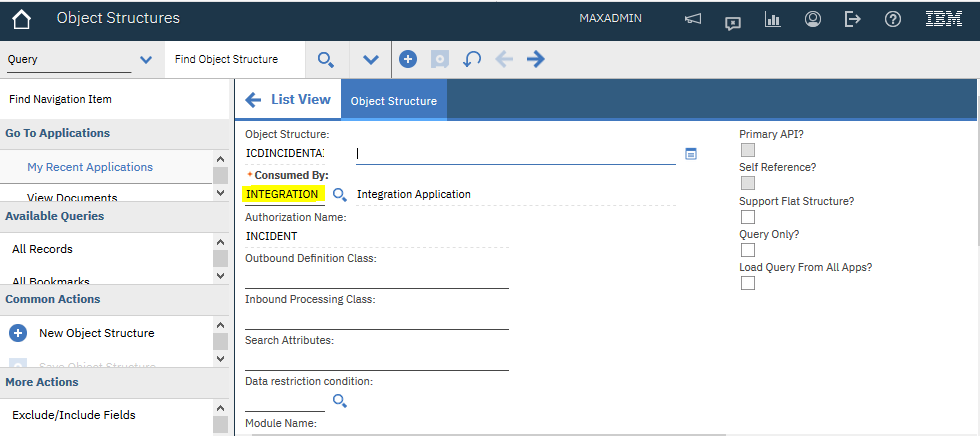
Step 3: Enter the name in the Object Structure, for example, ICDINCIDENTAl, and select INTEGRATION in the Consumed By box.
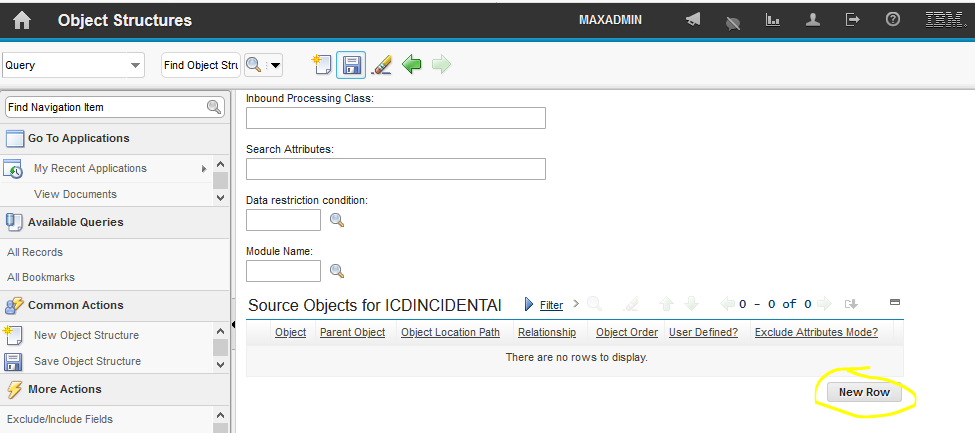
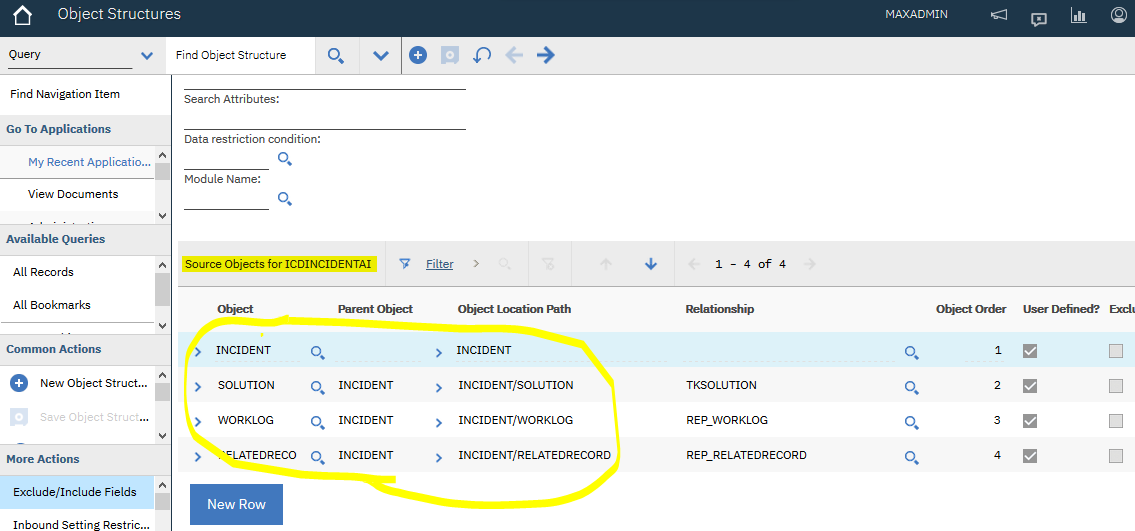
Step 4: Click on New Row and add objects such as INCIDENT, SOLUTION, WORKLOG, or RELATEDRECORD.
Step 5: Add Relationship to all the objects if you added Parent Object.
Step 6: Click Add/Modify Application Export Support from the More Actions section of the navigation bar to enable the object structure for exporting and importing.
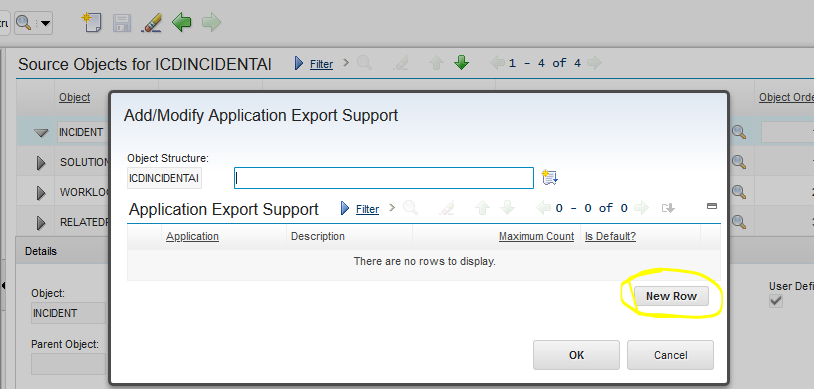
Step 7: In Add/Modify Application Export Support window, click New Row.
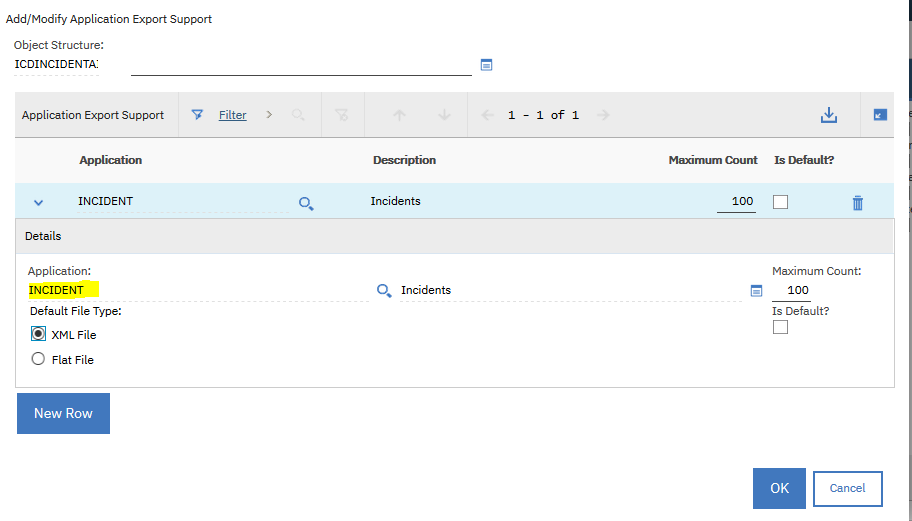
Step 8: Select the INCIDENT in the Application column and click OK.
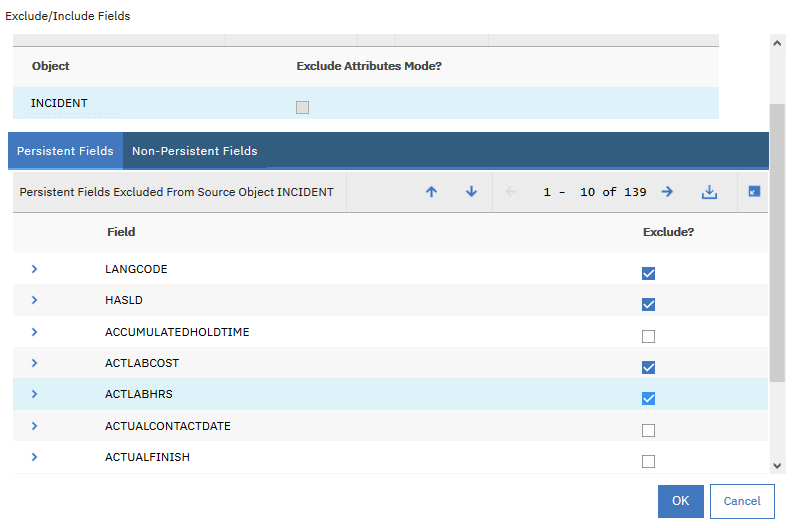
Step 9: Click Exclude/Include Fields from the More Actions section of the navigation bar to exclude Fields, as necessary from JSON, and Click OK to continue.
Step 10. Grant security access for import/export functionality.
- Log in to IBM Control Desk and from the navigation bar click Security > Security Groups.
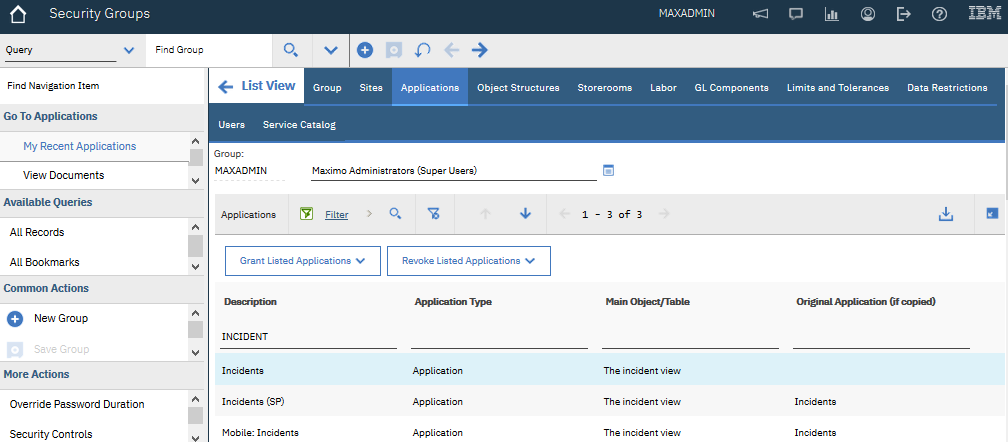
- Select the group to which the user belongs to for example MAXADMIN.
- In the Application tab, select Incident in the Description column.
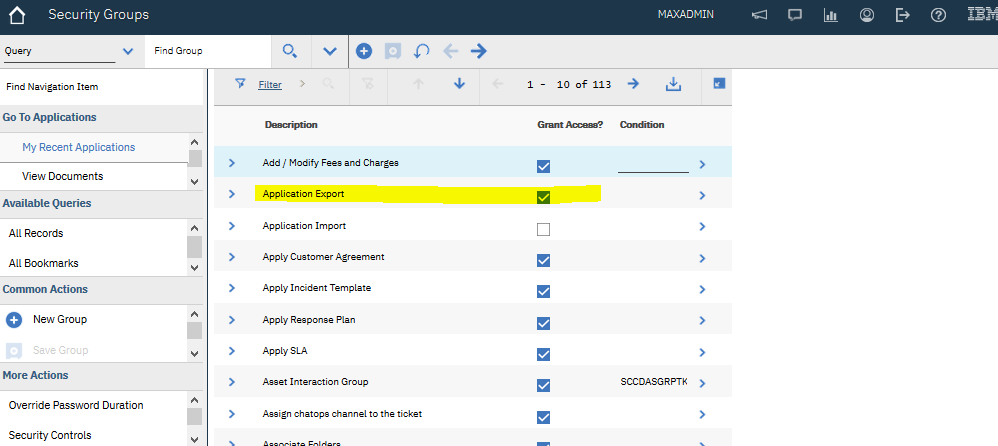
- Grant the access for Application Export.
Step 11: Restart your Server.
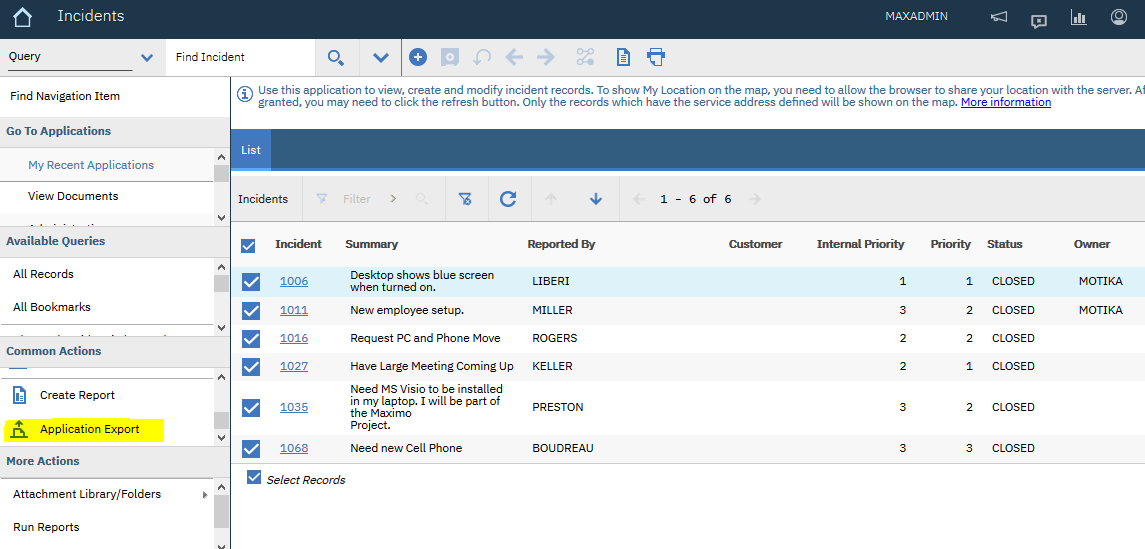
Step 12: Now you can perform exporting of data directly from the enabled application. Navigate to Service Desk > Incidents and Select Records that to be Exported.
Step 13: Once the incident records are selected, click Application Export from the Common Actions section of the navigation bar.
Step 14. Select the Object Structure that you created above in step 3, for example, ICDINCIDENTAI to export the data.
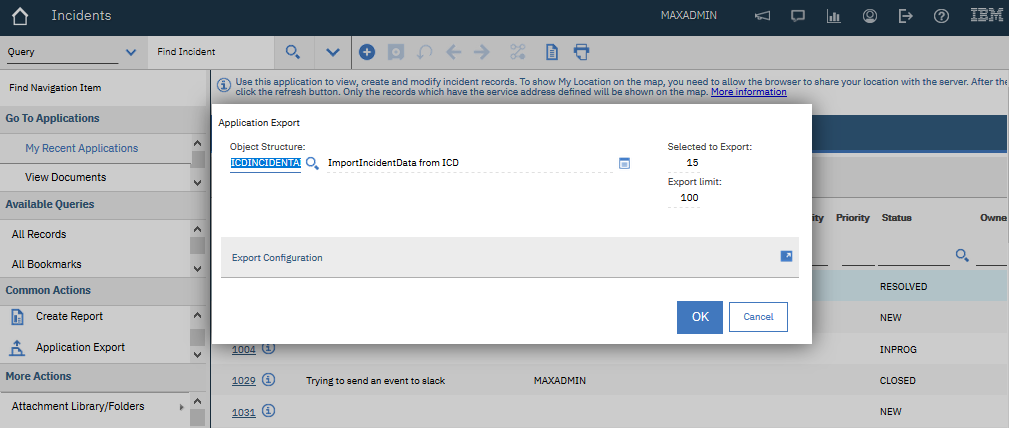
Step 15. Expand Export configuration to select the format of the data and select JSON File option.
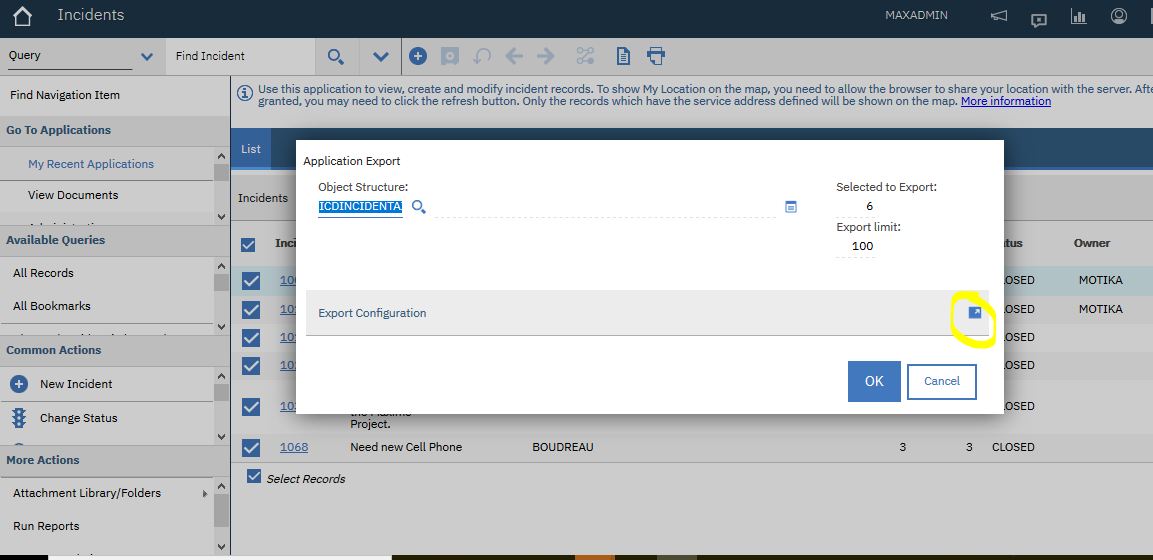
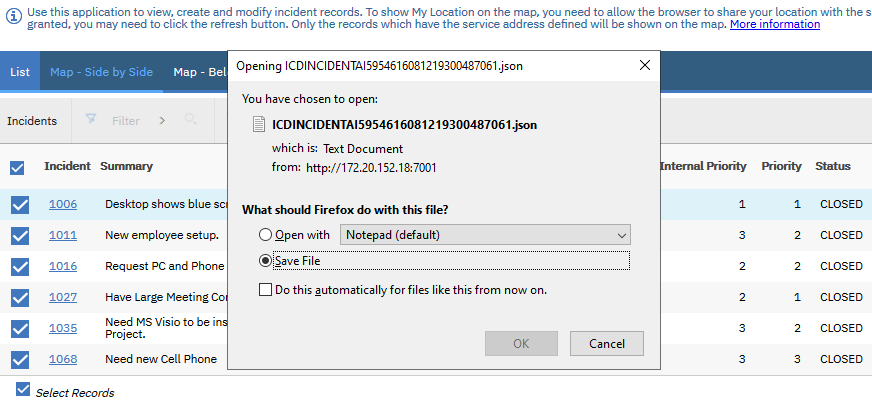
Step 16. Once you click OK in the Application Export window, you will get a pop-up to download the JSON file in the zip file. Click OK to save the JSON file that contains all Incident records.
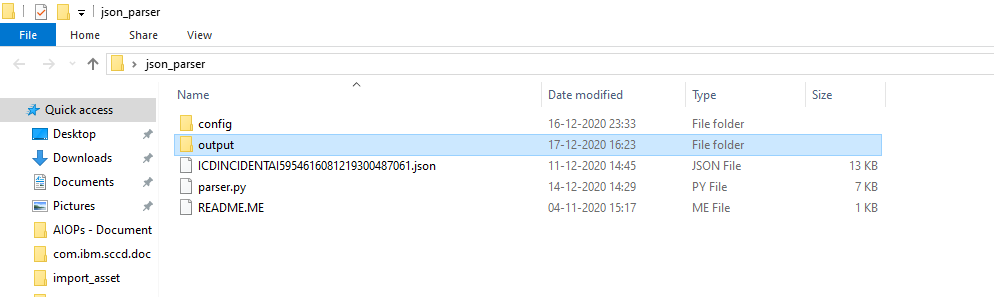
Step 17. Download and extract the below zip file and save it as json_parser in your local directory. Place the JSON file downloaded in step 16 in the json_parser folder.
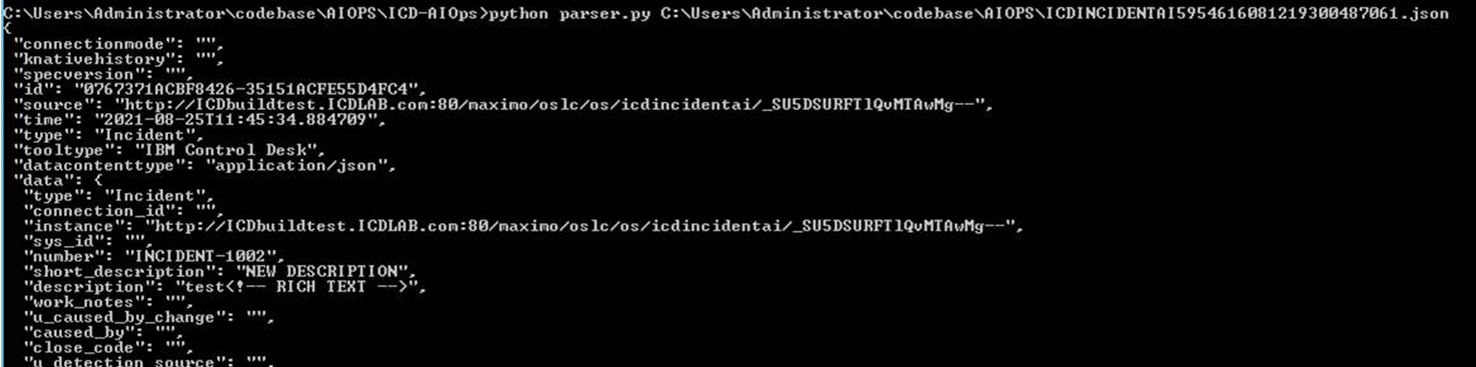
Step 18. In the json_parser folder, using python, execute parser to parse the JSON in the required format.
Note: Make sure you have Python installed on your machine.
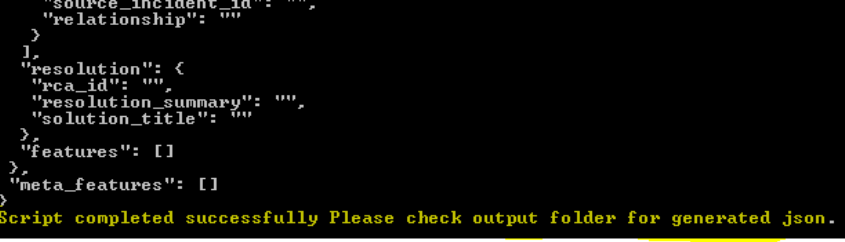
Step 19. Once the script completed successfully, you will get the below message on the screen.
“Script completed successfully Please check output folder for generated json”
Step 20. Check the output folder in the same directory where you have executed Python Script (parser.py) (in this case json_parser folder).
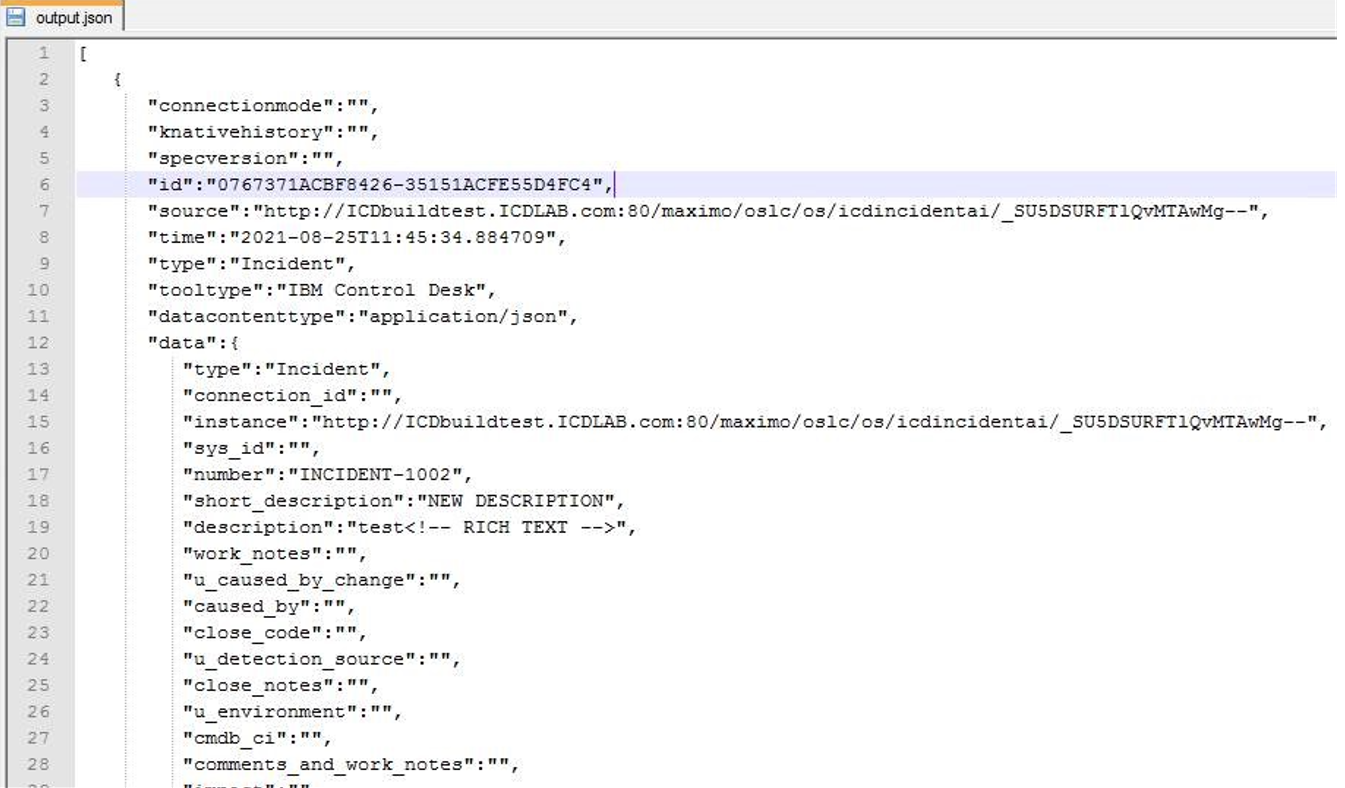
Step 21: Output.json file will be created after the successful completion of the script, which contains the expected formatted JSON.
Was this topic helpful?
Document Information
Modified date:
15 September 2021
UID
ibm16383258