Release Notes
Abstract
IBM FileNet Image Services now support remote Oracle 19.3 multi-tenant, pluggable databases (PDB) and container databases (CDB) on all the supported platforms from 4.1.2 fix pack 28 (4.1.2.28) and 4.2.0 fix pack 16 (4.2.0.16) except Solaris and HP-UX on Image Services 4.1.2.
Content
- Image Services 4.1.2: AIX, HP-Itanium, Windows (does not support HP-UX and Solaris)
- Image Services 4.2.0: All the supported platforms (AIX, Solaris, HP-Itanium, Windows)
You need to be an Oracle database administrator (DBA) to create a container and pluggable databases on Oracle servers.
- As an Oracle DBA, install Oracle 19.3 or later on a 64-bit AIX server.
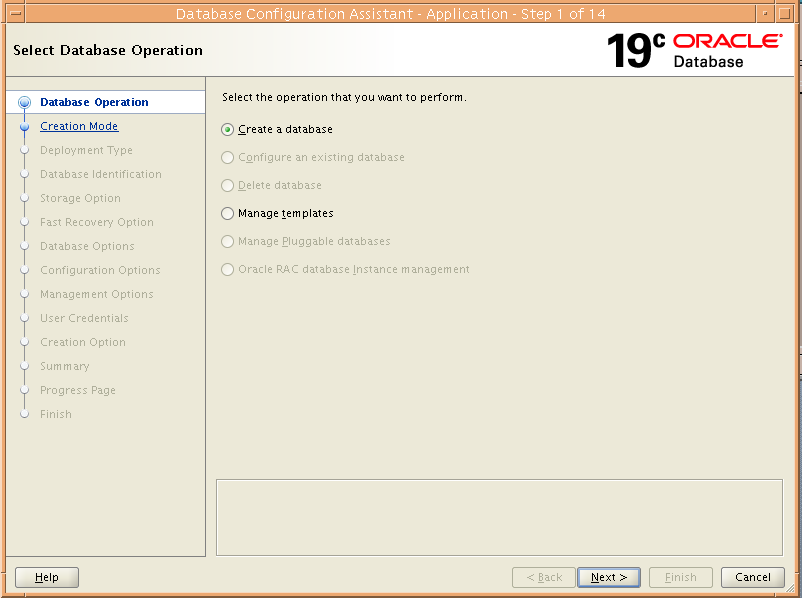
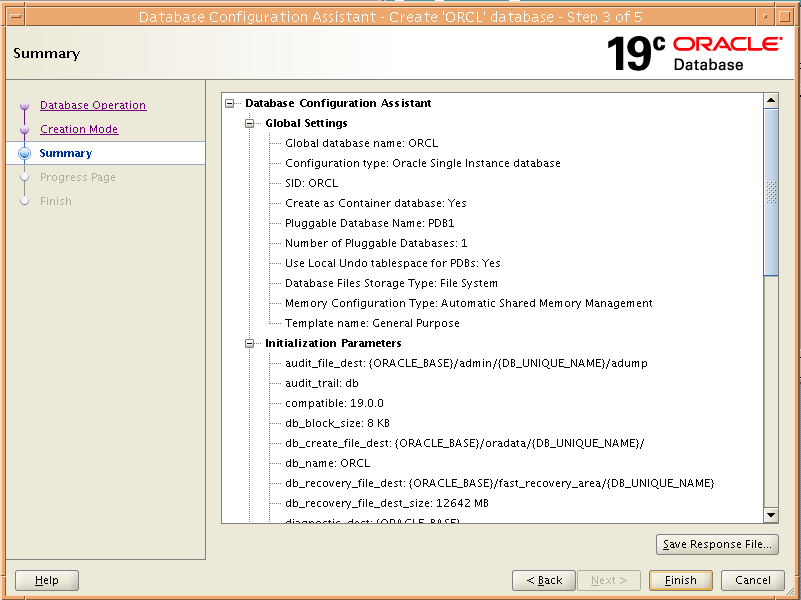
- As an Oracle DBA, use the Database Configuration Assistant (DBCA) tool, to create the required container and pluggable databases.

- Set the ORACLE_HOME variable to the Oracle home path, and set the ORACLE_SID to the container database or global database name.
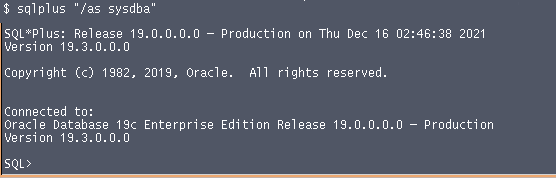
- Connect to the database using the command: sqlplus “/as sysdba”
- Check your connection using the command: show con_name

- Check the container database exists using the command: select name from v$containers;

- Alter the session to work with your pluggable database using the command: alter session set container=pdb1;

- Ensure you are connected to the pluggable database using the command: show con_name

- By default, the pluggable database is in a mounted state. Enable read and write mode on the database using the command: alter pluggable database pdb1 open;

- To create the required table spaces and Image Services (IS) database users in the pluggable database, refer to Guidelines for Installing and Configuring Oracle Software on UNIX Servers (Site-Controlled).
The following example illustrates how to create table spaces and Image Services database users:
- CREATE TABLESPACE fnsys_ts LOGGING
DATAFILE '/home/oracle/app/oracle/tablespace/fnsys_ts.dbf'
SIZE 200M REUSE AUTOEXTEND ON NEXT 1M MAXSIZE UNLIMITED
EXTENT MANAGEMENT LOCAL; - CREATE TABLESPACE fnidx_ts LOGGING
DATAFILE '/home/oracle/app/oracle/tablespace/fnidx_ts.dbf'
SIZE 200M REUSE AUTOEXTEND ON NEXT 1M MAXSIZE UNLIMITED
EXTENT MANAGEMENT LOCAL; - CREATE TABLESPACE fnusr_ts LOGGING
DATAFILE '/home/oracle/app/oracle/tablespace/fnusr_ts.dbf'
SIZE 200M REUSE AUTOEXTEND ON NEXT 1M MAXSIZE UNLIMITED
EXTENT MANAGEMENT LOCAL; - CREATE TEMPORARY TABLESPACE fntmp_ts
TEMPFILE '/home/oracle/app/oracle/tablespace/fntmp_ts.dbf'
SIZE 400M REUSE
EXTENT MANAGEMENT LOCAL UNIFORM SIZE 16M; - create user f_sw identified by fnsw;
- grant create session to f_sw;
- create user f_sqi identified by fnsw;
- grant create session to f_sqi;
- create user f_open identified by fnsw;
- grant create session to f_open;
- create user f_maint identified by fnsw;
- grant create session to f_maint;
- CREATE TABLESPACE fnsys_ts LOGGING
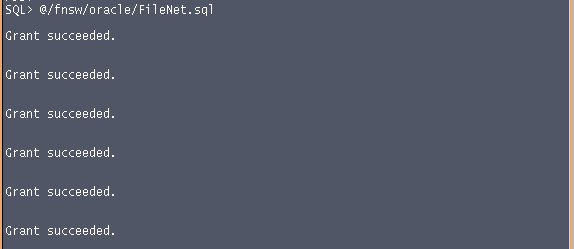
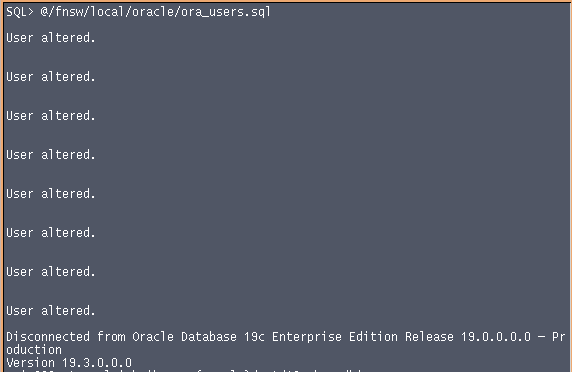
- Copy files from the Image Services server to the Oracle server. The files are available at /fnsw/oracle/FileNet.sql and /fnsw/local/oracle/ora_users.sql.
Run the following scripts within the SQL prompt to provide required permissions to users:
a) FileNet.sql
b) ora_useres.sqlFor example, SQL> @/xxx/xxx/FileNet.sql and SQL> @/xxx/xxx/ora_users.sql
- Create or modify the listener.ora and tnsnames.ora files in the $ORACLE_HOME/network/admin directory. You can also use the netmgr Oracle tool to create these configuration files.
For example:
listener.ora
# listener.ora Network Configuration File:
/home/oracle/app/oracle/product/19.3.0/dbhome_1/network/admin/listener.ora
# Generated by Oracle configuration tools.LISTENER =
(DESCRIPTION =
(ADDRESS = (PROTOCOL = TCP)(HOST = “xx.xx.xx.xx”)(PORT = 1521))
)
ADR_BASE_LISTENER = /home/oracle/app/oracle
tnsnames.ora
# tnsnames.ora Network Configuration File: /home/oracle/app/oracle/product/19.3.0/dbhome_1/network/admin/tnsnames.ora
# Generated by Oracle configuration tools.
ORCL =
(DESCRIPTION =
(ADDRESS_LIST =
(ADDRESS = (PROTOCOL = TCP)(HOST = “xx.xx.xx.xx”)(PORT = 1521))
)
(CONNECT_DATA =
(SERVICE_NAME = ORCL)
)
) - Start the listener using the following commands:
a) lsnrctl
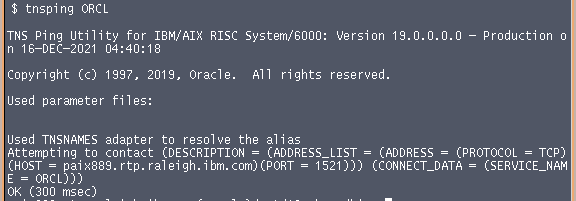
b) LSNRCTL> start - Ensure your connection is working. From the command prompt use the command: tnsping <CDB name / Global DB name>
B. Establishing the connection between the Oracle client and server
Perform these steps on the Oracle client. You must be an Oracle database administrator (DBA) to create the container database and pluggable database.
- As an Oracle dba user, install the Oracle 32-bit 19.3.0 client or later on the Image Services server.
- Copy tnsnames.ora from Oracle server to $ORACLE_HOME/network/admin directory.
- Add an entry for the pluggable database (example, pdb1) in tnsnames.ora. See the highlighted text below.
# tnsnames.ora Network Configuration File:
/home/oracle/app/oracle/product/19.3.0/dbhome_1/network/admin/tnsnames.ora
# Generated by Oracle configuration tools.
ORCL =
(DESCRIPTION =
(ADDRESS_LIST =
(ADDRESS = (PROTOCOL = TCP)(HOST = “xx.xx.xx.xx”)(PORT = 1521))
)
(CONNECT_DATA =
(SERVICE_NAME = ORCL)
)
)PDB1 =
(DESCRIPTION =
(ADDRESS_LIST =
(ADDRESS = (PROTOCOL = TCP)(HOST = “xx.xx.xx.xx”)(PORT = 1521))
)
(CONNECT_DATA =
(SERVICE_NAME = PDB1)
)
) - Set ORACLE_HOME to the home directory of the installed Oracle client. Set ORACLE_SID, TWO_TASK to the pluggable database name (example, pdb1).
- Ensure the client connection to the server is active using the command: tnsping <PDB name>

- Connect to the pluggable database using the command: sqlplus <username/password>
For example: sqlplus f_sw/password

- Ensure the connection to the pluggable database is functioning.

C. Configuring Image Services server for database migration
- Stop Image Services (IS) using these commands:
- initfnsw -y stop
- killfnsw -ADyS
- Take a backup of the database.
- Change the Oracle system ID (Oracle SID) in fn_edit tool using these commands:
- fn_edit
- Change the Oracle SID field in Relational Databases tab with your PDB name configured on Oracle server.
For example, pdb1 is PDB name as shown below.
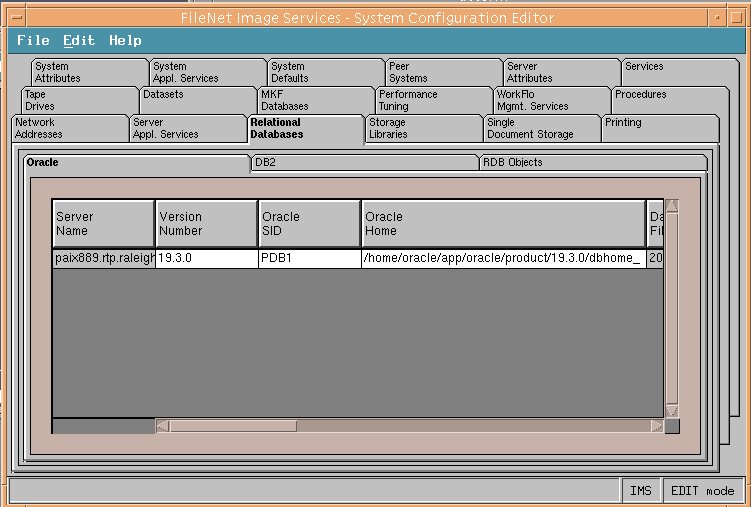
- Save the changes and exit from fn_edit tool.
- Run this command to reflect the above changes in the configuration: fn_build -a
- Make sure the following variables are set properly:
- ORACLE_HOME to the home directory of installed Oracle client.
- ORACLE_SID to PDB name.
- TWO_TASK to PDB name.
- Run the following commands to validate Oracle Home, Oracle SID, Oracle version, Oracle users and grant required permissions on your existing IS Server:
- fn_setup_rdb -u
- Enter required input as Oracle Home, Oracle SID, Oracle Version.
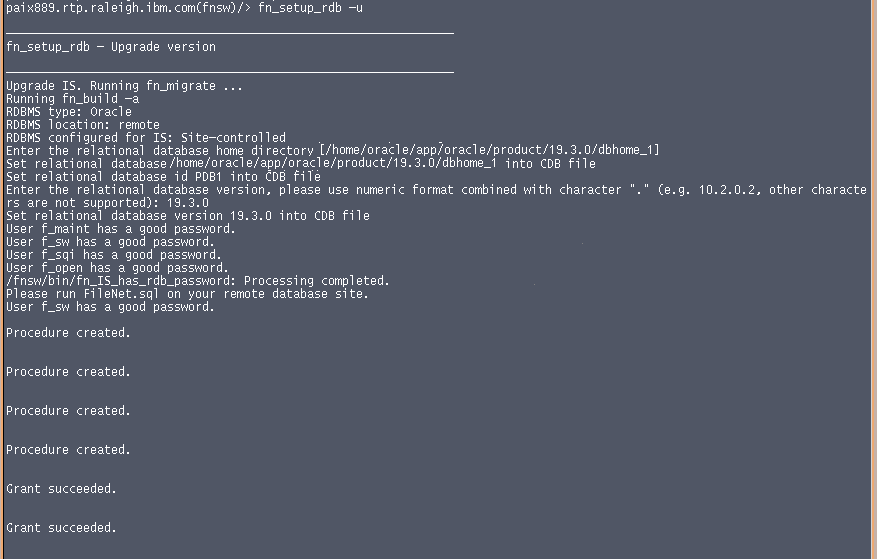
For example:

-
Create database tables using this command: fn_util initrdb

- Restore Oracle backup.
- Start Image Services using this command: initfnsw start
- Check the elogs for any errors.
D. Configuring Image Services server for fresh installation
- Run fn_edit
- Add the database version, Oracle Home path, and the ORACLE_SID (set to the pluggable database name).
- Save the changes and exit fn_edit.
- Run the following command to pick up the configuration changes: fn_build -a
- Make sure the following variables are set correctly:
- ORACLE_HOME to the home directory of the installed Oracle client.
- ORACLE_SID to the pluggable database name.
- TWO_TASK to the pluggable database name.
- Run the following commands to validate the ORACLE_HOME, ORACLE_SID, and TWO_TASK settings, and to grant the required permissions on the Image Services server: fn_setup_rdb -f
- Create the Multi-Keyed File (MKF) and relational database tables using this command: fn_util init
Related Information
Was this topic helpful?
Document Information
Modified date:
13 July 2023
UID
ibm11114959