Technical Blog Post
Abstract
Installing and Configuring Optimizer for Maximo Scheduler 7.6 (part 4)
Body
Seems like a long time since my last post, but it wasn't. Just very busy. I updated both previous blog posts with new and corrected information.
Why is this called part 4 when my last post was part 2? Because what would be part 3 in my documentation was written and posted by my colleague, Belinda Fuller. You can find them here: IBM Decision Optimization Center - Setting up the application server for SSL connections from Maximo Scheduler.
Part 4. Deploying the application ear files to the ODME Server
Deploy and Configure the common Decision Optimization Center Server EAR (Application Management)
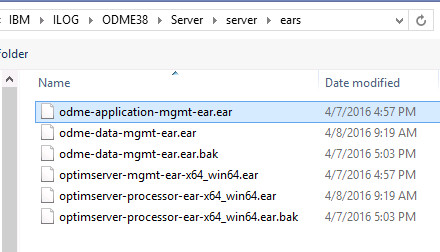
In the WebSphere Administrative Console, go to Applications > Application Types > Enterprise Applications. Click Install. Select the odme-application-mgmt-ear.ear file from the Decision Optimization Center Server installation directory (\ILOG\ODME38\Server\server\ears).
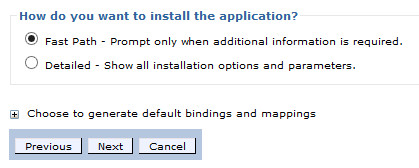
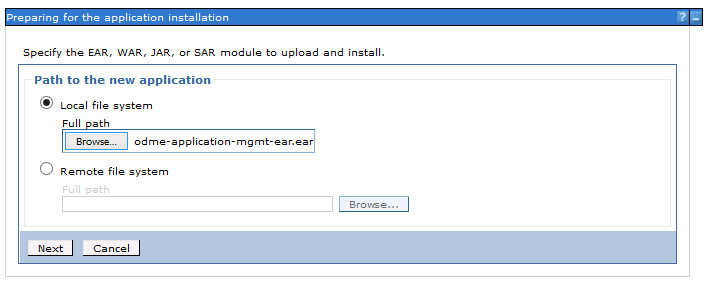 With Fast Path selected, click Next.
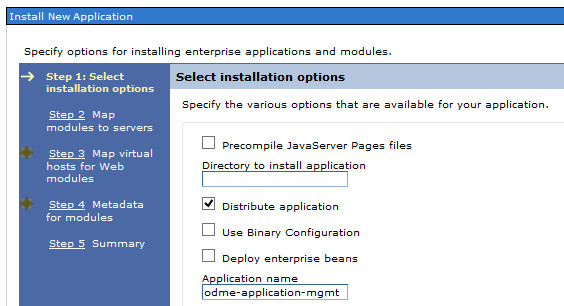
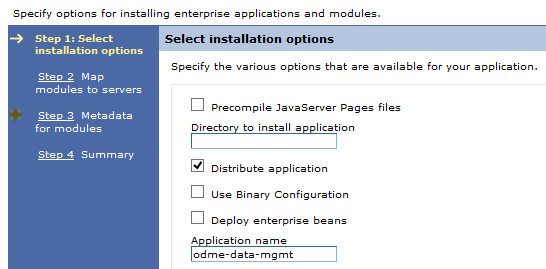
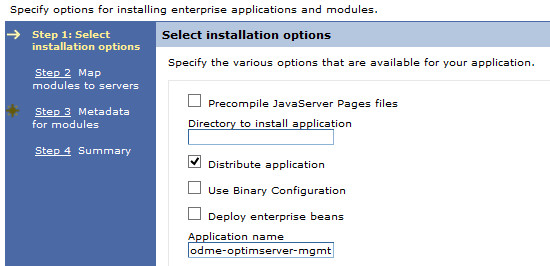
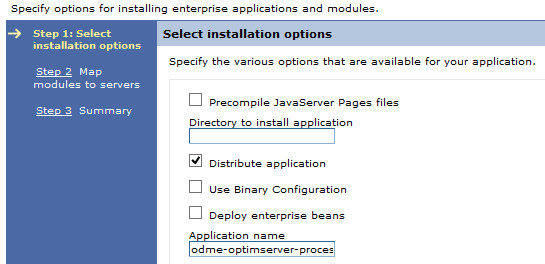
 At Select installation options, click Next.
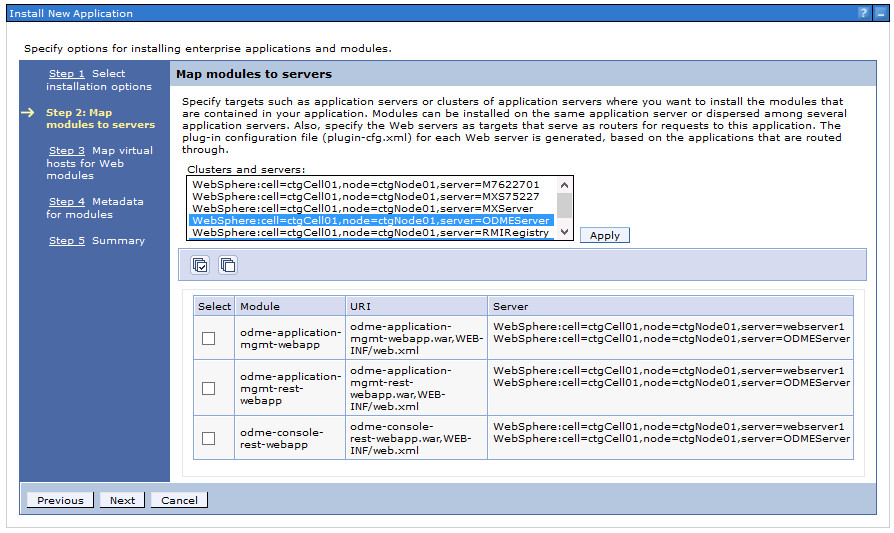
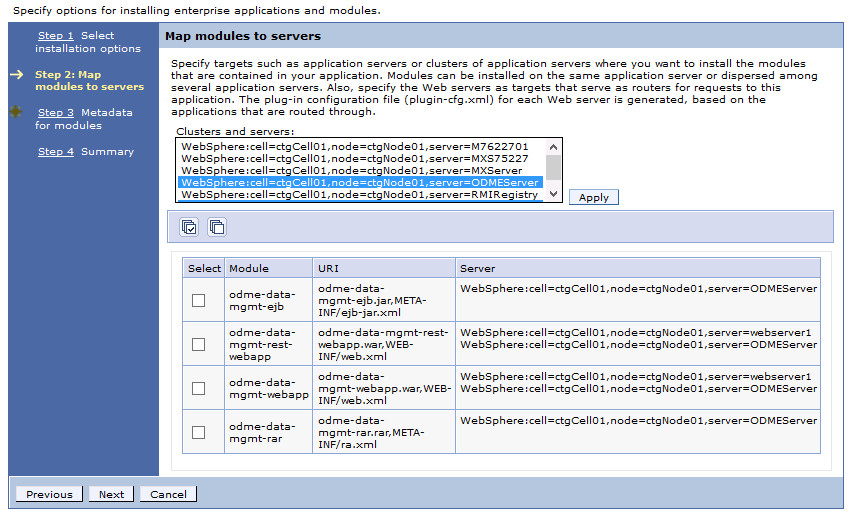
At Map modules to servers, map all modules both to the web server (default webserver1) and the application server (default ODMEServer).
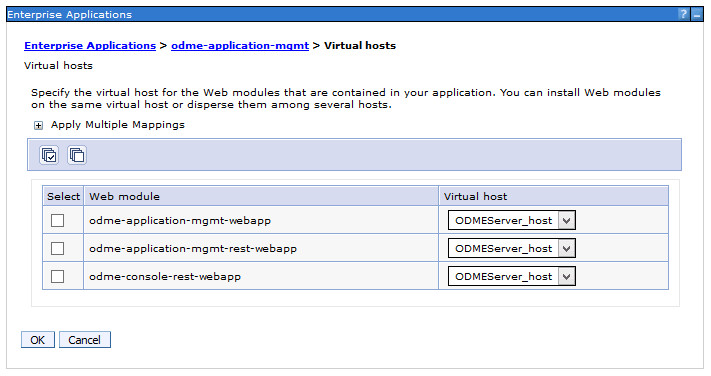
 At Map virtual hosts for web Modules, map all modules to the previously-created virtual host.
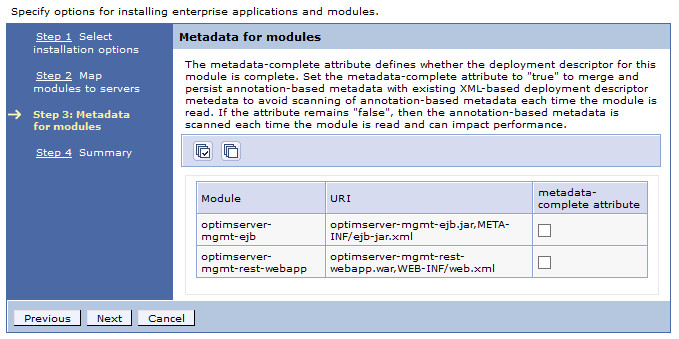
 At Metadata for modules, leave both boxes unchecked and click Next.
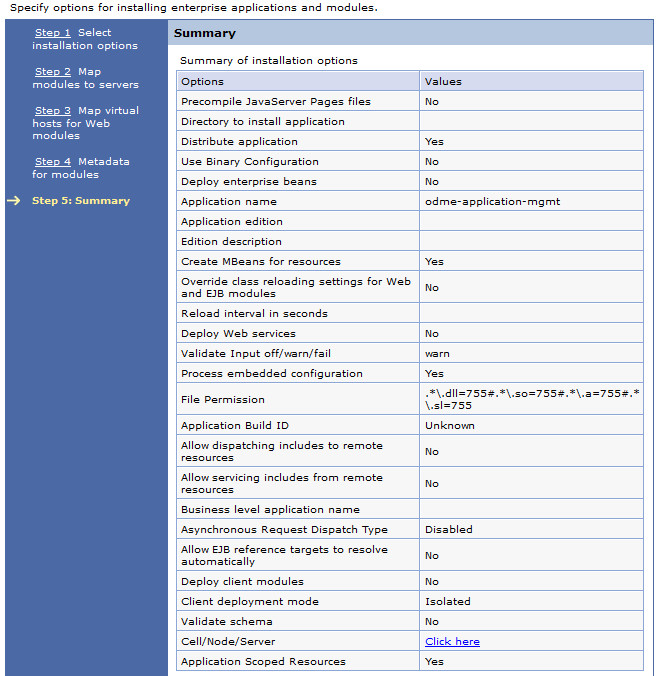
 At Summary, click Finish.
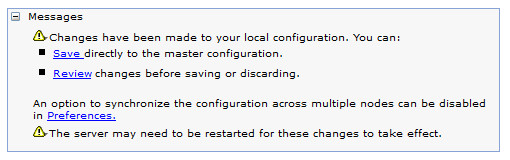
When it completes, Save directly to the master configuration.

Deploy and Configure the Data Management EAR
Click Install. Select the odme-mgmt-ear.ear file from the Decision Optimization Center Server installation directory (\ILOG\ODME38\Server\server\ears).
 Click Open.
 With Fast Path selected, click Next.
 At Select installation options, click Next.
At Map modules to servers, map the ejb and rar modules to the application server (default ODMEServer). Map the webapp modules to ODMEServer and to the web server (default webserver1). Click Next.
 At Metadata for modules, leave both boxes unchecked and click Next.
 At Summary, click Finish.

When deployment completes, Save directly to the master configuration.

Deploy and Configure the Job Management EAR
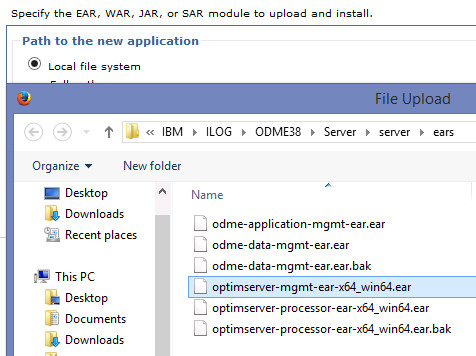
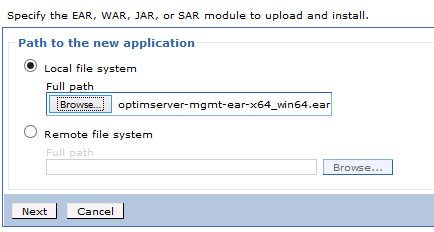
In Applications > Application Types > Enterprise Applications, click Install. Select the optim-server-mgmt-ear-x64_win64.ear (or the Linux or AIX® version of the module) file from the Decision Optimization Center Server installation directory (\ILOG\ODME38\Server\server\ears).
 With Fast Path selected, click Next.
 At Select installation options, click Next.
At Map modules to servers, map the optimserver-mgmt-webapp and optimserver-mgmt-rest-webapp to the web server and the application server that will be serving the requests from the Decision Optimization Center Studio clients.
Map the optimserver-mgmt-ejb to the application server only. Click Next.
 At Metadata for modules, leave both boxes unchecked and click Next.
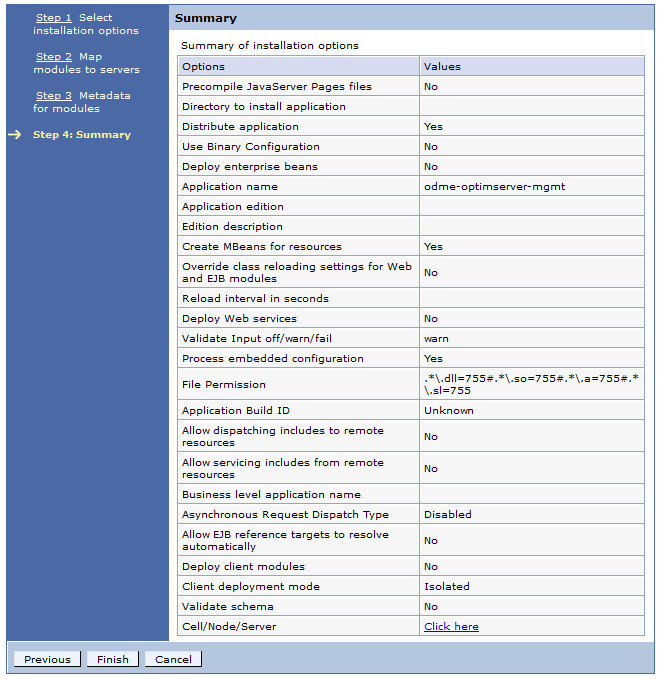
 At Summary, click Finish.
 Click Save directly to the master configuration.

Deploy and Configure the Job Processor EAR
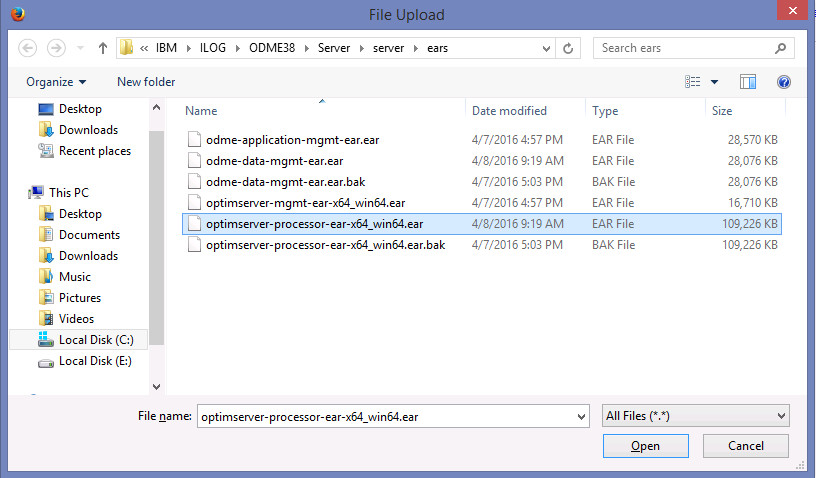
In Applications > Application Types > Enterprise Applications, click Install. Select the optimserver-processor-ear-x64_win64.ear (or the Linux or AIX® version of the module) file from the Decision Optimization Center Server installation directory (\ILOG\ODME38\Server\server\ears). If you are connecting to Oracle database or SQL Server, make sure that the odme-data-mgmt-ear.ear and optimserver-processor-ear-x64_[platform].ear are more recent, meaning that they contain the correct database drivers.
 With Fast Path selected, click Next.
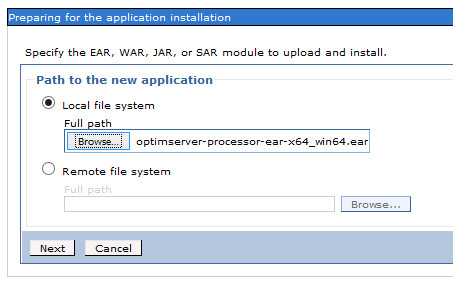
At Select installation options, click Next.
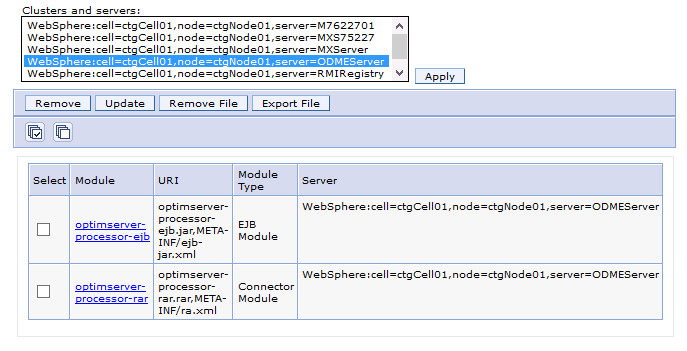
 At Map modules to servers, map both modules to the application server that will be serving the requests from the Decision Optimization Center Studio clients. Click Next.
 At Summary, click Finish.


Click Save directly to the master configuration.
You may need to regenerate the plug-in configuration for your web servers and to propagate it for the new /server context to be available. You can find a tutorial on how to generate the plug-in configuration in Guided Activities
Start the application and the servers to which it is deployed.
Access the URL
https://yourwebserver:port/odme/console/
You should be seeing the console page with two empty tables. This confirms the web application is correctly deployed and that it can correctly access the database. Shut down the application server.
Configure the Deployment Directory
Next, configure the deployment directory for Data Management and Job Processor. The user running the DOC server must have read/write rights to the directory you will be designating.
Under Application Types > Applications > Enterprise Applications, click on odme-data-mgmt.
Click Manage modules under Modules.
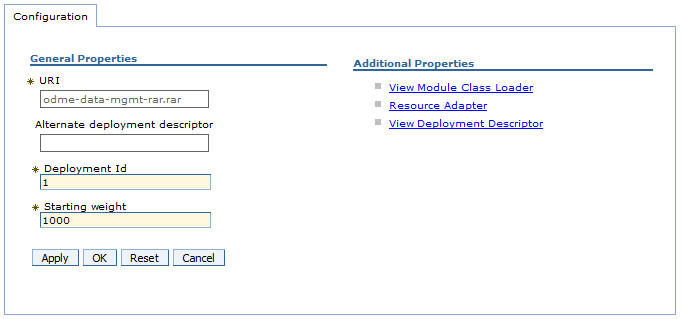
Click odme-data-mgmt-rar.rar. Under Additional Properties, click on Resource Adapter. Under Additional Properties, click on Custom Properties. Change the value of the property DeploymentDirectoryLocation to a fixed directory on the application server machine.
 Click OK, then Save directly to the master configuration.
Repeat these steps above for optimserver-processor-rar.
Update Virtual Host Mappings
Under Applications > Application Types > Enterprise Applications, click on odme-data-mgmt. Click on Virtual hosts. Change both values from default_host to your DOC server host (here ODMEServer_host)
 Click OK, then Save directly to the master configuration.
Repeat these steps for the Virtual hosts for the odme-optimserver-mgmt Enterprise application.
Update 10 Jan 2017
I removed a section called Add Security Role To User/Group Mapping. You do not have to map users or groups to the ODME applications.
Renamed blog post series to Installing and Configuring Optimizer for Maximo Scheduler 7.6
Only seventeen pages this time! Now for the last lap...
UID
ibm11113855