Technical Blog Post
Abstract
Installing Maximo 7.6 on Red Hat Enterprise Linux 6.6
Body
From Passport Advantage, download the Maximo Asset Management 7.6 installation files for your OS. There will be five: one for Maximo, one for DB2, and three for WebSphere. Go to Maximo Asset Management 7.6 and Maximo Asset Management Multitenancy 7.6, which lists file sets for each OS.
I moved all of the .tar.gz files from \root\DownloadDirector to a new directory (\root\instl) and expanded them there. I then pulled out everything from the five folders and put them into \instl. I deleted the folders and tar.gz files. This is what \instl looks like:
[root@mxsupportvm114 instl]# ls
autorun.inf     launchpad        launchpad.exe  SilentResponseFiles
CleanupScripts  launchpad64.exe  launchpad.ini  SystemRequirements
Install         launchpad64.ini  launchpad.sh

[root@mxsupportvm114 instl]# cd Install
[root@mxsupportvm114 Install]# ls
ConfigToolRepository         mwi_madt_DB2v10.5.0.4_images
IM                           mwi_madt_WASv8.5.5.3_images
imLauncherLinuxRecord.sh     MWInstallerRepository
imLauncherLinux.sh           ProductInstallerRepository
imLauncherWindows.bat        TPAEInstallerRepository
imLauncherWindowsRecord.bat
[root@mxsupportvm114 Install]#
Being impetuous, I just ran the installer.
Some familiar looking screens.

Sure, let's install it all. Click Next.

Click Next.
Looking good.

Whoops.

Let's check the other two prerequisite failures.

and

...
Um, yeah. I did not read the manual and see where I am now.

Now looking at the installation guide, I checked the Linux requirements.
- Locate the libstdc++.so.5, libstdc++.so.6, and libaio.so.1 libraries in the /usr/lib64/ directory
- libstdc++.so.5 - not there, searched for library name on the web, then ran yum install compat-libstdc++-33.i686.3.2.3-69.el6
- libstdc++.so.6 - installed
- libaio.so.1 - not there, searched for library name on the web, then ran yum install libaio.i686 0:0.3.107-10.el6
- Ensure that you have the libstdc++33-32bit-3.3.3-11.9.x86_64.rpm package installed. I didn't know how to find that, so I searched how to find it.
- [root@maxesxbvt2 instl]# rpm -qa compat-libstdc++-33compat-libstdc++-33-3.2.3-69.el6.i686
- I had already installed compat-libstdc++-33.i686.3.2.3-69.el6, so, again using yum, installed compat-libstdc++-33.x86_64
- Temporarily disable SELinux by using the setenforce 0 command
- [root@maxesxbvt2 Desktop]# setenforce 0
- Setting the ulimit
- This took a a little while. First, I tried this:
- 1. From a command line, type ulimit -f unlimited
- 2. From a command line, type ulimit -n 8192
It didn't work. I did a little more digging, specifically for my distro (RHEL 6.6).
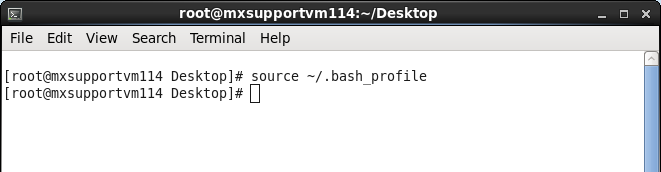
Modified ~root/.bash_profile to add those values and saved

Ran
... well, that didn't work.
Logged out as root, logged in again. That worked. Your mileage may vary.
When I started the installer up again, it passed all prerequisites except for this one (which I should have noticed before!)

Using Add/Remove Software, I searched for ksh, and installed the original ATT KornShell (I could also have run yum install ksh.x86_64).
Let's go through a few screens here. The interface doesn't look different than running the Installer in Windows.
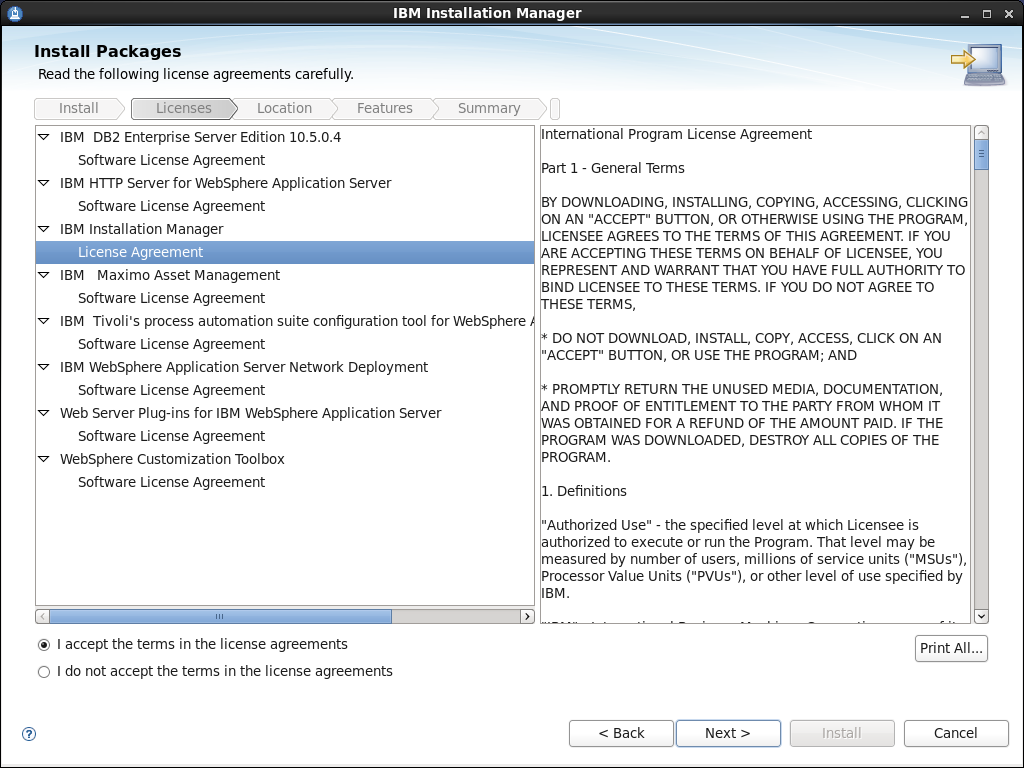
License terms. Click Next.
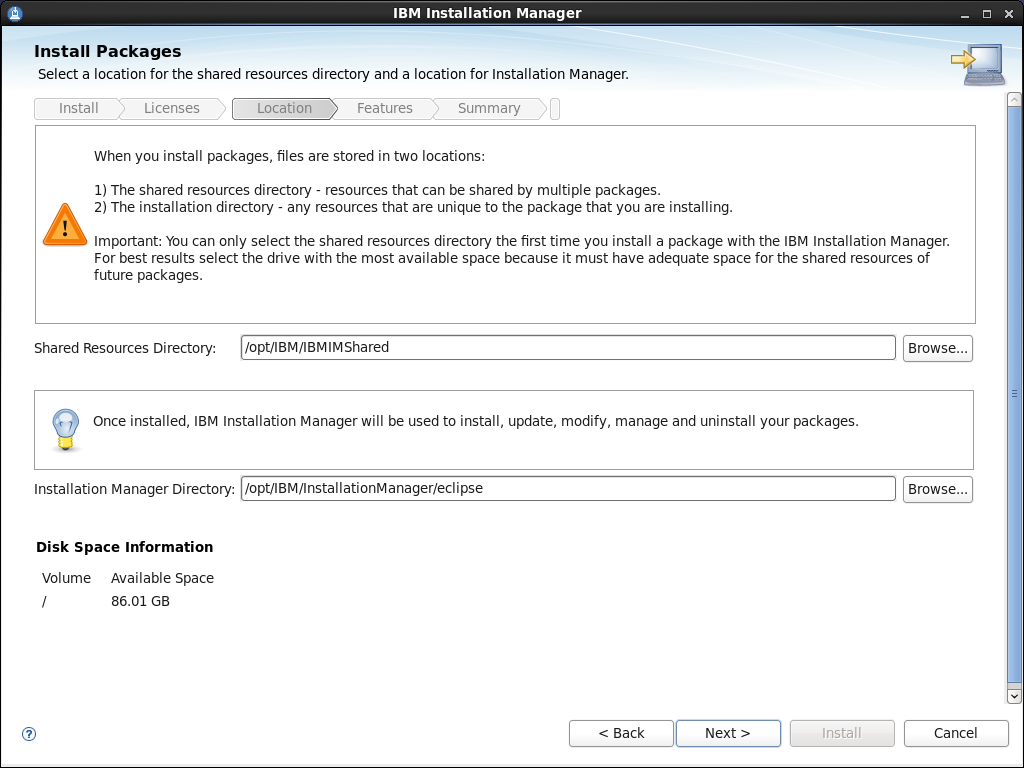
Install Locations. Click Next.

More Install Locations. Click Next.
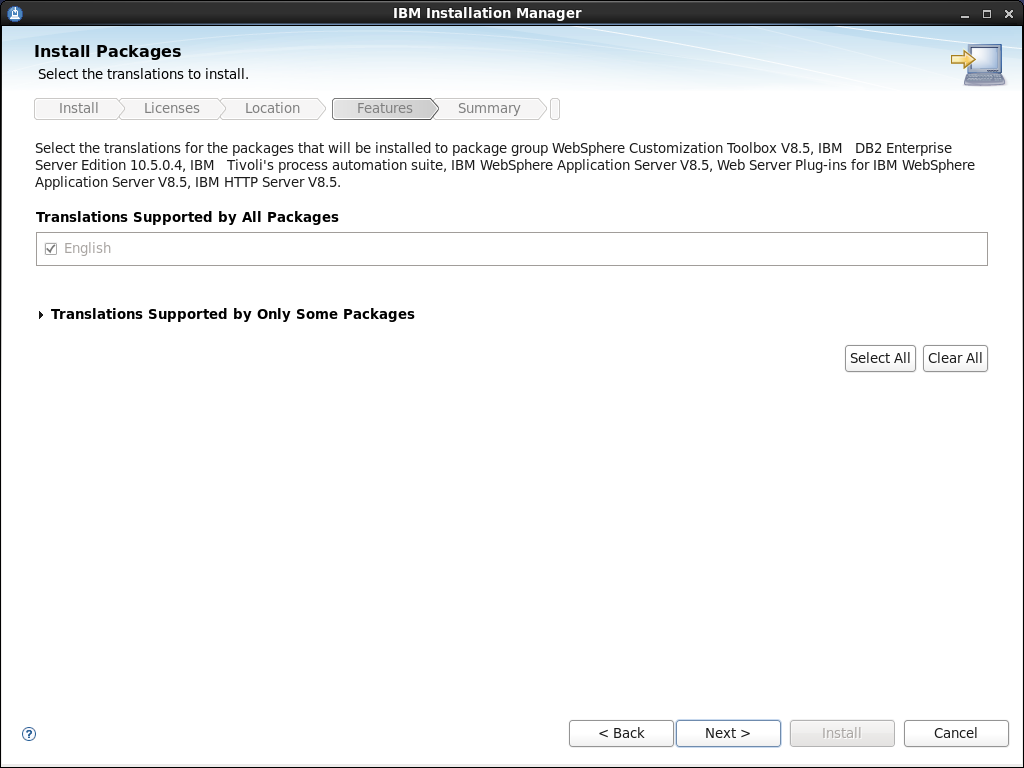
Installation features. Click Next.

More on Install features. Click Next.
Now, watch out on this next screen. I am not using a complex password for DB2. This means that later I cannot use a restrictive policy when configuring application security. I'll show it again there.

Duly noted. Click Next.

HTTP port looks good... for those installing this to the same server as Microsoft IIS, it cannot be port 80. Next >

and all looks good. Click Install. Eighteen minutes later...
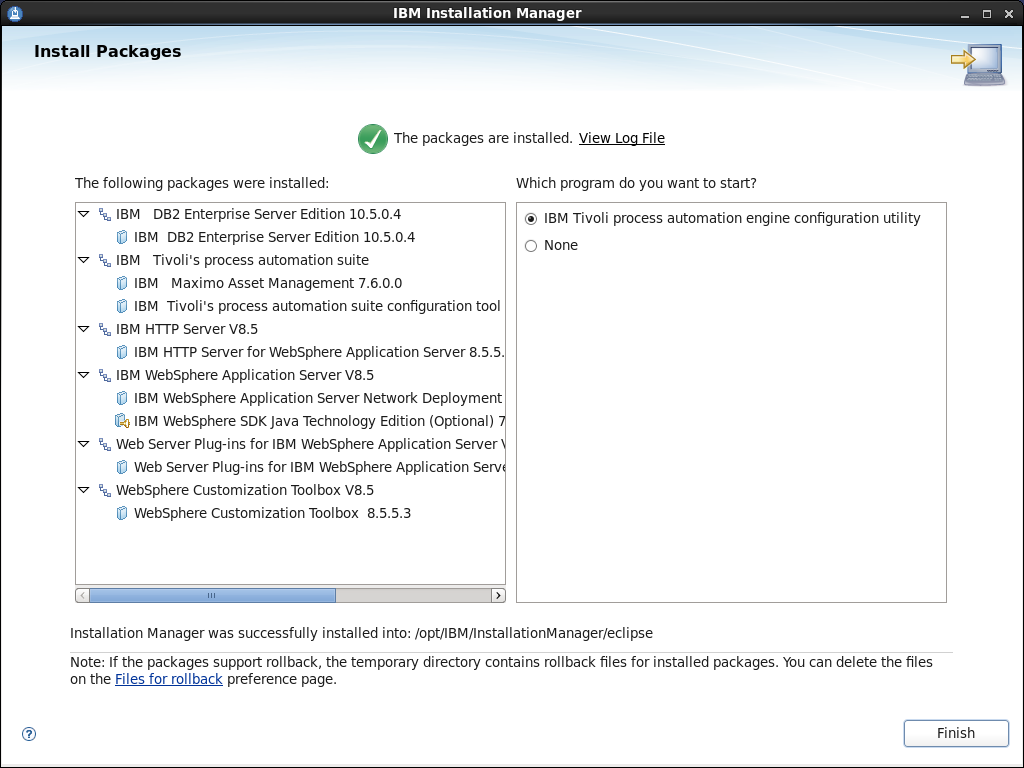
The packages are installed!
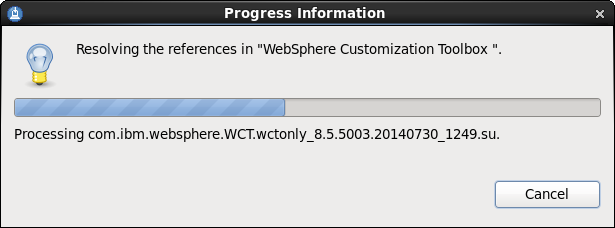
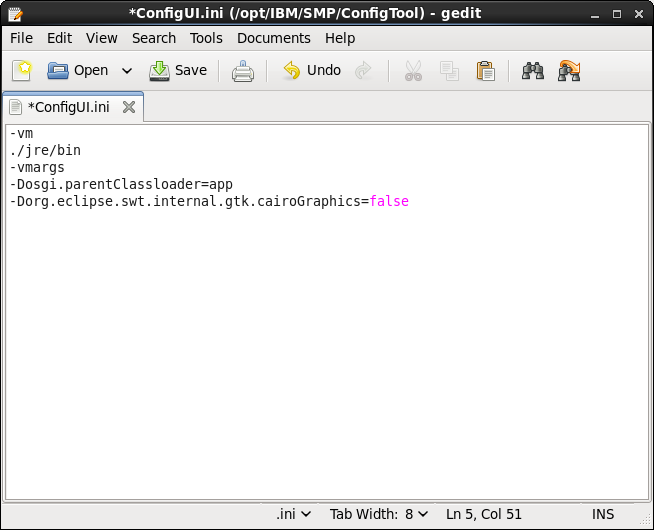
Once WebSphere, DB2 and Maximo were installed, I launched the Configuration Tool, clicked on Prepare WebSphere Application Server for configuration.

After a couple of seconds, you get a Java error message:

We have a technote for this error. I. modified the /opt/IBM/SMP/ConfigTool/ConfigUI.ini file:
Now, let's complete WebSphere configuration.
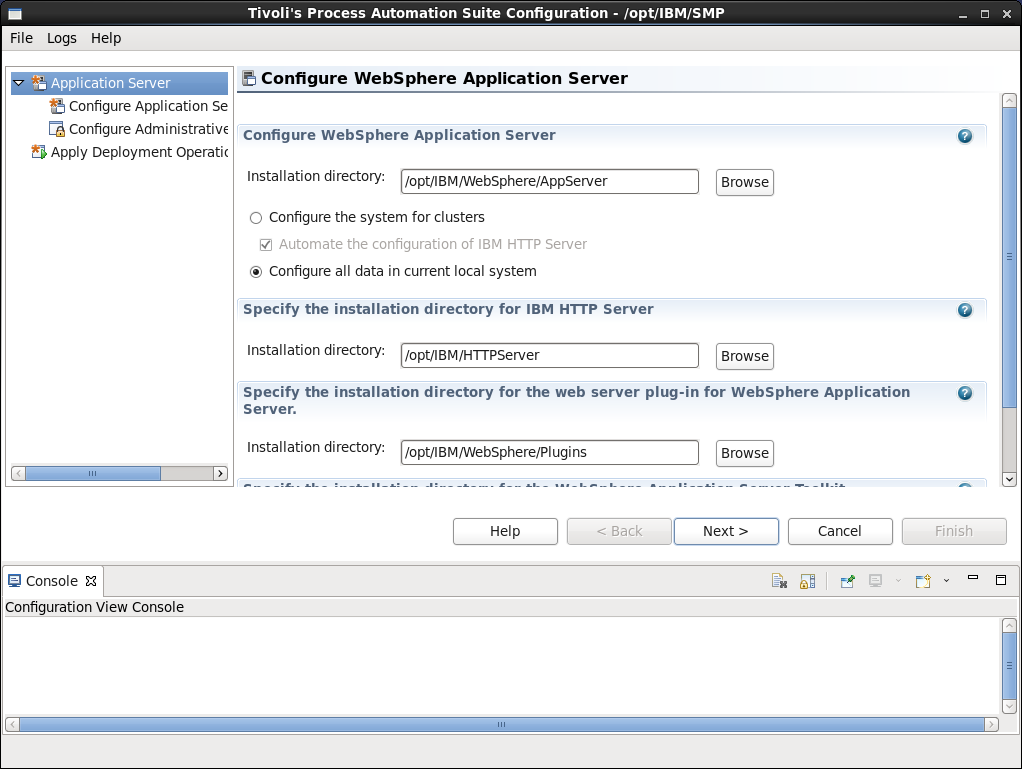
Installation locations. Click Next.

Port, application server profile and administrative user information. Click Next.

Configure Administrative Security. Click Next.
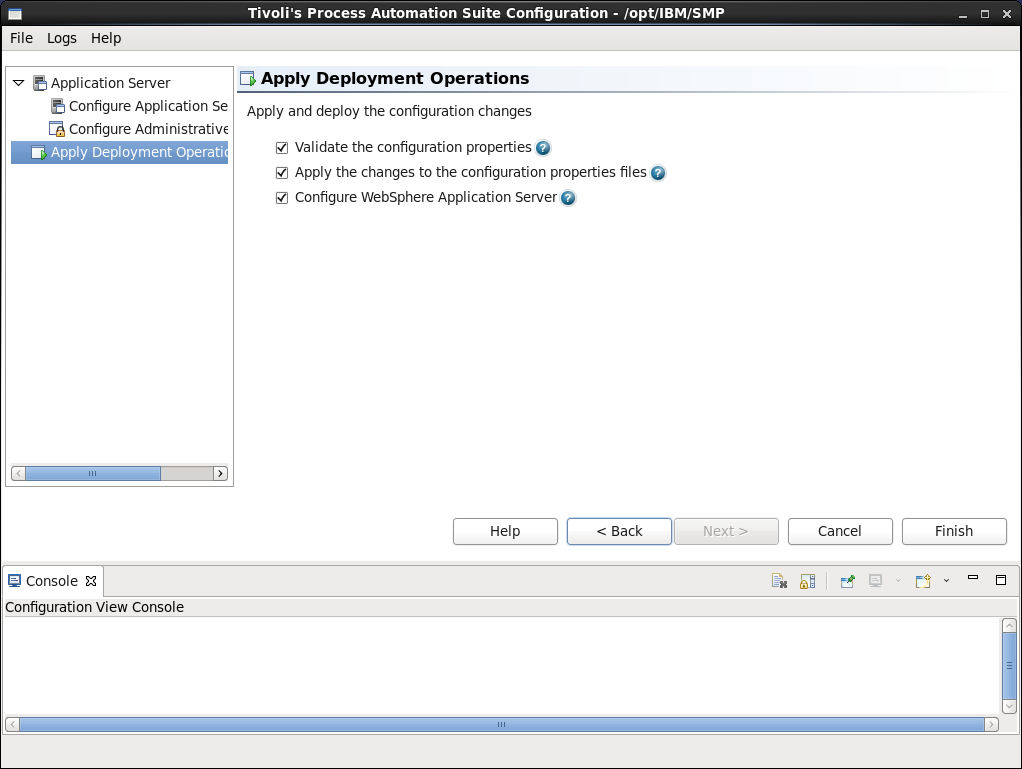
Apply deployment operations. Finish.

and wait...
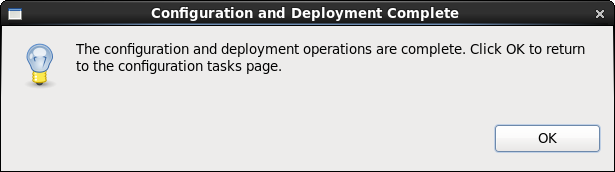
and complete! Click OK.
Back to the Configuration Tool screen. Now, configure a new deployment.
 Clicked on Configure a new deployment

Configure general production information... You can (but are not required to) enter the workflow administrator email and SMTP server name here. Next>

Configure the DB2 instance. Click Next.

Configure the DB2 database. I enabled full text search here. Click Next.

Configure the Application server. Click Next.
And here is the place, fifteen screens later, where I have to remember what I set as a DB2 password. Having not used a complex password for DB2 earlier means that I cannot now require one now. (In case you're wondering, it's in the area

I must leave Enable restrictive password policy cleared. Click Next.

Configure base language. Click Next.

Add additional languages. Click Next.
Now, just to test whether all of these options will work, I clear everything except Validate the configuration options.


Configuration options successful! Note the message. Click Yes. Go back to Apply Deployment Operations and check all of the boxes.

One hour and six minutes later...

Success!
Now let's log in to Maximo.

And we have a go.
After a few more (mostly successful) Linux installations, I edited my punch list down to the following. Since every environment is different, your mileage may vary.
Server Setup and Maximo Download
1. Install Linux.
2. Log in as root.
3. Install Firefox, if not already installed.
4. Download and install latest Java JRE and add it to Firefox.
5. From IBM Passport Advantage, download the files for your OS: see this download technote.
6. Expand the directories into a single directory at the root - \root\instl
OS Configuration
7. Red Hat Linux package installations
yum install compat-libstdc++-33.x86_64

 yum install compat-libstdc++-33.i686

 yum install libaio.i686

 yum install ksh.x86_64
8. Modify ulimit
Modify ~root/.bash_profile to add
 ulimit -f unlimited

 ulimit -n 8192
Save the file.
Log out and log back in again (still as root).
9. Temporarily disable SELinux
From terminal window, run setenforce 0.
10. Firewall settings - I did not include this in my run through above, but they are in the Installation guide.
Configure the firewall to allow:
WWW (HTTP) 80/tcp
Secure WWW (HTTPS) 443/tcp
and WebSphere ports:
MXServer WC_defaulthost_secure port (default first port 9443) 9443/tcp
MXServer WC_defaulthost port (default first port 9080) 9080/tcp
WebSphere secure console port (Deployment manager WC_adminhost) 9043/tcp
WebSphere console port (Deployment manager WC_adminhost_secure) 9060/tcp
WebSphere Deployment manager SOAP port 8879/tcp
Install Maximo Asset Management
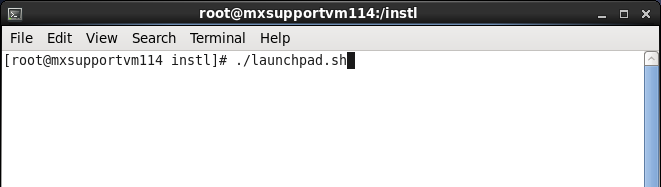
11. Start Launchpad
Start terminal in \root\instl\
Run ./launchpad.sh
Note: If you get CTGIN8264E : Hostname failure : System hostname is not fully qualified, modify /etc/sysconfig/network so that hostname is fully qualified. After making changing to the configuration file, restart the network service to load that file.
/etc/init.d/network restart
Issue hostname command to confirm changes made. You may have to log out and log in again (as root), or restart.
12. After products are installed but before you click Launch the Tivoli's Process Automation Suite configuration program--
Modify /opt/IBM/SMP/ConfigTool/ConfigUI.ini
Add -Dorg.eclipse.swt.internal.gtk.cairoGraphics=false
Save the file.
UID
ibm11111347