Technical Blog Post
Abstract
Introduction to the new Sterling B2B Integrator REST API (Part 1)
Body
Sterling B2B Integrator 5.2.6.1 introduced a new REST API interface to provide support for the recently released Partner Engagement Manager (formerly Multi-Enterprise Relationship Management (MRM)). The REST API provides a more efficient mechanism for onboarding trading partners and in the first of this two part blog I will show how to install and prepare the Sterling B2B Integrator REST API environment and how to access the Web Service Browser.
Installation
The b2biAPIs_1000601.jar file can found in the "packages" directory created after the installation media file "Media_IM_5020601.zip" has been unzipped.
As with other Sterling B2BI packages the REST API is installed using the InstallService command
After the service has been installed successfully a new WebSphere Liberty Profile server will be added and configured to listen on SB2BI base ports +74 and +75.
The configuration for the WLP server can be found in the "server.xml" file in the following directory path.
<SB2B install path>/liberty/wlp/usr/servers/SIServer
The httpEndpoint defines the host/IP Address that the REST API server will listen on and may need to be changed to allow remote access. It also defines the ports used for the HTTP and HTTPS listeners.
<httpEndpointid="defaultHttpEndpoint"
host="mwca.dyndns.org"
httpPort="5074"
httpsPort="5075"/>
By default the HTTPS listener will only support connections using TLSv1.2, you you are using older browsers or will be coding a REST application that does not support TLSv1.2, the protocol can be amended accordingly, e.g TLSv1.0.
<keyStoreid="defaultKeyStore"password="Liberty"></keyStore>
<sslDefaultsslRef="defaultSSLSettings"/>
<sslid="defaultSSLSettings"
keyStoreRef="defaultKeyStore"
sslProtocol="TLSv1.2" />
Once the WLP server configuration is complete SI will need to be restarted, at the completion of which a new message will be displayed indicating that the SIServer has started successfully.
It's always worth while doing a netstat the first time just to be sure that the listeners are active.
At this point the REST API server should be running and available to process requests.
Accessing the Web Service Browser
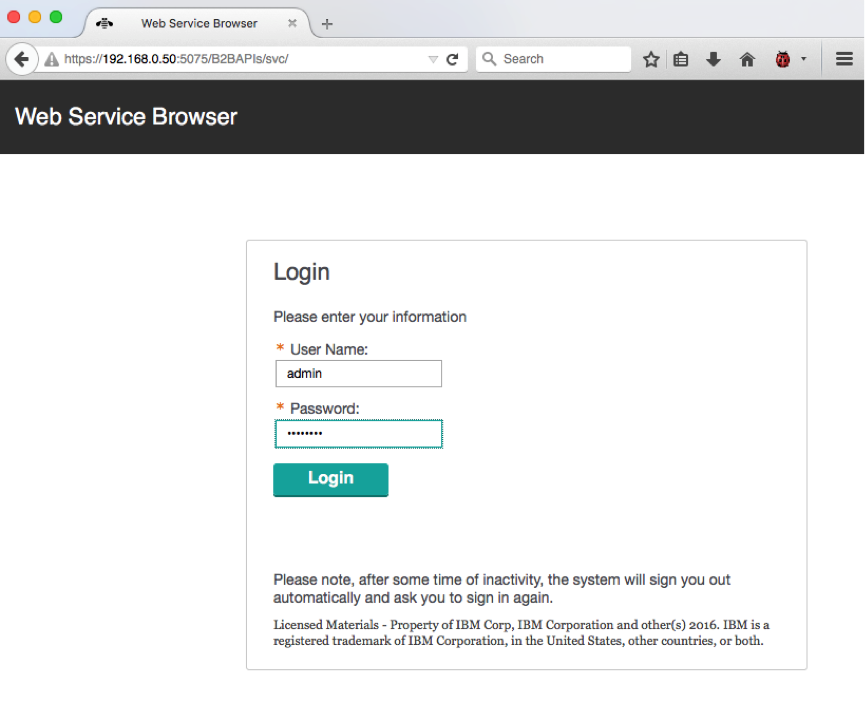
The Web Service Browser allows access to the SB2BI REST API and Interactive Console and can be can be accessed using the URL /B2BAPIs/svc/, e.g.
https://192.168.0.50:5075/B2BAPIs/svc/
Ideally you should configure a separate API user that does not have super-user rights. If you attempt to login with a user that does have super-user rights you will receive an error.
If you do want to allow super-users to access the REST API services you can edit the following property in the "b2bAPIs.properties.in" file, run "setupfiles" and restart the SB2BI service.
## PROPERTY_START
## PROPERTY_NAME: user.allowSuperUserAccess
## PROPERTY_TYPE: String
## PROPERTY_DESCRIPTION
## Marks if super users should be authenticated. By default value is false and super users are not allowed in.
## PROPERTY_END
user.allowSuperUserAccess=true
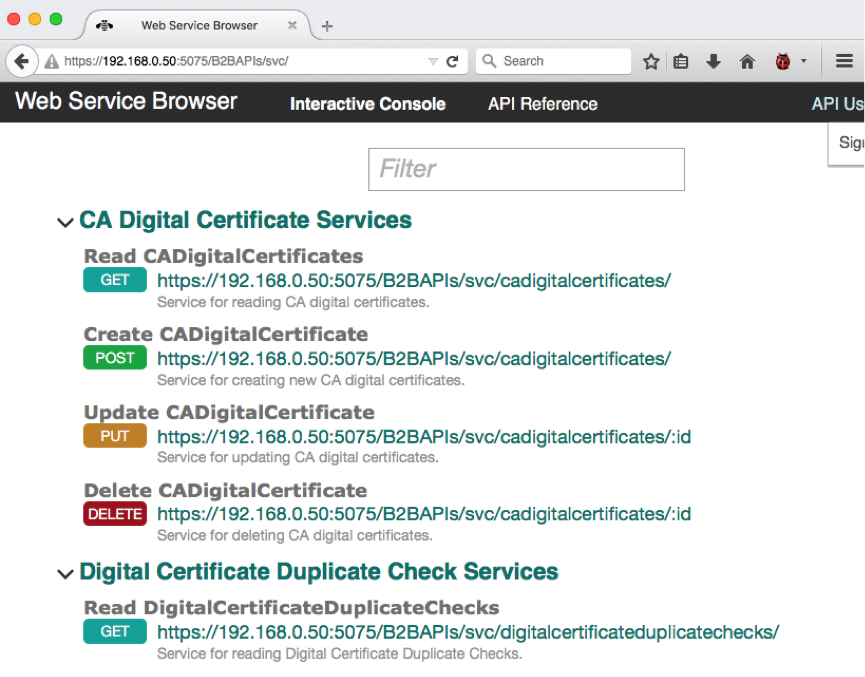
When a user is authenticated to the Web Service Browser a list of all available REST API's is displayed in the Interactive browser
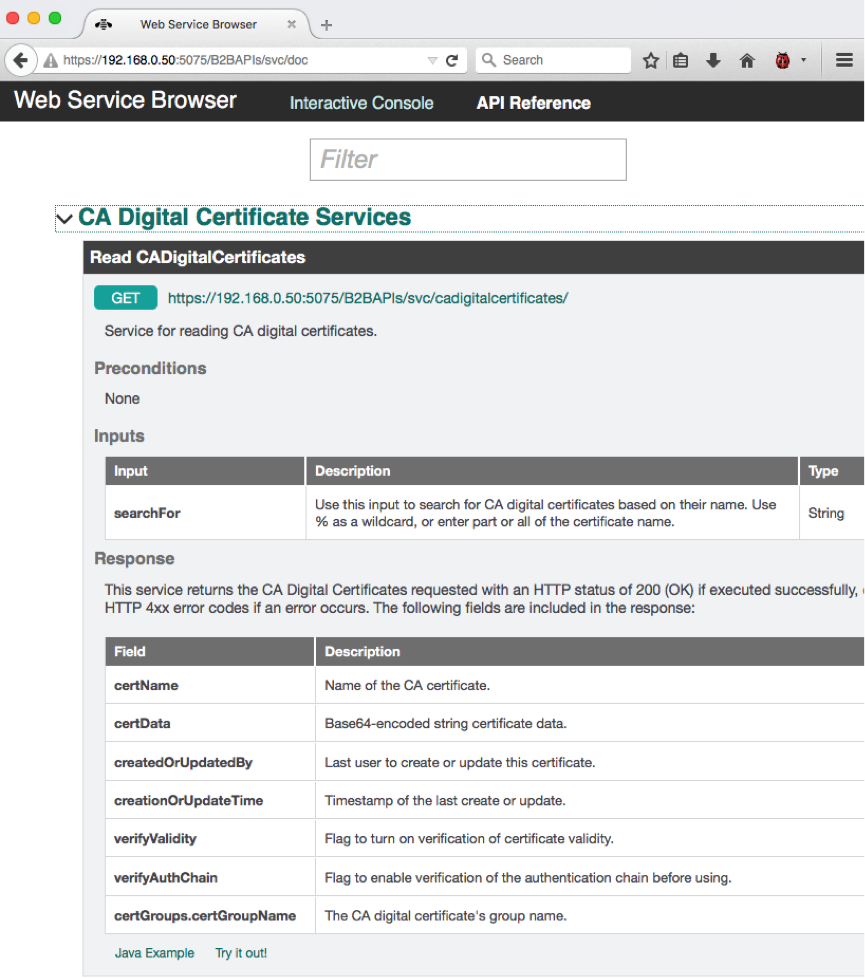
Alternatively the API Reference view can be chosen to display the detailed Request and Response information for a specific REST service call.
Working with the Interactive Console
While the "API Reference" view provides detailed information of each REST API request, the "Interactive Console" allows for testing the API calls in real-time and is particularly useful during development of a REST API application.
By selecting one of the REST API services we are able to execute the Web Service call and view the returned data.
For example executing the "SSH Authorized User Keys" returns all the available keys from the SB2BI store
We can also modify the call to return the information in a different format and the data attributes to return.
For example return just the Key id, name and finger print of all the SSH User keys in XML format.
As for simple retrieve calls the Interactive Console can be used to create SB2BI content.
In the following example a new SSH Authorized User key is being added. Fields marked with a red asterisk are required content and in this case the Key name contains the name of the key that is stored in SB2BI and key data the actual user SSH Public key. As the data is added to the Input fields the REST Request is built and displayed below. When all fields are completed you can click the "Submit" button to execute the request.
Upon completion the Response is displayed and in this case a 400 code was returned indicating a problem and the error description indicates that the key data could not be passed.
The reason for this is that nearly all fields that contain Keys or Certificates require the data to be Base 64 encoded first.
This is highlighted in the Input description
A utility such as the Unix "base64" can be used to encode the data as required which can then be cut and pasted in the Interactive Console API field
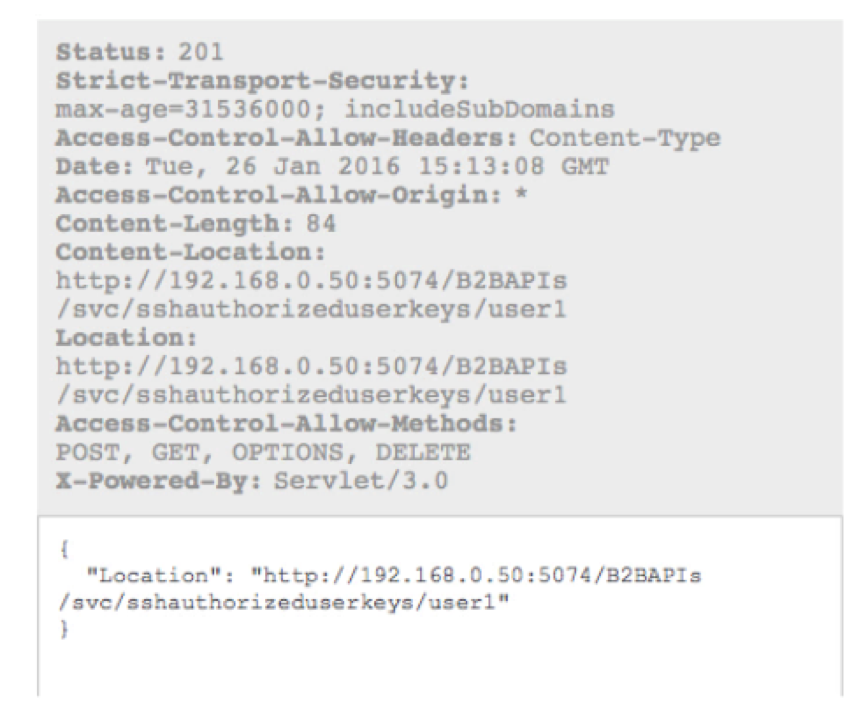
After replacing the Key data with the correctly encoded data the response received is a successful HTTP 201 code.
A quick check of the SB2BI Authorized User Key store confirms that the new user key was indeed added as expected.
This concludes Part 1 and hopefully I've shown how easy it is to install and set-up the SB2B REST API server as well as access and work with the Interactive Console through the Web Service Browser.
In Part 2 I will look coding a simple Java REST Client that will onboard a trading partner and permit them access to upload data to a Mailbox.
References
Introduction to the new Sterling B2B Integrator REST API (Part 1)
Introduction to the new Sterling B2B Integrator REST API (Part 2)
http://www-03.ibm.com/software/products/en/partner-engagement-manager
UID
ibm11121607


