Fix Readme
Abstract
This document contains guidance for installation of the IBM InfoSphere Information Server 11.7.1.4 Service Pack 1 and Service Pack 2 upgrade packages available on IBM Fix Central.
Content
Table of Contents
1) Introduction
2) Using a password or passwordless SSH for installation
3) Downloads and pre-Upgrade steps
4) Installation of an 11.7.1.4 Service Pack
4.1. Instructions for upgrading Information Server in the GUI mode of the Update Installer
4.2. Instructions for upgrading Information Server in the Console mode of the Update Installer
5) Post upgrade actions
1) Introduction
The IBM InfoSphere Information Server 11.7.1.4 Service Pack ispkg images are available for upgrading of Information Server version 11.7.1.4 installations. The steps for installing an Information Server 11.7.1.4 Service Pack depend on whether the Microservices tier is installed.
Requirements for installing an 11.7.1.4 Service Pack:
- You must install Information Server version 11.7.1.4.
- If you have a Microservices tier, it must be at the same version as the other tiers, and all pods must be up and running.
2) Using a password or passwordless SSH for installation
- A user with root privileges on the master node.
- Passwordless SSH is set up for the installation user between the Information Server host and the master node.
- Passwordless SSH is set up for the root user between the master node and itself.
During the installation of an Information Server 11.7.1.4 Service Pack, you can continue to use your current setup; no changes are needed to facilitate the installation.
However, you might want to take advantage of newly added features in the installer:
See the next section for details.
2.2) Installation modes available when the Microservices tier is upgraded.
You have four installation modes to choose from, during upgrade of the Microservices tier:
In this case, you do not have to set up passwordless SSH from the Information Server host to the master node.
However, for a multiple-node environment, you must set up passwordless SSH for the root user from the master node to the worker nodes.
The specified nonroot user must have sudo privilege with NOPASSWD enabled.
In this case, you do not have to set up passwordless SSH for the installation user from the Information Server host to the master node.
For a multiple-node environment:
ii. You must set up passwordless SSH for the specified nonroot user from the master node to the worker nodes.
You must set up passwordless SSH for the installation user from the Information Server host to the master node.
For a multiple-node environment, passwordless SSH must also be set up for the root user from the master node to the worker nodes.
The specified nonroot user must have sudo privilege with NOPASSWD enabled.
You must set up passwordless SSH for the installation user from the Information Server host to the master node.
For a multiple-node environment:
i. The specified nonroot user must be set up in the same manner on all nodes.
ii. Passwordless SSH must also be set up for the specified nonroot user from the master node to the worker nodes.
a. If the file /root/.ssh/id_rsa.pub does not exist, create the SSH Keys with the following command:
> ssh-keygen -f /root/.ssh/id_rsa -q -N ""
b. Copy the SSH public key to the Microservices Tier node with the following command:
> ssh-copy-id -i /root/.ssh/id_rsa.pub root@<enterprise search="" node="">
c. Validate the root passwordless SSH connection to the Microservices Tier node with the following command:
> ssh root@<enterprise search="" node=""> hostname
A nonroot user with sudo privileges can be set up for passwordless SSH in the same manner.
3) Downloads and pre-upgrade steps
1. Before any of your systems are patched with a 11.7.1.4 Service Pack, you must take backups:
- 11.7.1 documentation
- 11.7 documentation
The listed documentation includes information for backup of the microservices tier.
3.1) Download the latest Update Installer
Update the Update Installer to the latest (11.7.1.125 or later):
3.1.1) On the Information Server host, download the latest Update Installer.
3.1.2) In the document, Updating IBM InfoSphere Information Server, Version 11.7, and installing additional products, under Version 11.7, click the link installing_fixes_fixpacks_updates117.html.
3.1.3) See section “Installing a new version of the Update Installer before installing an update, fix, or patch” for the steps to extract the new Update Installer and run updateImage.sh.
If you used the default directory for Information Server, the Update Installer is installed in /opt/IBM/InformationServer/Updates/bin.
3.2) Download the 11.7.1.4 Service Pack images
You must download the following images from IBM Fix Central depending on your installation choices.
For more information on locating the images, see the Download document for Service Pack 2 (Download document for Service Pack 1).
3.2.1) On the Information Server host, download, and extract the Information Server 11.7.1.4 Service Pack ispkg image from IBM Fix Central.
For example, servicepack_11.7.1.4_SP2_linux64_11714.tar.gz
Note:
1. Set your umask to 022 before the image is extracted.
2. Unpack the file to get the ispkg and readme files.
3.2.2) On the Microservices tier, download the ISES Image for Information Server 11.7.1.4 Service Pack 2 from IBM Fix Central. Do not extract the file.
For Service Pack 2, servicepack_11.7.1.4_SP2_microservices_11714.tar.gz
4) Installation of 11.7.1.4 Service Pack
4.1) Instructions for upgrading Information Server in the GUI mode of the Update Installer
4.1.1) Login to the Information Server host. Change directory to <IS_HOME>/Updates/bin
For example, cd /opt/IBM/InformationServer/Updates/bin
4.1.2) Verify that the Update Installer version is 11.7.1.125 or later:
./installUpdates -version
4.1.3) Initiate the Service Pack install with the following command:
./installUpdates
This command launches the Update Installer in GUI mode.
4.1.4) Provide information as required in each panel to complete the installation.
Click Login.

4.1.5) Review the System requirements, Release Notes, and Planning information.
Click Next.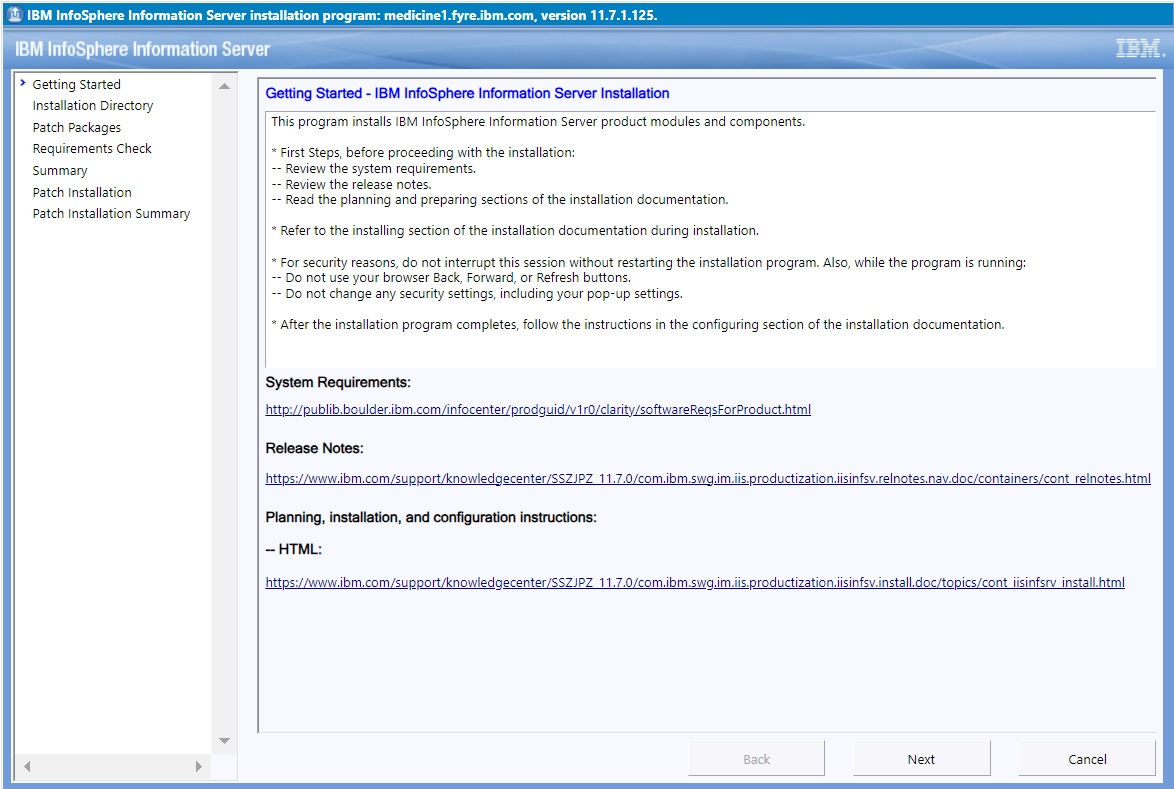
4.1.6) The Update Installer displays the Information Server installation directory.
Click Next.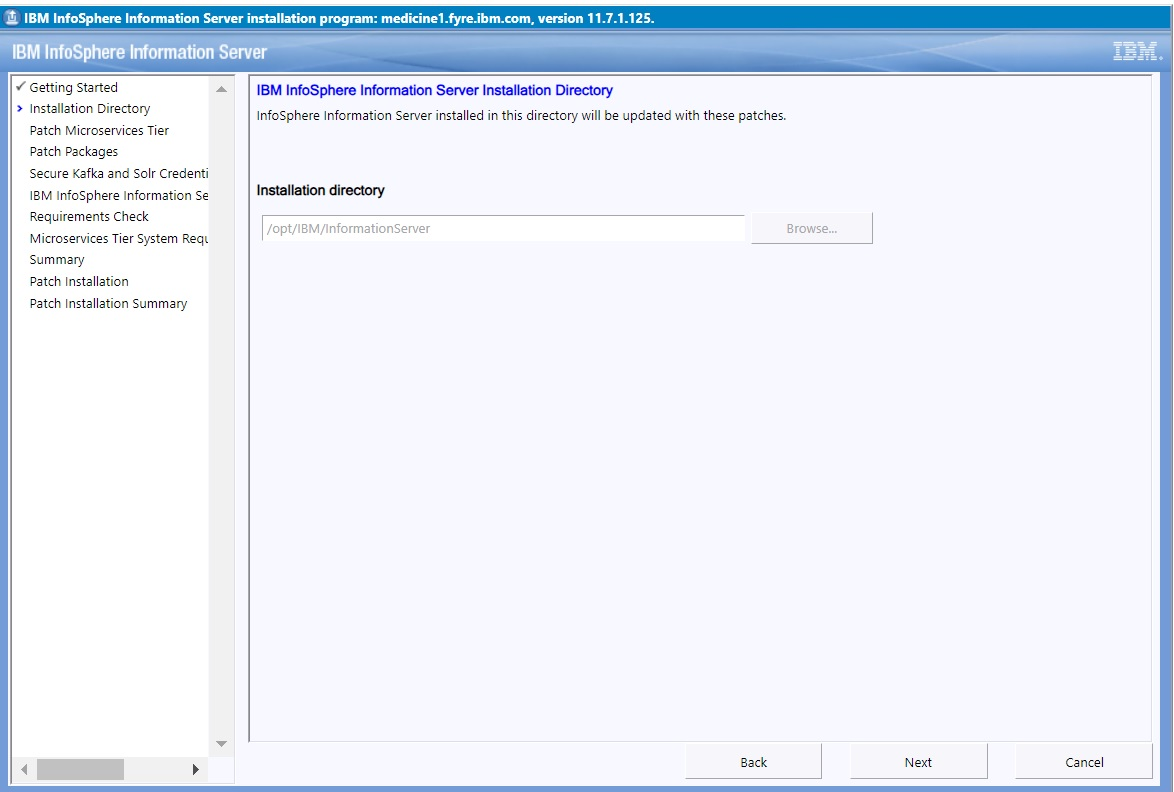
4.1.7) If you do not have a Microservices tier, skip forward to step 4.1.8.
Note: Information on adding a Microservices tier to 11.7.1.4 Service Pack 1 or 2 can be found in technote 6241456.
4.1.7.1) You can choose whether to upgrade the Microservices tier during the installation of a 11.7.1.4 Service Pack.
Note the following requirements for upgrade:
1. The Microservices tier must be at the same version as the other tiers.
2. All pods must be up and running.
You can check the status of the pods by running the following command:
kubectl get pods --all-namespaces
4.1.7.2) If you do not want to upgrade the Microservices tier now, check the "Skip patching of Information Server microservices tier" checkbox.
Click Next and skip forward to step 4.1.8.
Information on later upgrading your Microservices tier with a 11.7.1.4 Service Pack can be found in technote 6241456.
4.1.7.3) To upgrade the Microservices tier:
a. Deselect the "Skip patching of Information Server microservices tier" checkbox.
b. Specify a fully qualified domain name for the Master Node Host.
c. Specify the same User as was used during the initial installation of the Microservices tier.
d. For more information on "Authenticate with a password", see section 2.2.
e. If you specify a nonroot user, in /etc/security/limits.conf, the hard and soft setting of nofile and nproc for the specified user must be 10240.
Also, umask must be set to 022 in ~/.bashrc.
Click Next.

4.1.8) In the list of "Packages to be installed", select the 11.7.1.4 Service Pack 2 ispkg file you downloaded from IBM Fix Central.
Click Next.
4.1.9) If you have a Microservices tier, provide your existing credentials for Kafka and Solr (for example, solruser, solrpwd, and so on). The Update Installer creates the specified users in Kafka and Solr; they do not have to be an operating system user, Information Server user, or LDAP user.
Later, you can use the specified values for maintenance actions such as accessing the Solr Web UI.
Click Next.
4.1.10) Provide the location of the Information Server installation, the Administrator user name, and password. Accept the certificate and click Next.

4.1.11) On the System Requirements Check page, confirm that all system requirements are met, and then click Next.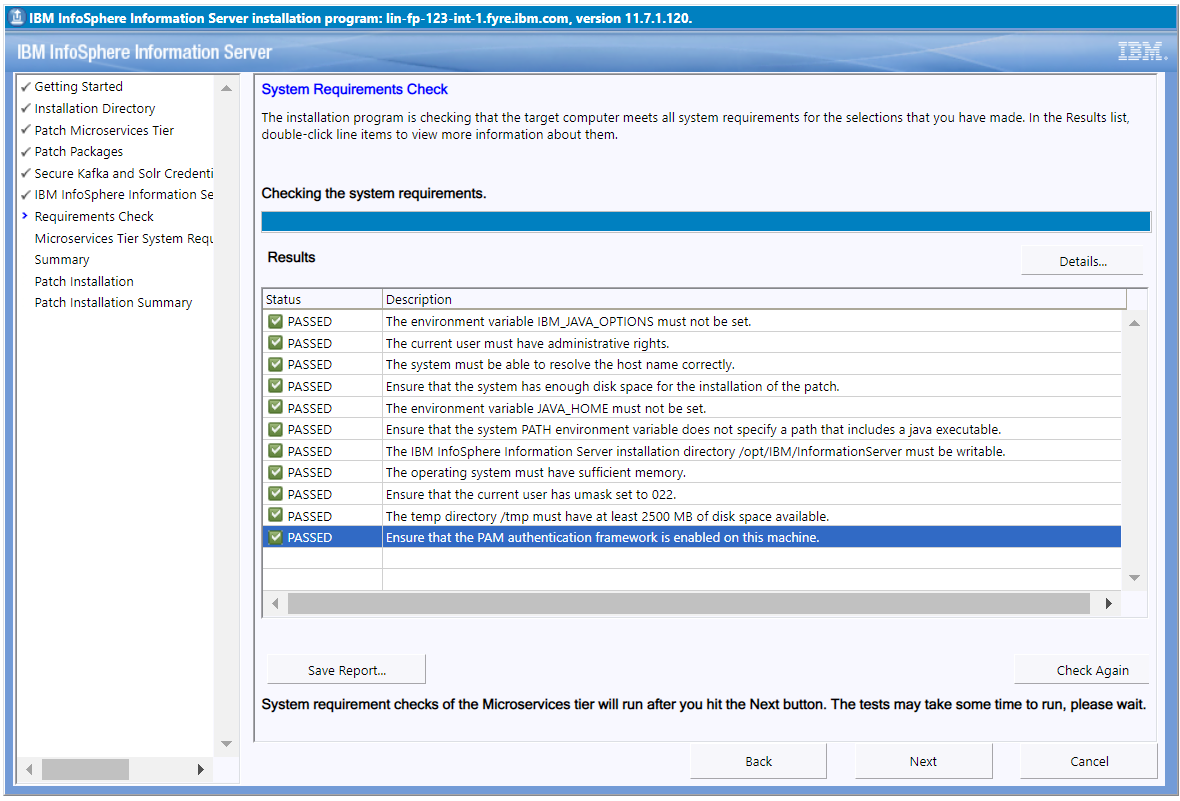
4.1.12) If you have a Microservices tier, examine the results from system requirement checks of the Microservices tier. If all is good, click Next.
4.1.13) Review the Preinstallation Summary and click the Install button to start the installation.
4.1.14) Click the Finish button after the installation completes.
4.1.15) Click “Advanced” followed by "Accept the Risk and Continue".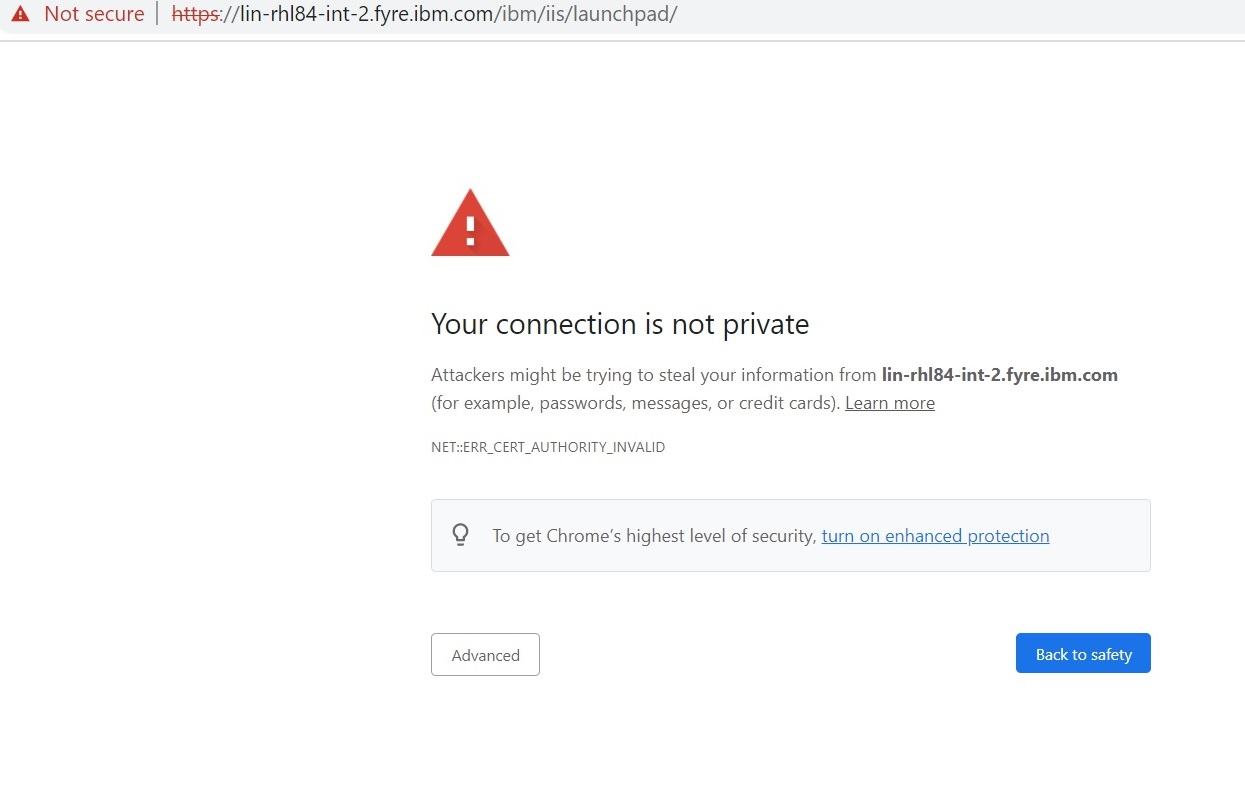
4.1.16) The Launchpad is displayed.
4.1.16.1) If you do not have a Microservices tier, the Information Server Launchpad is displayed.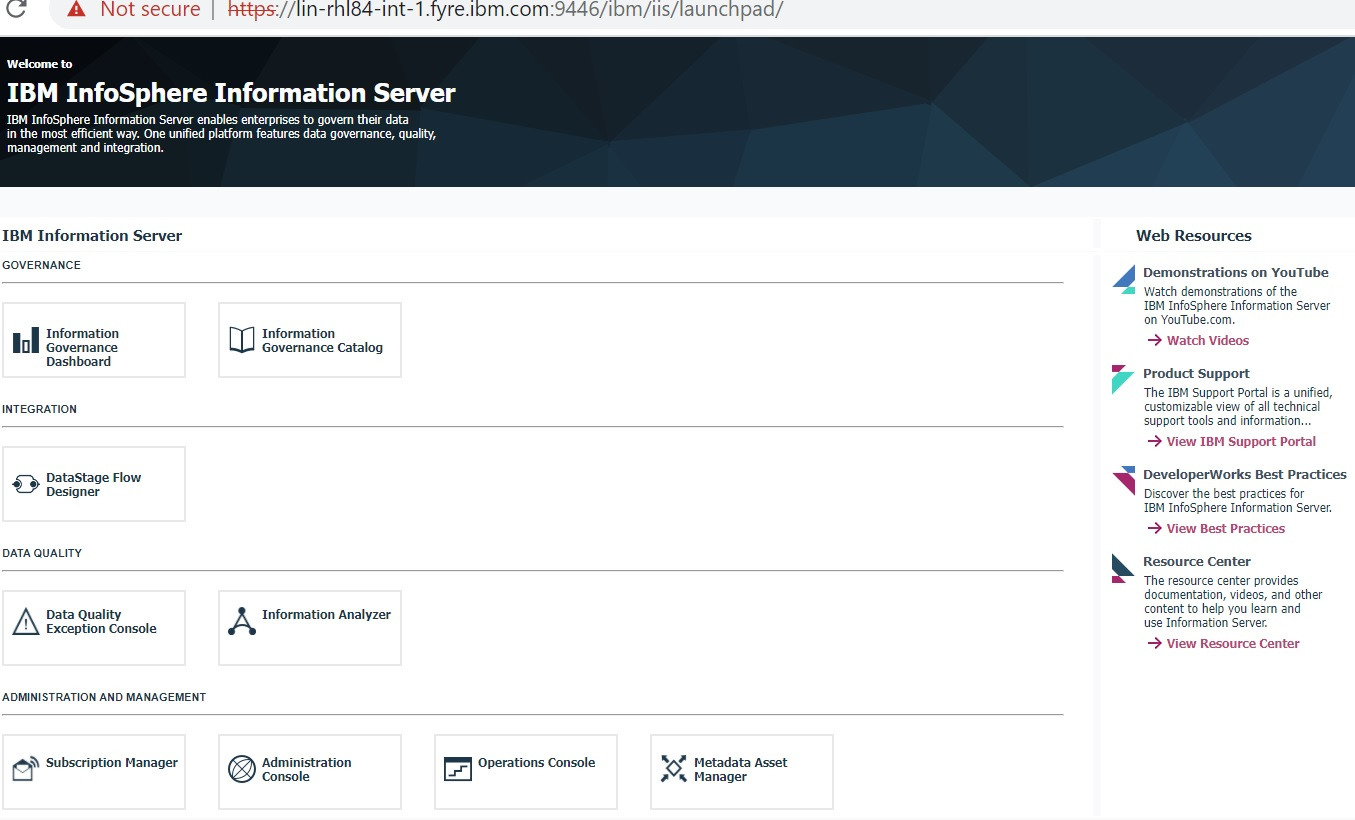
4.1.16.2) If you have a Microservices tier, the Information Server (Microservices) Launchpad is displayed.

4.2) Instructions for upgrading Information Server in the Console mode of the Update Installer
1. The Microservices tier must be at the same version as the other tiers before installation of a Service Pack.
2. The validation checks performed by the Update Installer in Console mode are not as extensive as the checks performed when the Update Installer is in GUI mode.
4.2.1) Login to the Information Server host. Change directory to <IS_HOME>/Updates/bin
For example, cd /opt/IBM/InformationServer/Updates/bin
4.2.2) Verify that the Update Installer version is 11.7.1.125 or later:
./installUpdates -version
If you need to update the Update Installer, see step 3.1.
4.2.3) Run the Update Installer to upgrade Information Server.
For example,
installUpdates -i /opt/IBM/InformationServer/ -p /opt/Builds/ISPKG/<ispkg_file_name>.ispkg -verbose -console -properties <property_file_name>
where
<ispkg_file_name> is the ispkg file you downloaded from IBM Fix Central
For example, servicepack_11.7.1.4_SP2_linux64_11714.tar.gz
<property_file_name> is the name of the property file wherein you specify values for the various properties that control the upgrade of the Microservices tier.
Sample property file
The Update Installer prompts you for the Information Server administrator user ID and password, and the WebSphere Administrator user ID and password.
5) Post upgrade actions
a. kubectl edit Ingress iis-server
ingress.kubernetes.io/configuration-snippet: |
proxy_redirect "https://$host:<IIS services tier port>/" "https://$host/";
proxy_redirect "https://<Microservices tier short host name>:<IIS services tier port>" "https://<Microservices tier short host name>/";
proxy_redirect "https://<Microservices tier host name alias>:<IIS services tier port>" "https://<Microservices tier host name alias>/";
proxy_redirect "https://<Microservices tier IP address>:<IIS services tier port>" "https://<Microservices tier IP address>/";
a. kubectl edit Ingress iis-redirect
ingress.kubernetes.io/configuration-snippet: |
proxy_redirect "https://$host:<IIS services tier port>/" "https://<IIS services tier short host name>:<IIS services tier port>/";
proxy_redirect "https://<Microservices tier short host name>:<IIS services tier port>" "https://<IIS services tier short host name>:<IIS services tier port>/";
proxy_redirect "https://<Microservices tier host name alias>:<IIS services tier port>" "https://<IIS services tier host name alias>:<IIS services tier port>/";
proxy_redirect "https://<Microservices tier IP address>:<IIS services tier port>" "https://<IIS services tier IP address>:<IIS services tier port>/";
Ensure that the newly added proxy_redirect lines are properly aligned with the prior proxy_redirect line as consumption of the file contents is sensitive to the formatting.
kubectl delete pods -l app=ingress-nginx -n kube-system
kubectl get pods -l app=ingress-nginx -n kube-system
On the Information Server host:
1. Add a host alias property:
$ ./iisAdmin.sh -set -key com.ibm.iis.ug.host.aliases -value
<Microservices tier long host name>,<Microservices tier short host name>,<Microservices tier alias name>,<Microservices tier IP address>
$ ./iisAdmin.sh -d -key com.ibm.iis.ug.host.aliases
On the Browser host:
Add an entry in the hosts file
UNIX: /etc/hosts
Windows: <Drive>:\Windows\System32\drivers\etc\host on Windows)
with IP address, long host name, short host name, and alias name as follows:
<Microservices tier IP address> <Microservices tier long host name> <Microservices tier short host name> <Microservices tier alias name>
On the Microservices tier, in the installation directory, the permission for inventory.yaml must be restricted to the owner. For example,
$ chmod 600 /opt/IBM/UGInstall/inventory.yaml
5.3) Users of DataStage Multi-Client Manager must reinstall the service.
1. Open a Windows command prompt; run as Administrator.
2. Uninstall (change the path if the installation is not in the default location). For example,
C:>C:\IBM\InformationServer\MCM\ClientSwitcherService.exe /uninstall
You must see the message "DataStage Multi-Client Manager Service uninstalled successfully".
3. Install (change the path if the installation is not in the default location). For example,
C:>C:\IBM\InformationServer\MCM\ClientSwitcherService.exe /install
You must see the message "DataStage Multi-Client Manager Service installed successfully".
5.4) Clean Kafka log collection.
If you do not have a Microservices tier, follow the instructions in https://www.ibm.com/support/pages/how-clean-log-collection-kafka-shared-open-source-service-information-server
Change History:
16 May 2023: Initial publication
28 November 2023: Updated document to also cover Service Pack 2 installation.
12 December 2023: Added instructions to clean the Kafka log collection on the services tier.
Was this topic helpful?
Document Information
Modified date:
12 December 2023
UID
ibm16981987