How To
Summary
Performing system firmware updates on the 7063-CR1 is different than the process for the 7042 systems. This document goes through the various menu options for updating firmware through the simplest method, the BMC GUI web session.
Objective
Step-by-step procedure for performing a system firmware update of BMC and PNOR on the 7063-CR1 platform.
Environment
7063-CR1 any HMC version
The BMC must be set up on the network with remote access to the BMC required through a web browser.
Steps
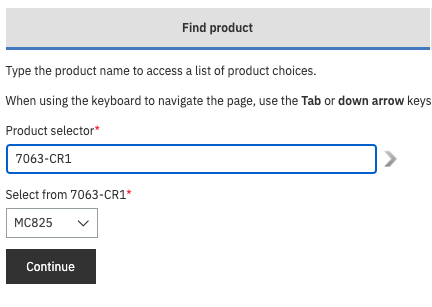
Navigate to fixcentral, narrow the search by entering the CR1 information:
Product selector = 7063-CR1
Select from 7063-CR1 = MC825
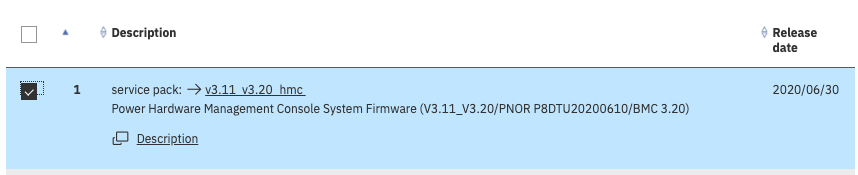
Select the firmware wanted, in this example, the latest level available was selected and the method for download once the entitlement information is completed.
Download the files by accepting the license agreement.
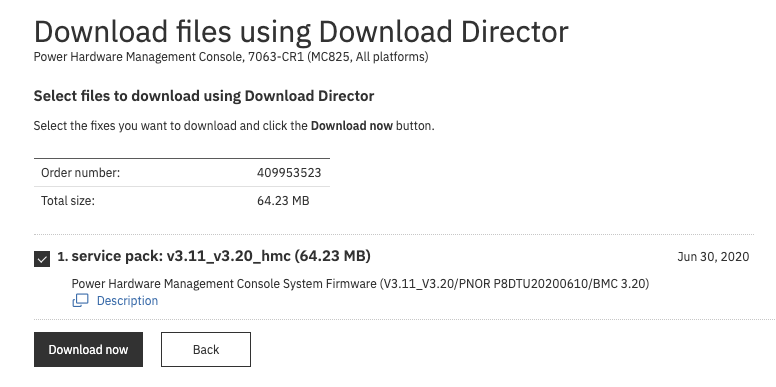
The DownloadDirector folder contains all the files:

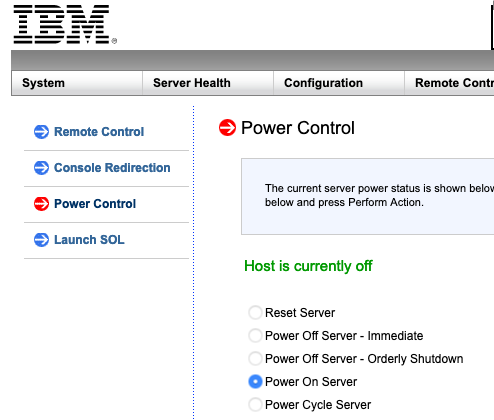
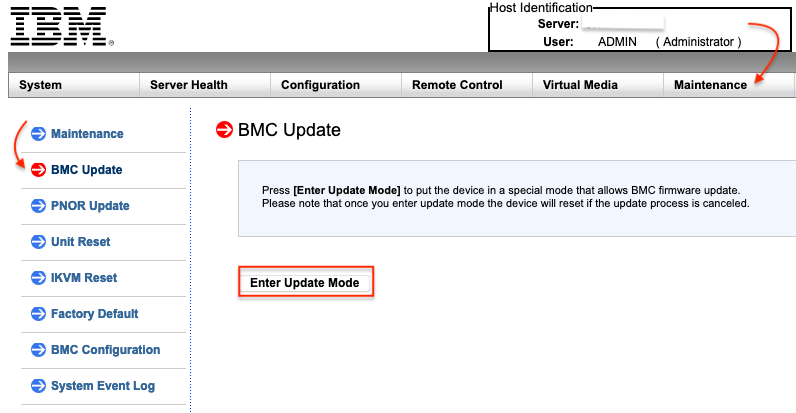
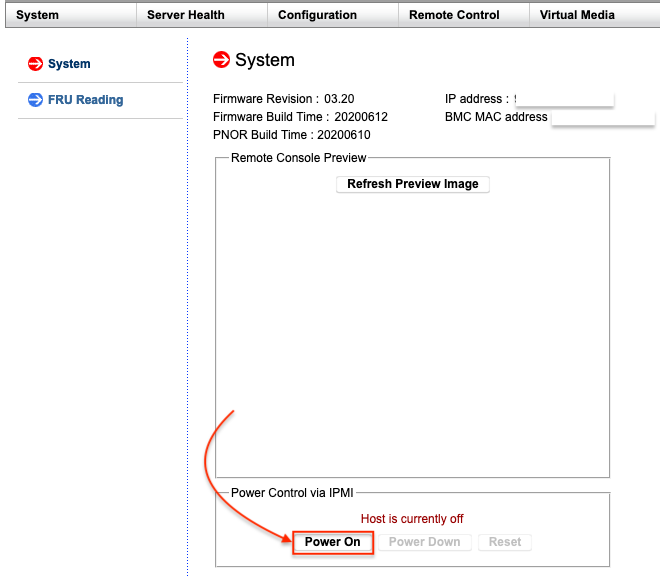
Log in to the BMC as ADMIN, for V1, ensure the Power Control shows the Host is currently off. If not, issue hmcshutdown -t now from the HMC OS, then Power Off the Server - Orderly Shutdown from this menu.
Next, navigate to "Maintenance", then BMC Update, click "Enter Update Mode"

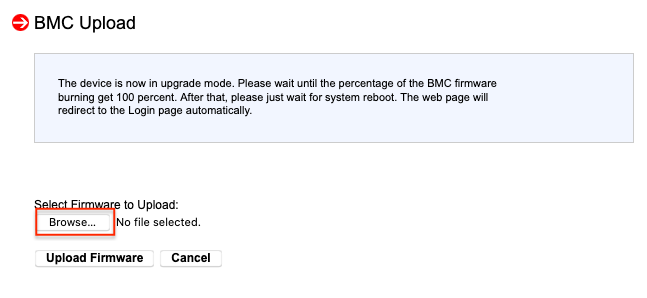
Click Browse to look for the BMC update first:
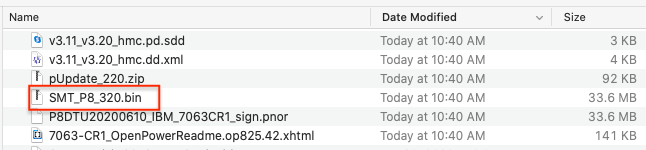
In this example, select SMT_P8_320_bin then click "Upload firmware"
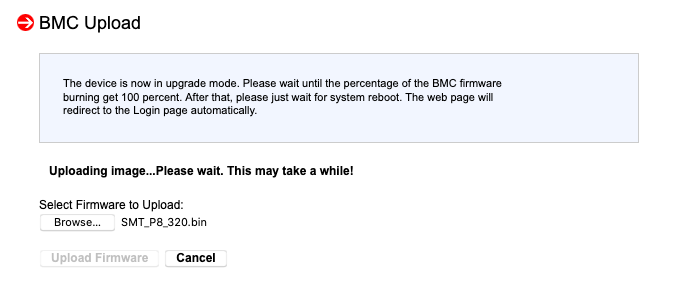
To the right, the status is shown: 
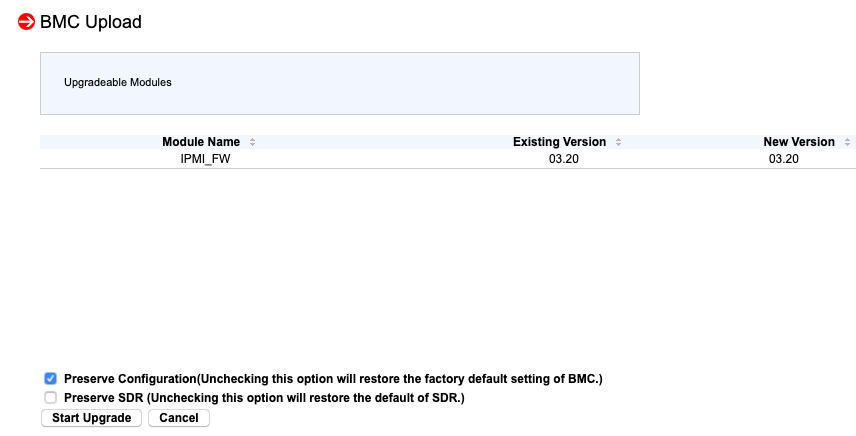
Once the file is on the system the following is displayed. Leave the defaults and click "Start Upgrade":
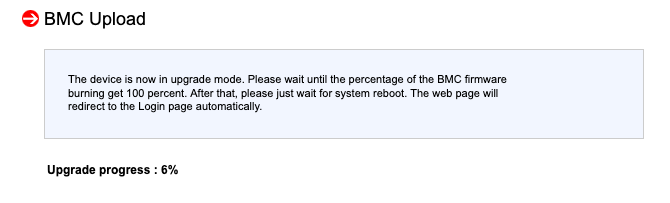
Progress is displayed as the update takes place:
After a few minutes the BMC displays a pop-up that the upgrade is complete.
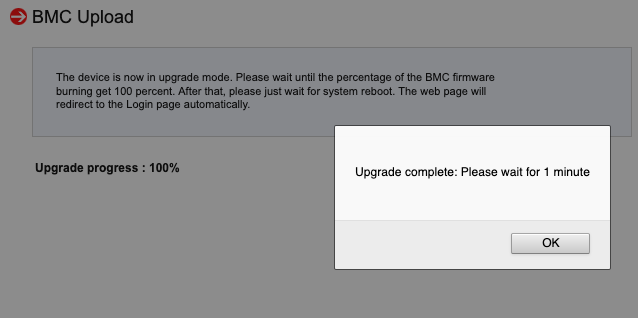
Click OK and the BMC reboots:
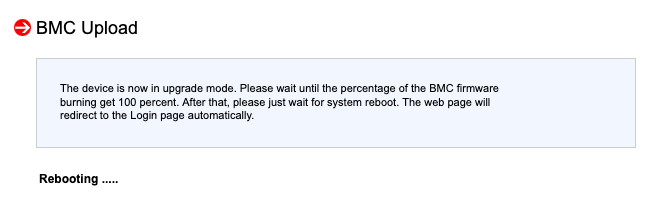
The user is returned to the log in prompt once the reboot completes.
NOTE: Depending on the level being updated, the year may have reverted to 1970 and the date/time needs to be set and the password also may now be under more secure requirements and requires updating. The BMC should prompt and remind for each.
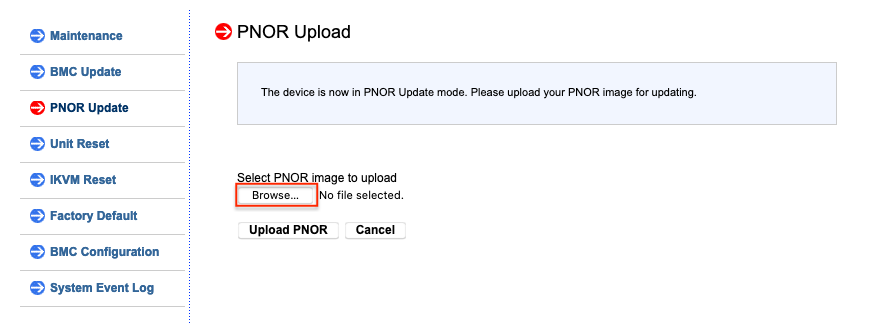
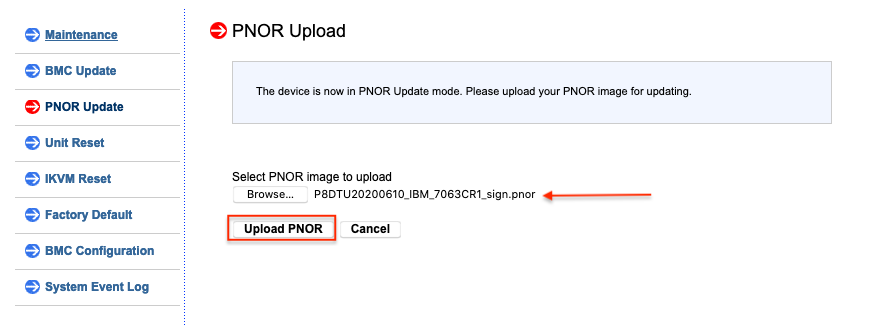
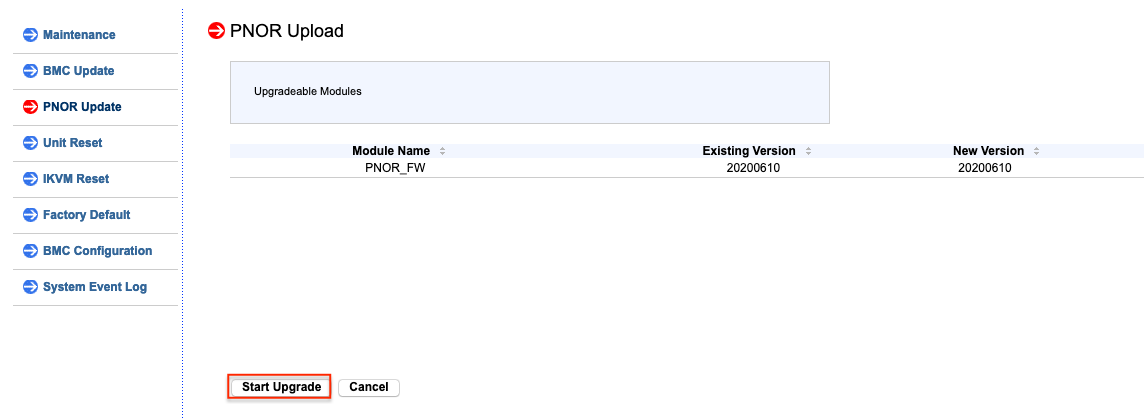
Log in again and now go through the steps for PNOR, clicking on Maintenance -> PNOR Update. Browse for the file: P8DTU20200610_IBM_7063CR1_sign.pnor
Check that the correct file was selected and proceed with the update by clicking "Upload PNOR".
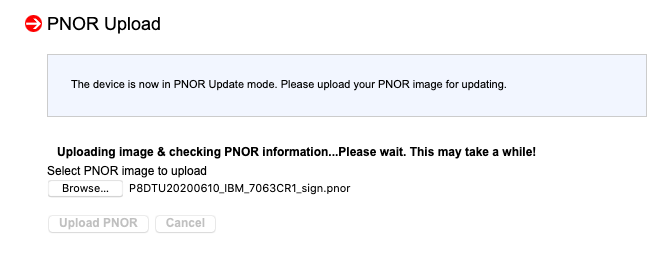
The progress for the upload takes a minute or two.
Once the file is uploaded, the update can begin, select "Start Upgrade".
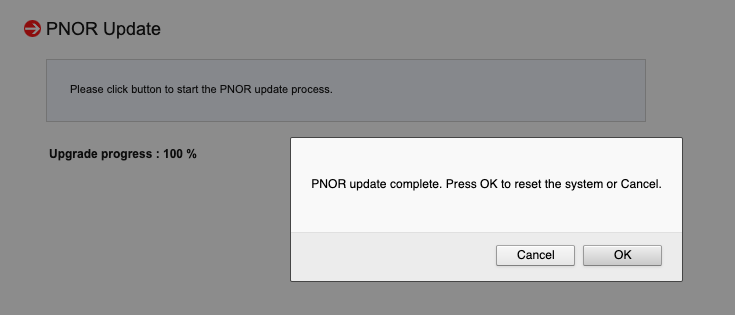
The progress of the upgrade is displayed and only takes a few minutes.

Once the upgrade hits 100% the user receives a pop-up that the update is complete and to continue with a reset of the system. Click OK to proceed.
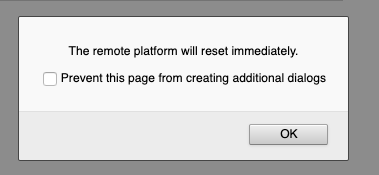
A pop-up warning is presented, click OK to proceed.
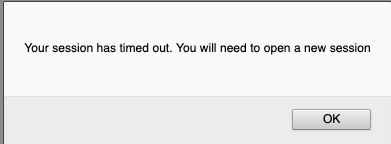
Reloading the page logs the user out after a minute or two.
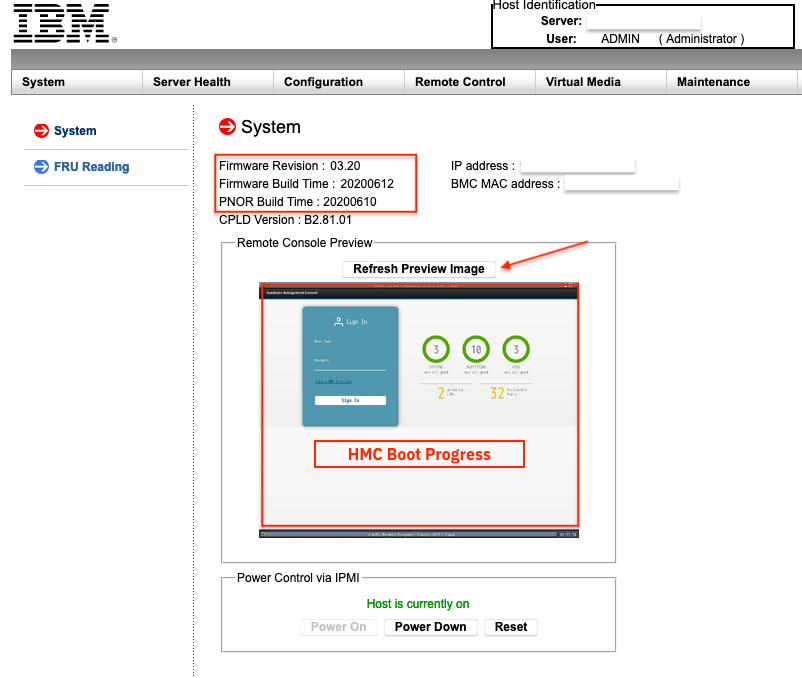
After logging back in, check the host status. If the host is off, power it on from this menu.
Verify the update took effect after power on and the boot progress of the HMC. Clicking "Refresh Preview Image" refreshes the view as the HMC boots.
This completes the update process.
Additional Information
The pUpdate utility is another method not covered in this document. The pUpdate utility must be installed on a separate system or LPAR on the same network residing on a PPC platform in order to perform the update across a network connection.
Related Information
Document Location
Worldwide
[{"Line of Business":{"code":"LOB57","label":"Power"},"Business Unit":{"code":"BU058","label":"IBM Infrastructure w\/TPS"},"Product":{"code":"7063-CR1","label":"Hardware Management Console (7063-CR1)"},"ARM Category":[{"code":"a8m0z000000GnS5AAK","label":"HMC"}],"ARM Case Number":"","Platform":[{"code":"PF025","label":"Platform Independent"}],"Version":"All Version(s)"}]
Was this topic helpful?
Document Information
Modified date:
29 March 2022
UID
ibm16357985