Troubleshooting
Problem
By default, when an HTTP Powered by Apache server is created with a Websphere Application Server, the two are set up to communicate with one port. HTTP, by default, is set up to listen on one non-secure port and Websphere is configured to accept connections from HTTP that use this port. When HTTP is configured for SSL (for example, using port 443) some additional setup is needed so that Websphere will accept connections that are passed from HTTP on this new port.
Resolving The Problem
By default, when an HTTP Powered by Apache server is created with a Websphere Application Server, the two are set up to communicate with one port. HTTP, by default, is set up to listen on one non-secure port and Websphere is configured to accept connections from HTTP that use this port. When HTTP is configured for SSL (for example, using port 443) some additional setup is needed so that Websphere will accept connections that are passed from HTTP on this new port.
In Websphere, the list of accepted ports that Websphere will accept requests from is called a Virtual Host. To update Websphere's list of Virtual Host ports, you can use the HTTP Web Administration GUI tool (http://systemname:2001/HTTPAdmin - replace 'sytemname' with your IBM i/i5/OS system name or IP address). Below are a list of steps that demonstrate how to add HTTP's secure port (443) to Websphere's Virtual Host list:
1. First, you need to bring up the IBM Web Administration GUI (http://systemname:2001/HTTPAdmin - replace 'sytemname' with your IBM i/i5/OS system name or IP address) and log in using your user profile/password from the iSeries/IBM i.
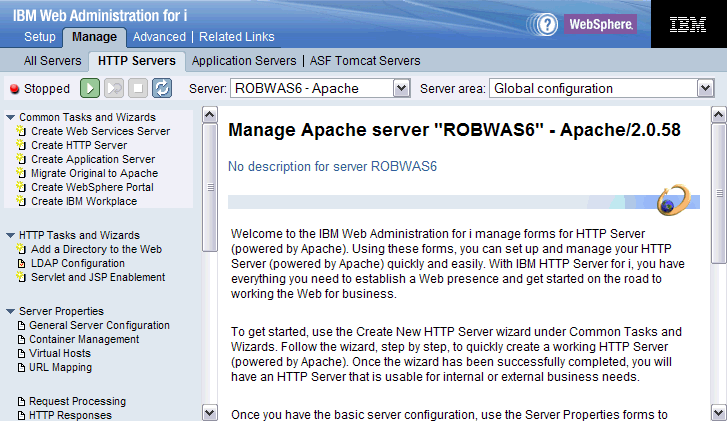
2. Once you are logged into the IBM Web Administration GUI tool, you will want to select Manage --> Application Servers and select the Websphere application server from the drop down list:

3. On the left-hand menu bar, click on Manage Virtual Hosts under Resource Configuration. You should see a screen that looks like the following:

4. Click on the radio button next to default_host (or virtual host used by application), and then click on the Properties button. Your screen should look similar to the following:

5. Click on the Add button and text area will appear. You will want to put an asterisk (*) for the IP address or hostname (since we want to accept data from all IP addresses). You will then want to verify that the secure port HTTP is using (443) in the Port column. Click on the Continue button.

6. Now the 443 Port has been added to the list. You need to click OK or Apply down at the bottom for the change to be made to the Websphere configuration.
The setup is now finished. All that is left to do is to restart both the HTTP and Websphere server that are associated with each other. When the servers are started, now Websphere will be able to accept connections that came into HTTP using SSL.
Historical Number
518748974
Was this topic helpful?
Document Information
Modified date:
11 November 2019
UID
nas8N1013078