How To
Summary
The steps in the document guide you toward securing the Planning Analytics Data Tier (Admin Host and TM1 Server), by using a keystore provided to you in PFX/PKCS12 format. In this document you replace the default ibmtm1 certificate keystore with your own.
Steps
PRE-REQUISITE
- PFX/PKCS12 keystore and password
- This file is provided to you by your security/certificate team
- Backup all files from PA_INSTALL_DIR\bin64\ssl\ to a different directory
CONFIGURE ENVIRONMENT VARIABLES FOR COMMAND PROMPT
- Open Command Prompt as an Administrator
- Update and execute the following to set the PA_INSTALL_DIR path to your TM1 Server install directory
- set PA_INSTALL_DIR=C:\Program Files\ibm\cognos\tm1_64

CONVERT CUSTOM KEYSTORE TO KDB FORMAT FOR TM1 ADMIN SERVER AND TM1 SERVER
- Open Windows Services, stop the TM1 Admin Server and TM1 Server service
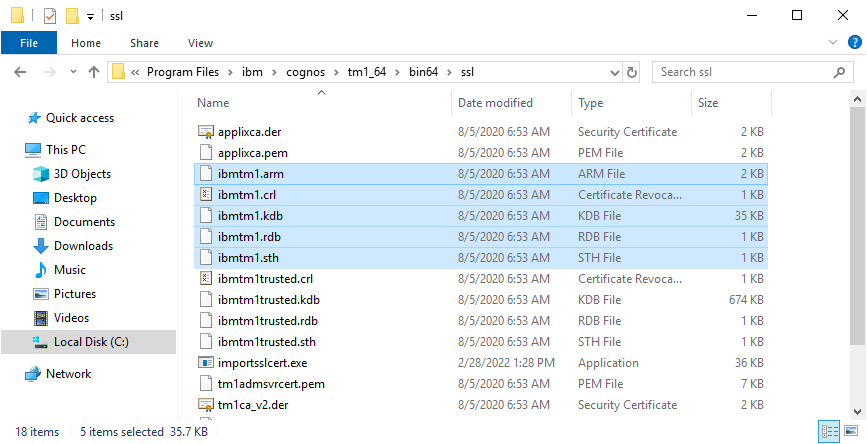
- Remove the ibmtm1.* files from the PA_INSTALL_DIR\bin64\ssl\ folder
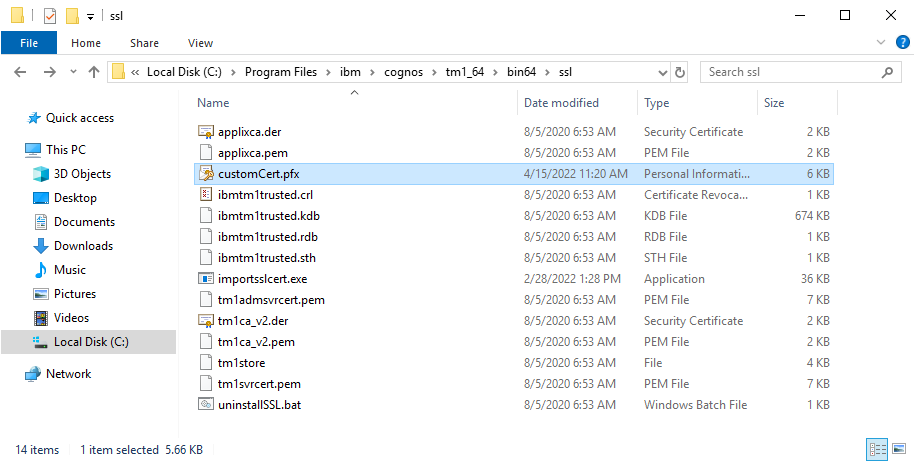
- Copy the keystore file provided to you by your certificate team to the PA_INSTALL_DIR\bin64\ssl\ folder
- In this document, the file name is customCert.pfx
- Open Command Prompt as an Administrator. Navigate to the \bin64\ folder inside the PA Install Directory:
- cd "%PA_INSTALL_DIR%\bin64\"

- Convert the provided PKCS12/PFX keystore file to a KDB keystore for the TM1 Admin Server and TM1 Server:
- gsk8capicmd_64 -keydb -convert -db "%PA_INSTALL_DIR%\bin64\ssl\customCert.pfx" -pw "CustomPA!@" -stashed -old_format pkcs12 -new_db "%PA_INSTALL_DIR%\bin64\ssl\ibmtm1.kdb" -new_pw "CustomPA!@" -new_format kdb -stash

- Remove the "%PA_INSTALL_DIR%\bin64\ssl\customCert.pfx" file, it is no longer needed
- List the contents of the ibmtm1 keystore to review using the following command:
- gsk8capicmd_64 -cert -list -db "%PA_INSTALL_DIR%\bin64\ssl\ibmtm1.kdb" -stashed

- Run the following command to change the name/label of your certificate to ibmtm1_server:
- gsk8capicmd_64 -cert -rename -db "%PA_INSTALL_DIR%\bin64\ssl\ibmtm1.kdb" -stashed -label customCertificate -new_label ibmtm1_server

- Set the ibmtm1_server certificate to be the default certificate in the keystore:
- gsk8capicmd_64 -cert -setdefault -db "%PA_INSTALL_DIR%\bin64\ssl\ibmtm1.kdb" -stashed -label ibmtm1_server

- List the contents of your keystore to confirm your certificates are correct:
- gsk8capicmd_64 -cert -list -db "%PA_INSTALL_DIR%\bin64\ssl\ibmtm1.kdb" -stashed

- Use the following command to confirm your ibmtm1_server certificate is valid:
- gsk8capicmd_64 -cert -validate -db "%PA_INSTALL_DIR%\bin64\ssl\ibmtm1.kdb" -stashed -label ibmtm1_server -fips

- Extract the Root Certificate Authority to ASCII format for use by other applications and keystores
- gsk8capicmd_64 -cert -extract -db "%PA_INSTALL_DIR%\bin64\ssl\ibmtm1.kdb" -stashed -label "IBM Support Root CA" -target "%PA_INSTALL_DIR%\bin64\ssl\ibmtm1-rootca.arm" -format ascii

- Extract the Intermediate Certificate Authority to ASCII format for use by other applications and keystores
- gsk8capicmd_64 -cert -extract -db "%PA_INSTALL_DIR%\bin64\ssl\ibmtm1.kdb" -stashed -label "IBM Support Intermediate CA" -target "%PA_INSTALL_DIR%\bin64\ssl\ibmtm1-intca.arm" -format ascii

- Extract the Server Certificate to ASCII format for use by other applications and keystores
- gsk8capicmd_64 -cert -extract -db "%PA_INSTALL_DIR%\bin64\ssl\ibmtm1.kdb" -stashed -label "ibmtm1_server" -target "%PA_INSTALL_DIR%\bin64\ssl\ibmtm1.arm" -format ascii

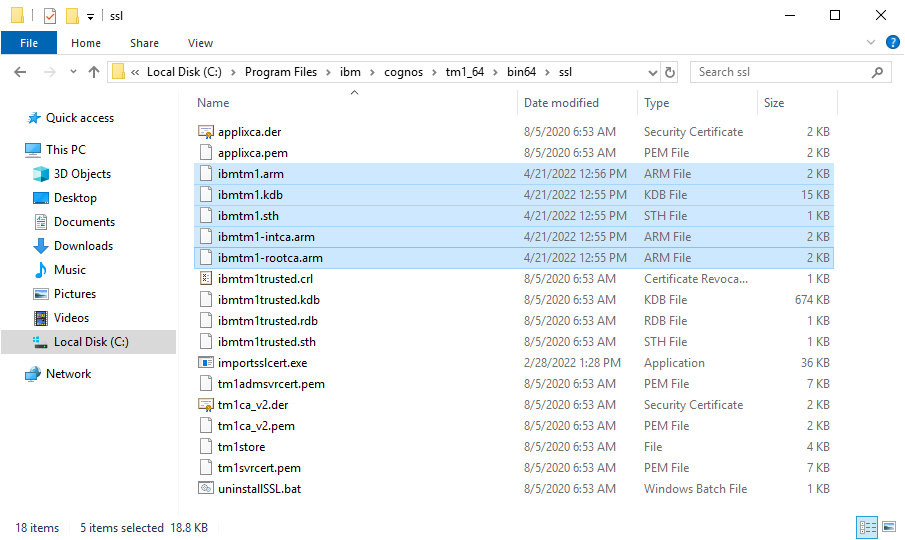
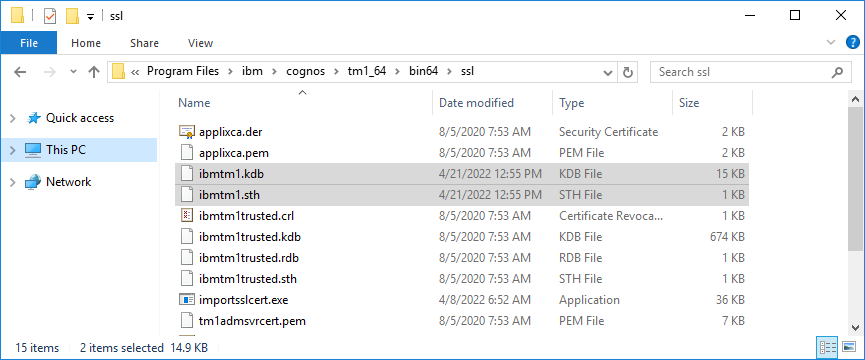
- When finished, the following files should be available
VALIDATE YOUR PLANNING ANALYTICS DATA TIER SSL CONFIGURATION
The following validation steps use the Chrome web browser. If you are using another browser, you will need to adjust the steps as required.
- Open Windows Services, start the TM1 Admin Server and TM1 Server service
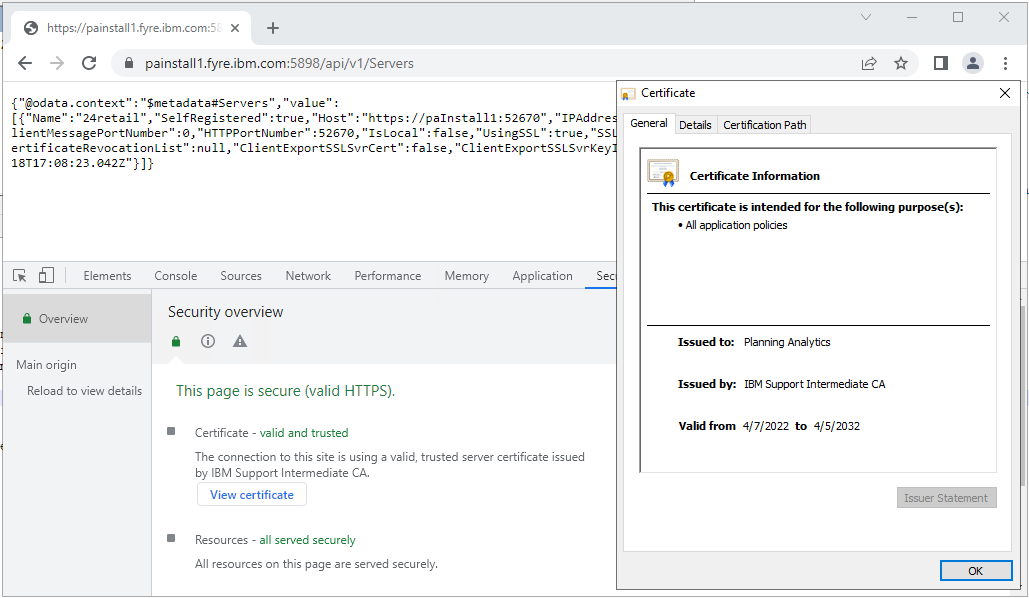
- After the service has started, access your TM1 Admin Host REST API URL using Chrome, for example: https://painstall1.fyre.ibm.com:5898/api/v1/Servers
- You may encounter a warning. If you do, it is likely because you have not yet told your computer to trust the Root Certificate Authority and Intermediate Certificate Authority used to sign the Planning Analytics certificate. Otherwise, there may be problem with your certificate. To resolve the untrusted certificate warning, see the following technote: http://www.ibm.com/support/docview.wss?uid=ibm10879929

- Assuming your certificates are valid and trusted, you should see the following:
- This indicates that your TM1 Admin Server is responding/using your new certificate and that your TM1 Server is also using the new certificate and has successfully registered in to the Admin Host
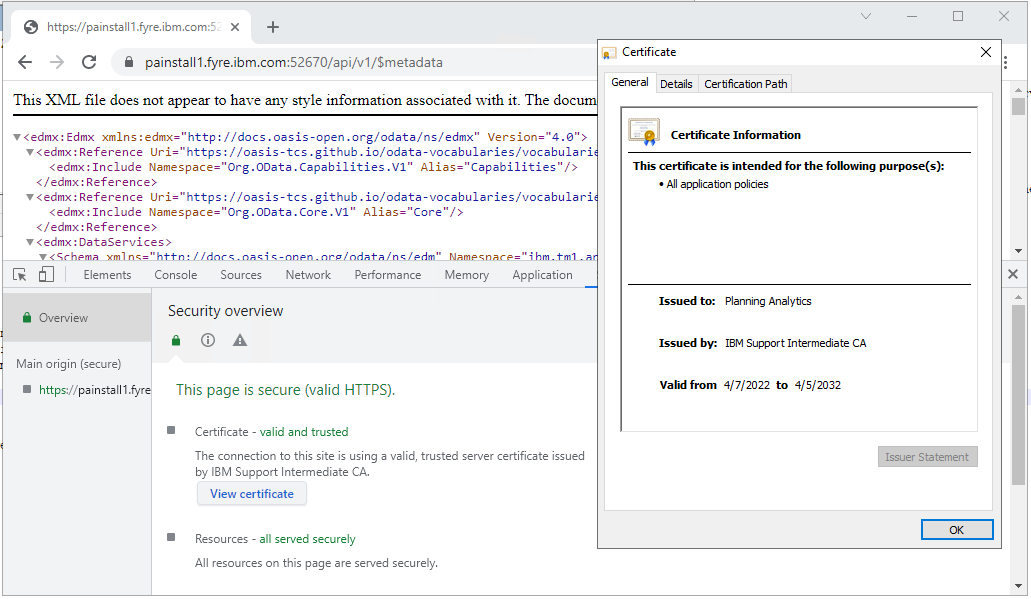
- Using the HTTPPortNumber returned in the Admin Host output, you can also test that your TM1 Server is properly secured using your new certificate.
- An example of a URL using the TM1 Server REST API would look like https://painstall1.fyre.ibm.com:52670/api/v1/$metadata
ENABLING ARCHITECT/PERSPECTIVES FOR CUSTOM SSL
- Now that custom certificates are used, any client tool connecting to the TM1 Admin Server / TM1 Server will require the appropriate certificate to connect.
- Architect and Perspectives look for a keystore named ibmtm1.kdb by default
- On each client computer, delete the ibmtm1.* files from the /bin/ssl/ and /bin64/ssl/ directories and replace them with your own
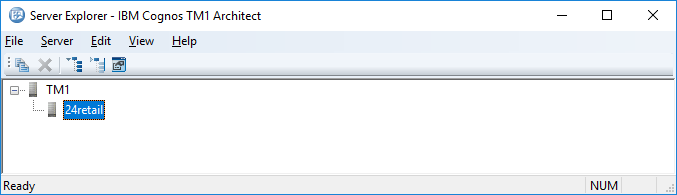
- When the client application has the appropriate keystore, users should be able to see and connect to the TM1 Server using Architect/Perspectives
POST-CONFIGURATION STEPS
- Any application that communicates with the TM1 Admin Server and TM1 Server will need to be updated to trust the new certificates used to secure them.
Document Location
Worldwide
[{"Business Unit":{"code":"BU059","label":"IBM Software w\/o TPS"},"Product":{"code":"SSD29G","label":"IBM Planning Analytics"},"Component":"","Platform":[{"code":"PF033","label":"Windows"}],"Version":"All Versions","Edition":"","Line of Business":{"code":"LOB10","label":"Data and AI"}}]
Was this topic helpful?
Document Information
Modified date:
21 April 2022
UID
ibm10886183