Question & Answer
Question
- In other words, they would like to change the CCR.EXE client to communicate from the default (HTTP) to HTTPS.
Cause
- This is because most customers have their entire Controller system located inside a secure private LAN/WAN. This means that they trust the computers inside their network (for example do not worry about 'man in the middle' attacks.
However, if a customer would like to secure the network traffic by SSL, then they can use the technique described inside this Technote.
Answer
IMPORTANT:
- This Technote specifically relates to the scenario where the customer is not using a dedicated 'Gateway' server. In other words, they are not using the 't=controller' configuration.
- (RARE) If you are using a gateway (t=controller) then see separate IBM Technote #1345570 for more guidance.
- It also does not cover the steps needed to convert the 'Controller Web' website (a new feature from Controller version 10.3 onwards) to using HTTPS
- If you are using Controller Web then see separate IBM Technote #291423 for more guidance.
===========================================
Steps:
The following steps are based on Controller 10.3.0 and 10.3.1, installed on Windows 2012 R2.
- The instructions may need to be altered slightly for different versions of Controller/Windows.
Controller application server (Part One):
1. Ensure that you have an existing working system (everything working OK without HTTPS)
- In other words, the Controller system has already been tested and working (via HTTP)
2. Decide on whether you want to use 'commercial' or 'self-signed' SSL certificates
- This is the easiest method, since all the client devices will already trust the certificate
- However, naturally there is a cost associated.
or (b) Self-signed
For example create your own certificate from your own 'certificate authority' in your network
- This method is the most complicated, since you must manually import the certificate into all your devices (see separate Technote #156485)
- However, it is the cheapest (no cost).
3. Choose the FQDN name (for example controllerserver.domain.com) that your SSL certificate will refer to
- IMPORTANT: You must use this same FQDN name for all of the settings (see later on). For example, if you use a different name (for example NetBIOS or IP address) for the server, the SSL certificate will not work correctly
- These instructions assume that the FQDN name = sbracs-cont1.hursley.ibm.com
4. Get/purchase/create the SSL certificate
- Typically this is a file that has a 'CER' extension
~~~~~~~~~~~~~~~~~~~~~~~~~~~~~~~~~~~~~~~~~~~~~
Commercial SSL certificate
Contact your third-party supplier (for example 'Verisign') to obtain an SSL certificate that is compatible with IIS.
~~~~~~~~~~~~~~~~~~~~~~~~~~~~~~~~~~~~~~~~~~~~~
Self-signed SSL certificate
There are many different methods to create a self-signed SSL certificate that is compatible with IIS.
- See appendix #1 (at the end of this Technote) for one easy method.
~~~~~~~~~~~~~~~~~~~~~~~~~~~~~~~~~~~~~~~~~~~~~
5. Install/register the SSL certificate on the Controller application server (the one hosting the IIS website 'controllerserver' which powers the main 'classic' system).
- If using a commercial SSL certificate, then follow the advice from your third-party supplier
- If using a self-signed SSL certificate, then:
- Typically this is done by double-clicking on the '.CER' file. [Alternatively, if you have a '.p7b' certificate, see Appendix #2 at the end of this Technote].
- IMPORTANT: You must make sure that you choose to import into the correct store location (on the client device). Specifically, it should be: Local Computer\Trusted Root Certification Authorities:

- [For more details, see Appendix #3 at the end of this Technote].
6. If using a self-signed SSL certificate, then install/register the SSL certificate on all client devices (for example end user's PCs, or the Citrix servers).
- This is done in the same way as previous step #5.
7. Inside 'Internet Information Services (IIS) Manager':
- Select 'Default Web Site'
- Click 'Bindings'
- Click 'Add'
- Change type to: https
- Click 'Select' and choose the certificate we chose earlier, for example:

- Click OK, Close.
8. Test that the SSL/HTTPS communication is working OK
- On the Controller application server itself, launch the HTTPS version of the Controller diagnostic website, for example: https://myservername.mycompany.com/ibmcognos/controllerserver/ccrws.asmx
- Then on the client device(s), perform the same test, for example: https://myservername.mycompany.com/ibmcognos/controllerserver/ccrws.asmx
~~~~~~~~~~~~~~~~~~~~~~~~~~~~~~~~~~~~~~~~~~~
Report Server (CA or BI):
Controller requires a report server (CA or BI) to power some of its functionality (for example standard reports and CAM authentication). For example:
- Controller 10.3.0 comes bundled with Cognos BI 10.2.2
- Controller 10.3.1 comes bundled with Cognos Analytics (CA) 11.0.7
If you want to encrypt CA/BI server <=> client traffic then you will need to perform the steps in this section.
9. On the Controller application server, launch "Controller Configuration"
10. Open section 'Report Server'
11. Check the current value for 'Report Server', for example:
- http://servername:9300/bi/v1/disp ... This is the default setting for CA, showing that it is NOT integrated with Microsoft IIS
- http://servername/ibmcognos/bi/v1/disp ... This shows that the CA/BI report server had been changed so that it is integrated with Microsoft IIS. Typically this is done to allow single sign on (SSO) with Microsoft Active Directory.
12. On the report server (CA/BI) modify it to use SSL
- If your CA/BI report server is not integrated with IIS, then:
- (a) Use the instructions provided with your software, to change CA/BI to using SSL. An example is given in the link at the end of the Technote.
- (b) skip to the next step.
- If your CA/BI report server is integrated with IIS, then perform the steps below:
- (a) Logon to the Report server (the one hosting the Cognos Analytics or BI IIS website, which is mentioned in step 11)
- (b) Create / install / register a SSL certificate on that IIS server (using similar instructions to what you did earlier for the Controller application server)
- (c) Install the SSL certificate on both the Controller application server and the client device
- (d) Test that both the Controller application server and client device can successfully connect to the CA/BI website (https://servername/ibmcognos) using HTTPS/SSL with no errors).
- For example: https://myserver.mycompany.com/ibmcognos/cgi-bin/cognos.cgi

14. If using the 'web client' via CDS (very rare), then open section 'Client Distribution Server' and configure the settings, for example:
- CASURL: https://servername.domain.com/ibmcognos/controllerbin
- WSSUrl: https://servername.domain.com/ibmcognos/controllerserver
- HelpUrl: https://servername.domain.com/ibmcognos/ControllerHelp
Client PCs:
15. On each of the client PCs:
(a). Install/register the SSL certificate on the client.
- This should already have been done - see steps 5 and 6 above)
(b) If you are using a 'self-signed' certificate, then you must also install the SSL certificate into the Java runtime environment (JRE) on the client, so that the JRE trusts the self signed certificate.
- For steps on how to do this, see separate IBM Technote #156485.
(c) When installing/configuring the Controller client, ensure that all the installation settings/configuration etc. simply refers to "https://" instead of "http://".
This is extremely easy if using the standard 'local' client (CCRLocalClient.MSI). For example, during the installation wizard choose settings similar to:
- WSSUrl: https://<gateway.domain.com>/ibmcognos/controllerserver
- HelpUrl: https://<gateway.domain.com>/ibmcognos/ControllerHelp
[If you have chosen to use the more complicated 'web client', then all the other settings must also refer to HTTPS.
- For example, ensure that .NET trusts are configured to trust https://gateway.domain.com (not https://gateway or http://gateway.domain.com or whatever)].
===========================================
APPENDICES:
===========================================
Appendix #1 - Easy method to create a self-signed SSL certificate
1. Open Windows PowerShell with elevated permission (Run as Administrator)
2. Type the following command:
- Replace the text, in bold, with the appropriate values for your environment.
- The below script creates a three (3) years certificate. Change the -notafter switch to increase or decrease the age length of the certificate.
$selfSignedRootCA = New-SelfSignedCertificate -DnsName server_name.fyre.ibm.com -notafter (Get-Date).AddYears(3) -CertStoreLocation Cert:\LocalMachine\My\ -KeyExportPolicy Exportable -KeyUsage CertSign,CRLSign,DigitalSignature -KeySpec KeyExchange -KeyLength 2048 -KeyUsageProperty All -KeyAlgorithm 'RSA' -HashAlgorithm 'SHA256' -Provider 'Microsoft Enhanced RSA and AES Cryptographic Provider'
$CertPassword = ConvertTo-SecureString -String "changeit" -Force -AsPlainText
$selfSignedRootCA | Export-PfxCertificate -FilePath path/filename.pfx -Password $CertPassword
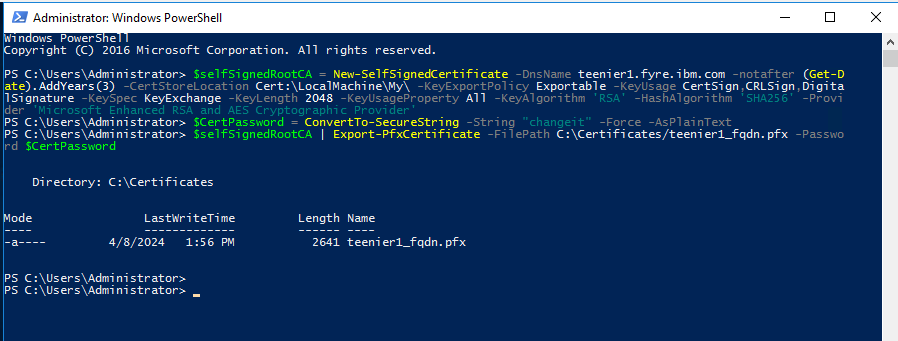
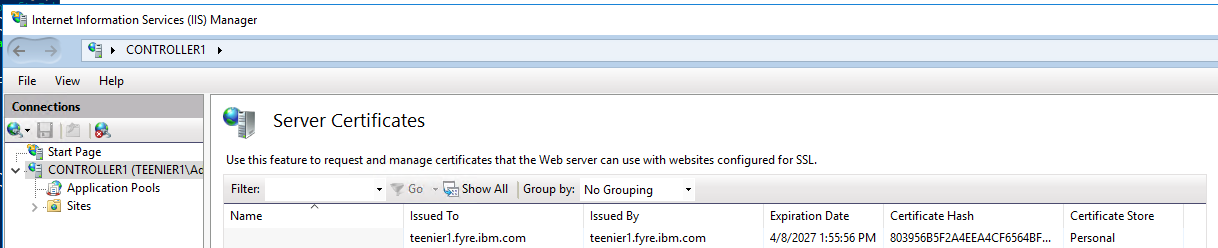
Note: You will find your .pfx in the path you have specified during the command. But you will also notice that the certificate now exists in IIS under Server Certificates.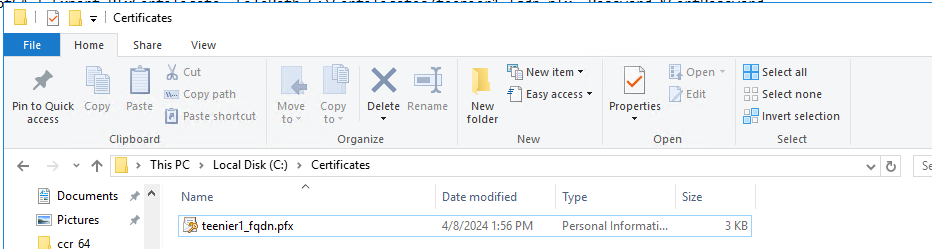
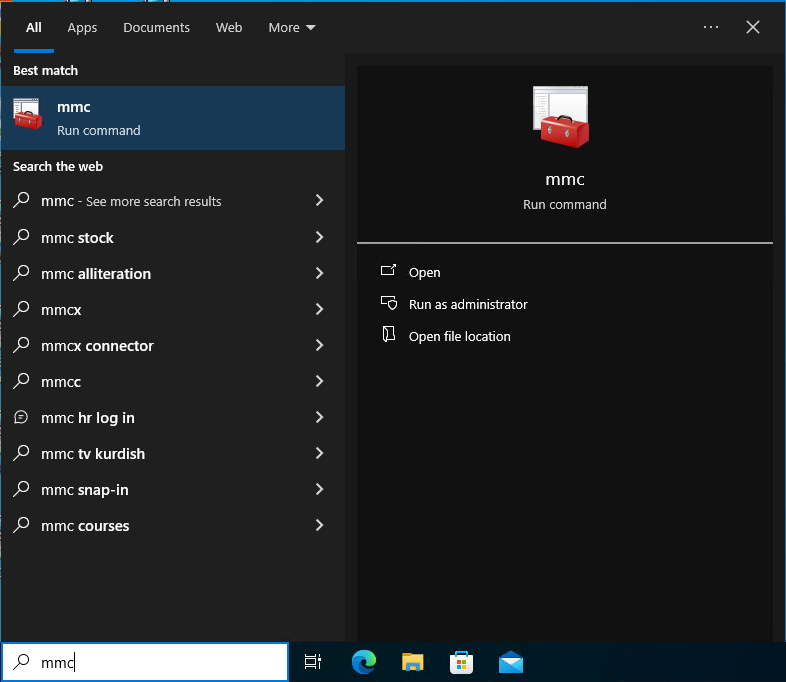
3. Click on Start and type : mmc certmgr.msc
4. Browse to: Trusted Root Certificate Authorities -> Certificates
5. Right click on 'Certificates' and choose 'All Tasks - Import'
6. Click 'Next'
- Browse to the file you created earlier (for example C:\Certificates\teenier1_fqdn.pfx)
- Click 'Open', 'Next'
IMPORTANT: It is important to take care on the next step!
8. You must choose which store to use.
- Click the 'Browse...' button
- Tick "Show physical stores"
- Browse to "Trusted Root Certificate Authorities - Local Computer"

- Click 'OK'
- Click 'Next'
- Click 'Next', 'Finish'.
Now we need to export the certificate (for use by the clients):
10. Logon to the Controller application server (where you have already performed the above steps)
11. From the Start button, type Internet Options
12. Open Internet Options - Control Panel
13. Select tab "Content"
14. Click "Certificates"
15. Select the tab "Trusted Root Certification Authorities"
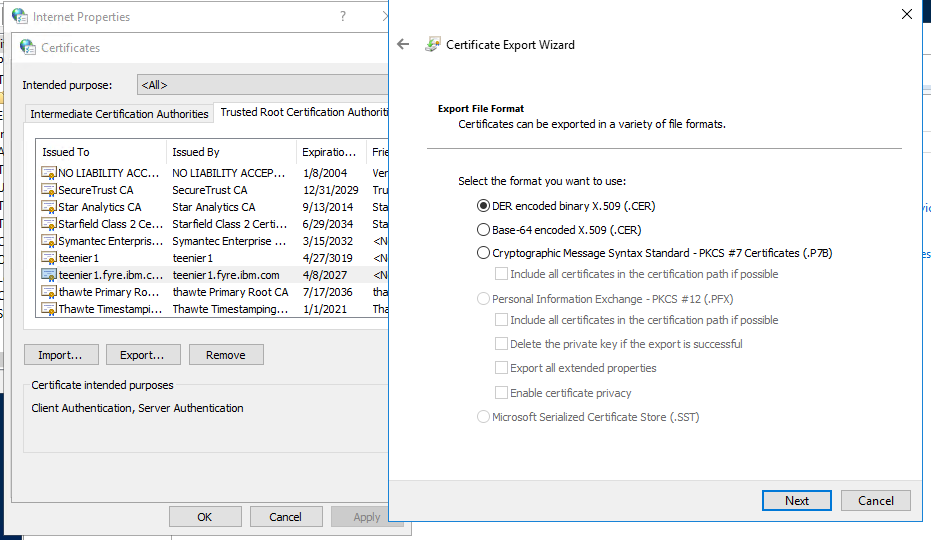
16. Highlight the certificate you made earlier (HINT: Check its expiration date if you are unsure!), and click "Export..."
17. Click 'Next', 'Next' and then select "DER encoded binary X.509 (.CER)" then 'Next'
18. Type in a sensible filename (for example 'C:\Certificates\teenier1_fqdn.cer')'Save' , and click 'Next' then 'Finish'
===========================================
Appendix #2 - If you have a '.p7b' certificate (instead of .CER)
If you have a '.p7b' certificate, you can instead do the following:
- From the Start button, type Internet Options
- Open Internet Options - Control Panel
- Switch to the Content tab
- Click Certificates
- Select "Trusted Root Certification Authorities" tab
- Click Import
- Browse to the .p7b file and click next
- Click radio button "Place all certificates in the following store". Certificate store should be "Trusted Root Certification Authorities"
- Click next
- Select "Trusted Publishers" tab
- Click Import
- Browse to the .p7b file and click next
- Click radio button "Place all certificates in the following store". Certificate store should be "Trusted Publishers"
- Click next
- Start a fresh web browser window.
===========================================
Appendix #3 - Importing the certificate on a client device
There may be different methods for different operating systems. The following steps are known to work on most Windows Operating Systems:
1. Logon to the client device as a Windows administrator
2. Click Start button
3. Type the following: mmc
5. Click "Certificates" then 'Add'
6. VITAL: You must choose 'Computer account':

7. VITAL: Choose: Local computer

8. Click Finish and OK
9. Expand "Certificates (Local Computer)", "Trusted Root Certification Authorities" and right-click on 'Certificates' and choose "All Tasks - Import...":

10. Browse to your SSL certificate (.CER file)
11. VITAL: During the import process:
- Choose "Place all certificates in the following store"
- Click 'Browse'
- Tick the box 'Show physical Stores'
- Expand 'Trusted Root Certification Authorities'
- Choose 'Local Computer':

12. Click OK, and complete the wizard.
===========================================
===========================================
Related Information
1345570 - How to secure Controller client <=> server co
291423 - How to configure Controller Web to use SSL (H
563065 - ** How to ** Enable SSL / HTTPS with Cognos C
156485 - "Internal error ... Error creating bean with
How to configure SSL for CA (11.0.x) - Configuring SSL for IBM Cognos components
Was this topic helpful?
Document Information
Modified date:
08 April 2024
UID
swg22004920