This tutorial shows you how to create a native OAuth provider using the API Manager user
interface.
About this tutorial
Creating a native OAuth provider lets API Connect perform OAuth authorization tasks internally
instead of requiring a third-party application to complete them. When you create a native OAuth
Provider, you apply it to an API, which is then updated to include the OAuth configuration. Then you
publish the API. Whenever the published API is invoked, API Connect ensures that the calling
application is authorized to access the API resources, and then makes the API available.
Implementing OAuth security requires you to create a provider, and then update your API to use
the provider. In this tutorial you will complete the following lessons:
- Create a native OAuth provider
- Add OAuth security to an API
- Add an OAuth
redirect URL to the default Sandbox test application
- Test the OAuth security implementation
Before you begin
This tutorial uses the predefined FindBranch API. To prepare your environment for this tutorial,
complete the following tasks:
- Add the DataPower® API
Gateway service to the Sandbox catalog as explained in Creating and configuring Catalogs.
The Sandbox catalog must be configured to use at least one gateway. For this tutorial, you
must use the same gateway that the FindBranch API uses.
- Import the FindBranch API and activate it as explained in the tutorial, Tutorial: Importing an API.
Create a native OAuth provider
To create a native OAuth provider in API Manager, set up a user
registry that uses an external authentication URL to verify users, and then create a provider to
authenticate users who log in with that registry.
- Create a user registry that can be used for authenticating users with OAuth:
- Log in to API Manager.
- On the Home page, click the Manage Resources tile.
- On the Resources page, look in the list of resource types and select
User Registries.
- In the
User Registries
list, click Create.
- On the Create User Registry page, click Authentication URL User
Registry as the selected user registry type.

- On the Create Authentication URL User Registry page, complete the following
fields:
- Enter AuthURL in the Title and Display
Name fields so that you can easily determine that this registry is configured with an
authentication URL.
You can copy the values from this documentation and paste them into the fields
if you don't want to type them.
- Type or paste https://httpbin.org/basic-auth/user/pass in the
URL field.
This value is the authentication URL. The URL provided here is
for testing purposes only. Httpbin.org provides a sandbox where you can simulate a login with basic
authentication using its predefined user name ("user") and password ("password").
- Select No TLS Profile in the TLS Client Profile
(optional) field.
- Click Save.
The Resources page displays with the
new registry included in the list.
- Create an OAuth provider to authenticate users who log in with the AuthURL registry:
- In the navigation list on the Resources page, click OAuth
Providers.
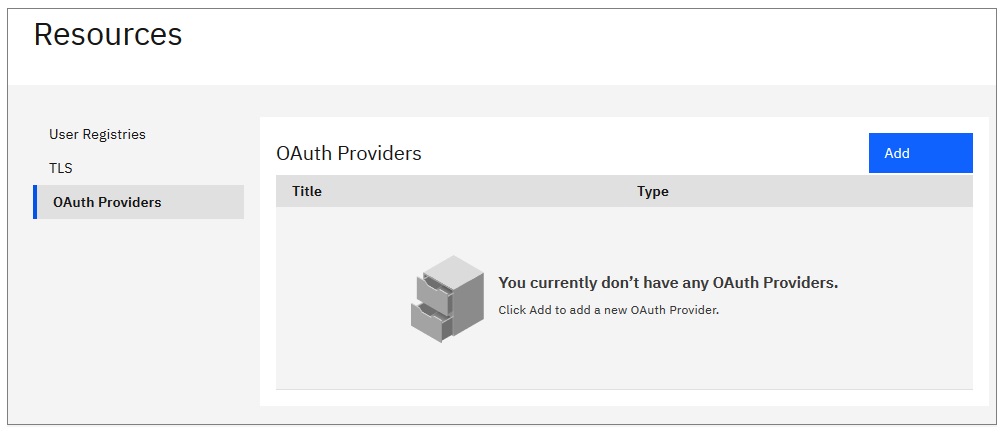
- In the
OAuth Providers
list, click .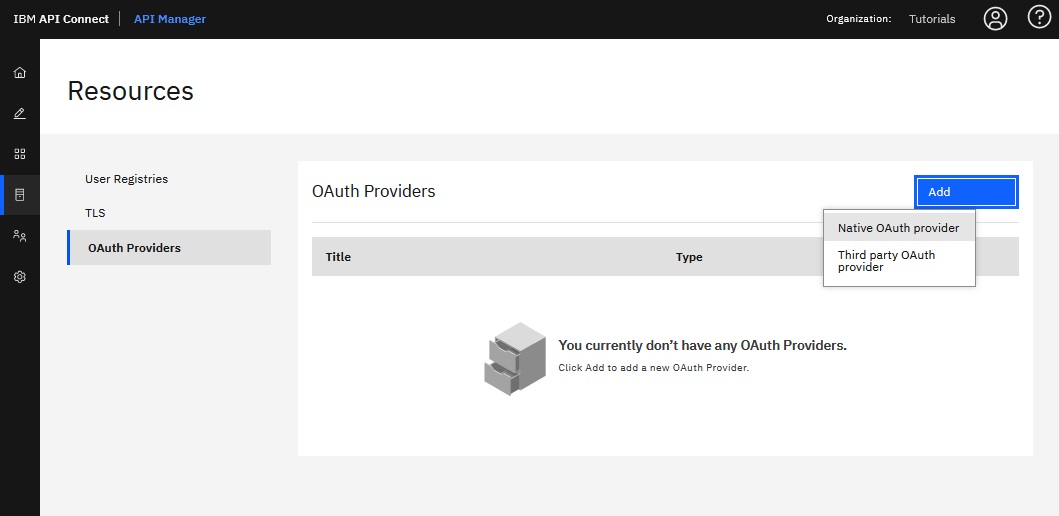
The Create Native OAuth Provider form displays.
- In the
Native OAuth Provider
section, enter MyNativeOAuthProvider
in the Title field.
- In the
Gateway Type
section, select DataPower API Gateway (the
same gateway used by the FindBranch API). Each native OAuth provider applies to one gateway type.
The gateway type that you select here must match the gateway type used by the API that will be
secured with this new provider.
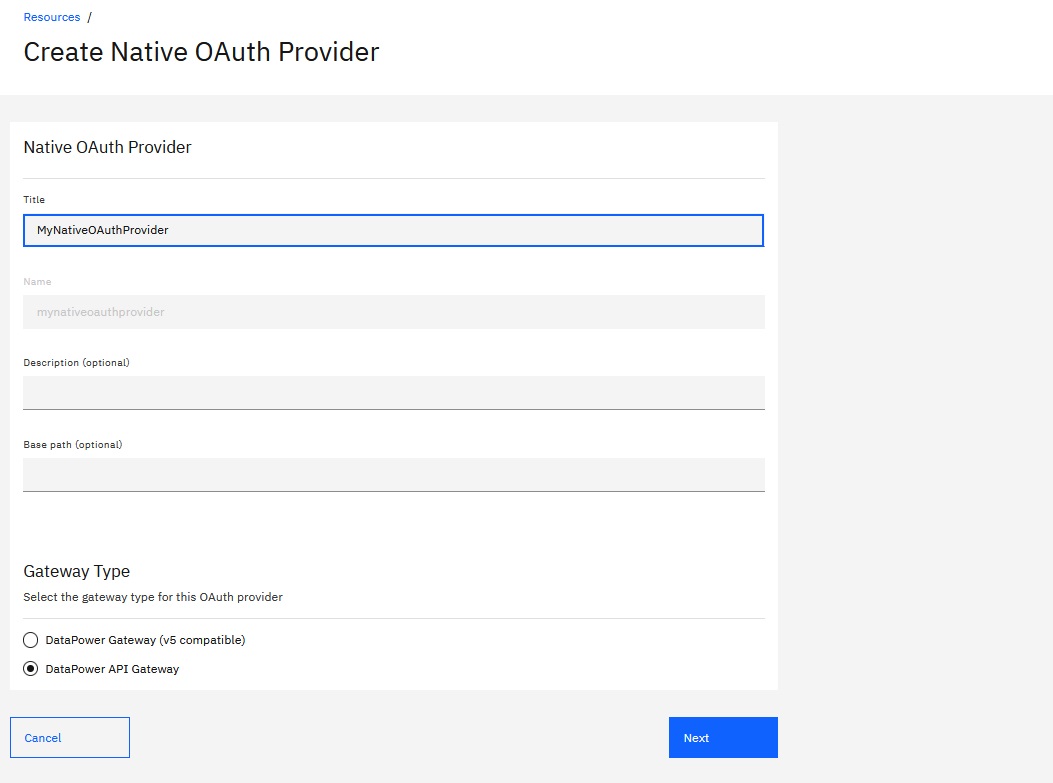
- Click Next.
- In the
Supported grant types
section, select Access code and
deselect all other grant types.This tutorial uses a single grant type to illustrate how the
native OAuth provider functions.
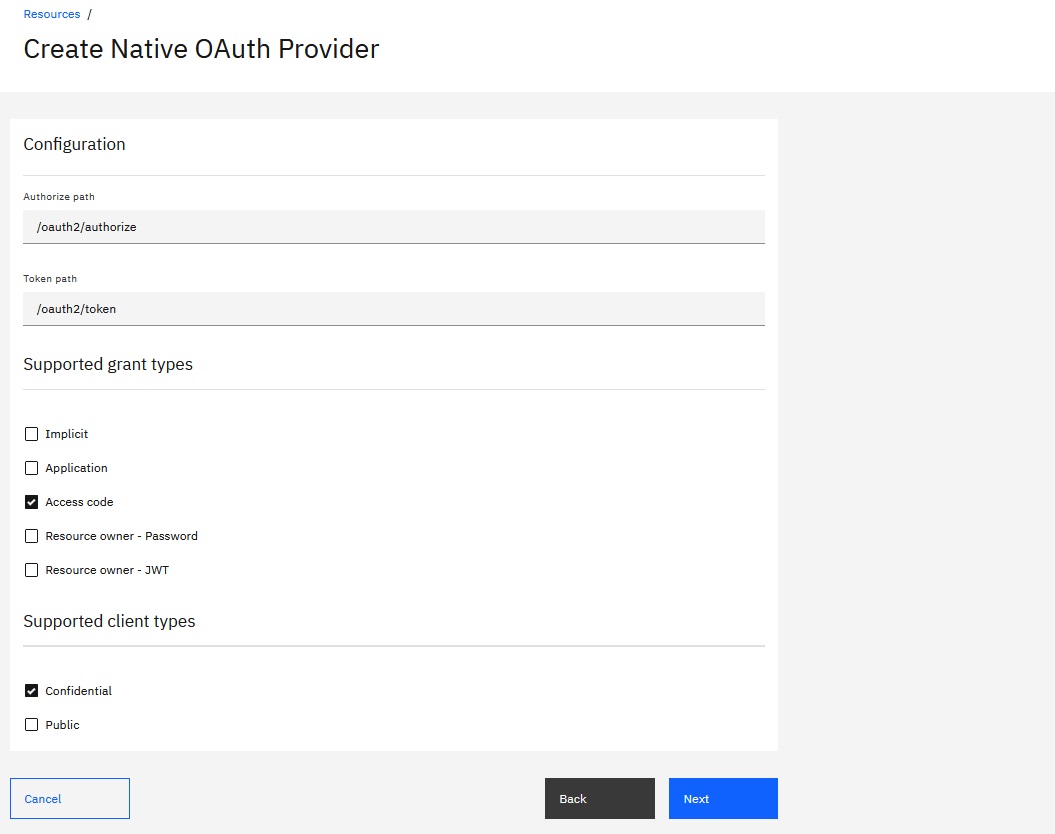
- Click Next.
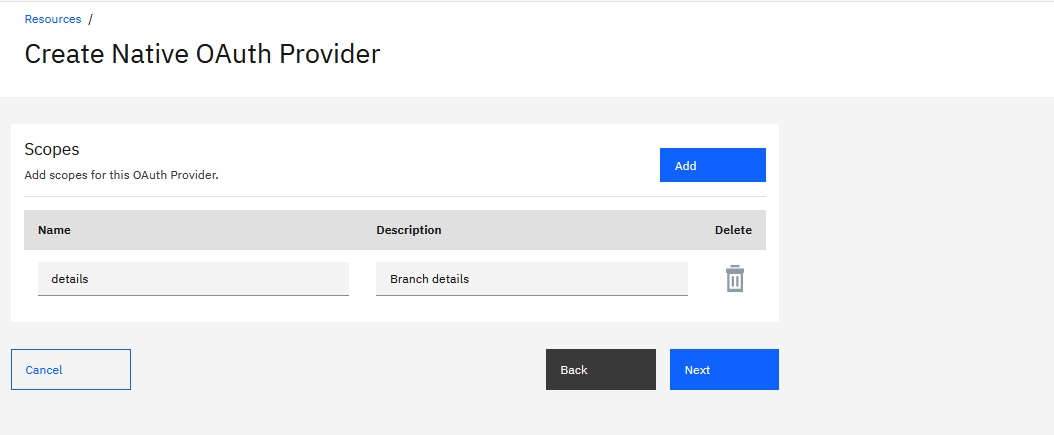
- In the "Scopes" section, click
 to delete the default scope.
- Click Add and define the scope of the API that will be secured by the
native OAuth provider.
For the FindBranch API, enter details in the
Name field. Enter Branch details in the
Description field.
- Click Next.
- On the Authorization Endpoint page, skip to the
Authentication
section and select the AuthURL user registry for authenticating your API's
users. 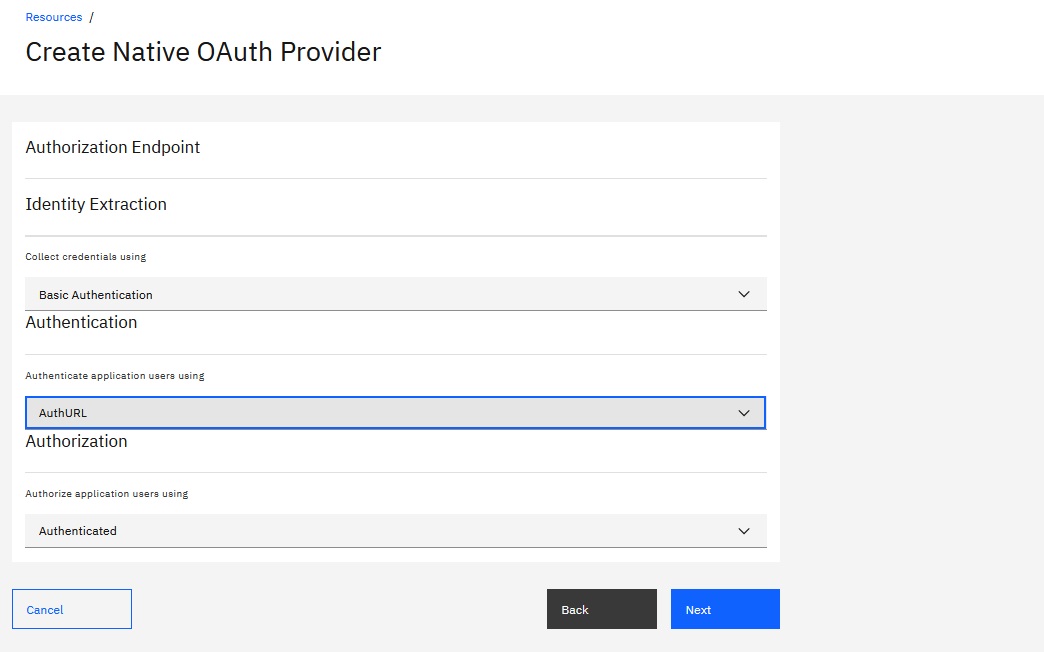
- Click Next.
- On the Native OAuth Provider Summary page, review the settings and click
Finish.
When the new provider is saved, it becomes available for editing
and displays the provider's Info page.
- At the end of the Info page, select Enable debug response
headers so that if you encounter problems, information about errors can be included in
the response headers.
- Click Save.
The new native OAuth provider is now complete.
- Configure the AuthURL registry to function as an API user registry in the Sandbox catalog:
- In the navigation pane, click the Manage icon
 .
.
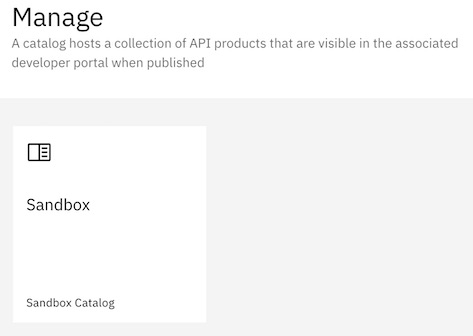
- Click the Sandbox catalog icon to select it (the Products page
displays).
- In the navigation pane, click the Catalog
settings tab.
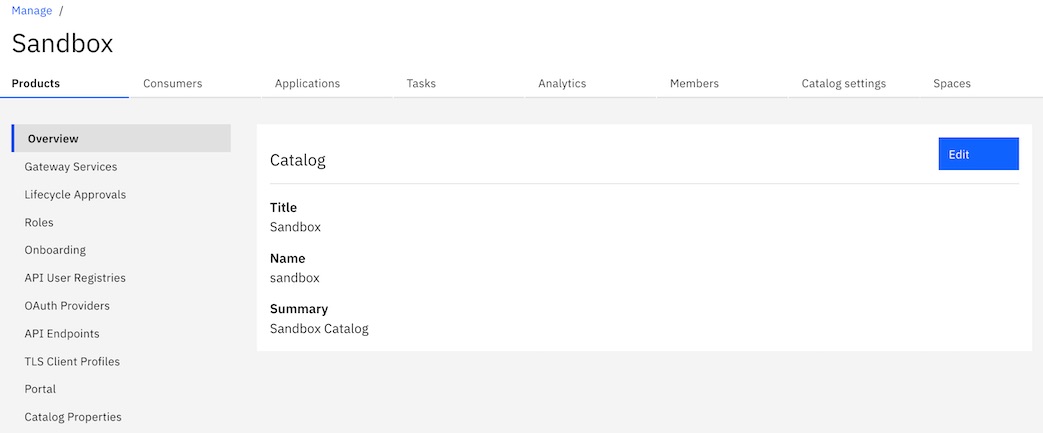
- In the Settings page's navigation list, click API User
Registries.
- On the API User Registries page, click
Edit.
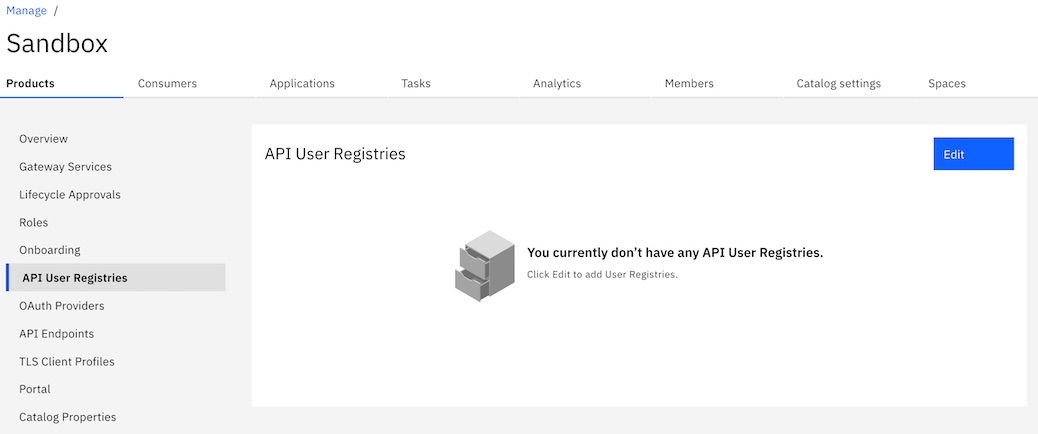
- On the Edit API User Registries page, select AuthURL
from the list of user registries, and then click Save.
The new registry displays in the list of API User Registries.
- Configure your native OAuth provider to be available in the API Manager interface.
- In the Catalog settings page, click OAuth Providers.
- On the OAuth Providers page, click Edit to configure
your native OAuth provider for use with API Manager.
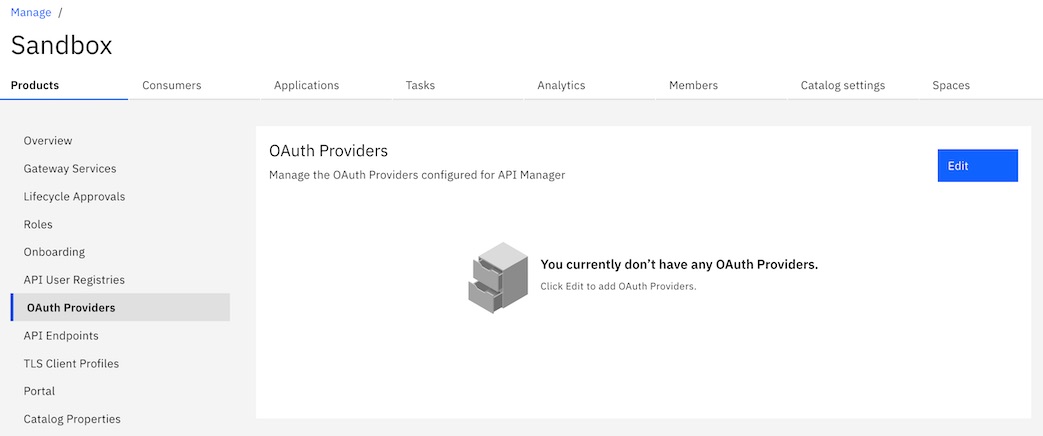
- On the Edit OAuth Provider page, select
MyNativeOAuthProvider. Click Save.
MyNativeOAuthProvider displays in the list of providers that are configured for use with
API Manager.
Add OAuth security to an API
Create a security definition for the FindBranch API and include your native OAuth provider
information.
- Return to the Home page by clicking API Manager in
the banner.
- On the Home page, click
 Develop.
- On the Develop page, click the name of the API (FindBranch) that you want
to modify.

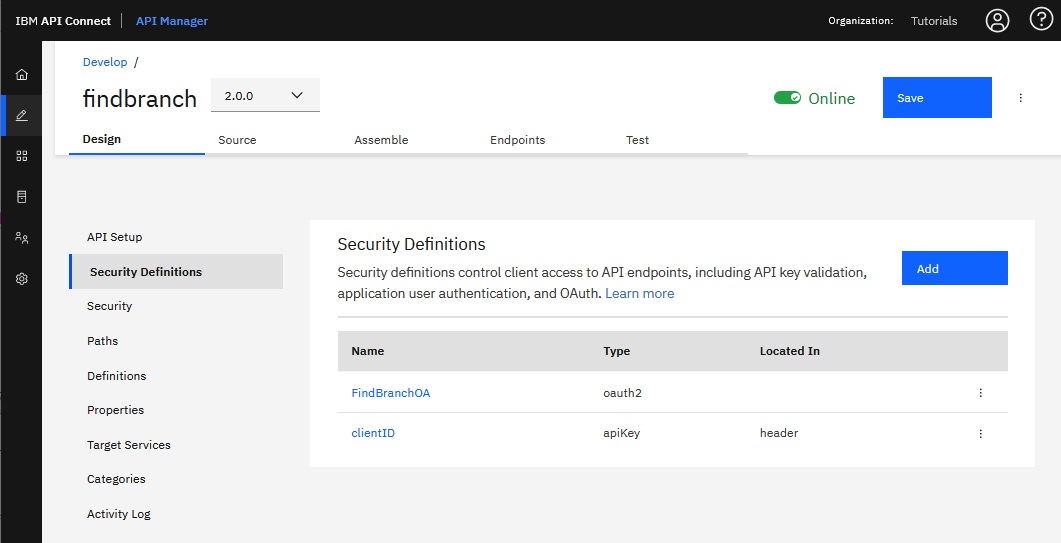
- On the FindBranch API's Design page, click Security
Definitions in the navigation list.
- On the Security Definitions page, click Add.
- On the API Security Definition page, complete the following fields:
- Click Save in the page header.
- In the navigation list, click Security.
- On the Security page, select the FindBranchOA
security definition, and then select the details scope.
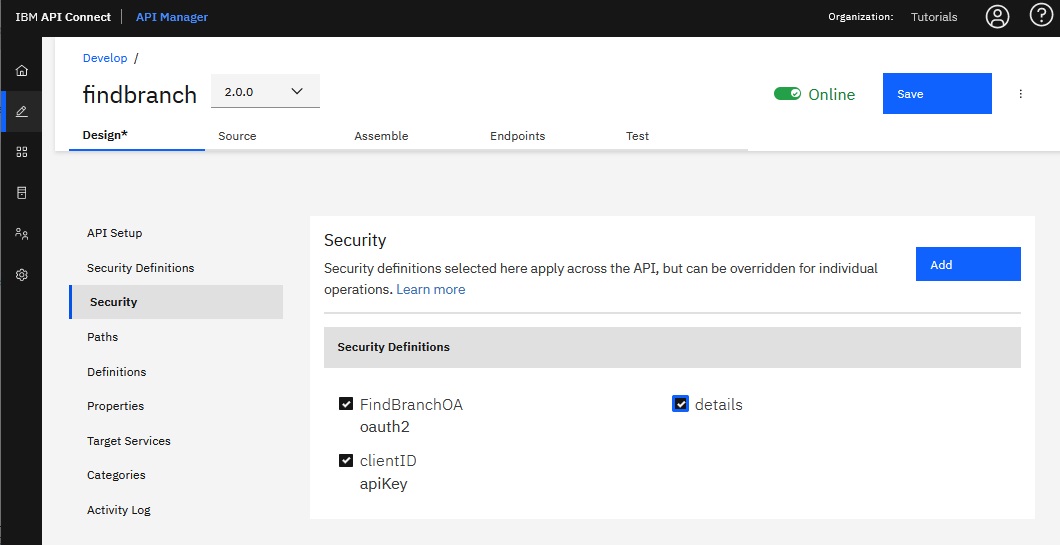
- Click Save in the page header.
Adding an OAuth redirect to the Sandbox Test App
To test the OAuth functionality within API Manager, use the Sandbox Test
App application. The Sandbox Test App is included with the Sandbox catalog, and is automatically
subscribed to the default product for every API that you create within the catalog, so it's always
available for testing APIs in API Manager.
But before you can use the application for OAuth testing, you must update it to include an OAuth
redirect URL.
- In the navigation pane, click Manage
 .
.
- Select the Sandbox catalog.
- In the navigation pane, click the
Applications tab.
- In the list of applications, click the Sandbox Test App
application.

- In the Sandbox Test App, type or paste https://example.com/redirect in
the OAuth Redirect URL field.
Although this field is typically optional,
you need to supply it for the authorization flow in your OAuth provider. For testing OAuth within
API Manager, the URL can be any value that is formatted as a proper URL, but you must use the same
value when you provide the redirect URL during testing.
- Click Save to update the application.
Test the OAuth security implementation
Note: Due to Cross-Origin Resource Sharing (CORS)
restrictions, the assembly test tool cannot be used with the Chrome or Safari browsers on the macOS
Catalina platform.
To test your OAuth implementation, you will invoke an API from within API Manager using the Sandbox Test
App. Before invoking the API, you must obtain an authorization code and then use it to obtain an
access token that allows you to execute the API.
- Open the FindBranch API in the Assembly view for testing by completing the
following steps:
- Return to the Home page by clicking API Manager in
the banner.
- On the Home page, click the Develop APIs and
Products tile.
- Click the API that you want to test (FindBranch).
- In the page header, click Assemble.
- On the Assemble page, click the Test icon
 to open the Test panel, and dismiss the warning about the tool being deprecated.
In the
Test panel's "Setup" section, you can verify that you are working in the Sandbox catalog, using the
FindBranch API's default product, and the Sandbox Test App.
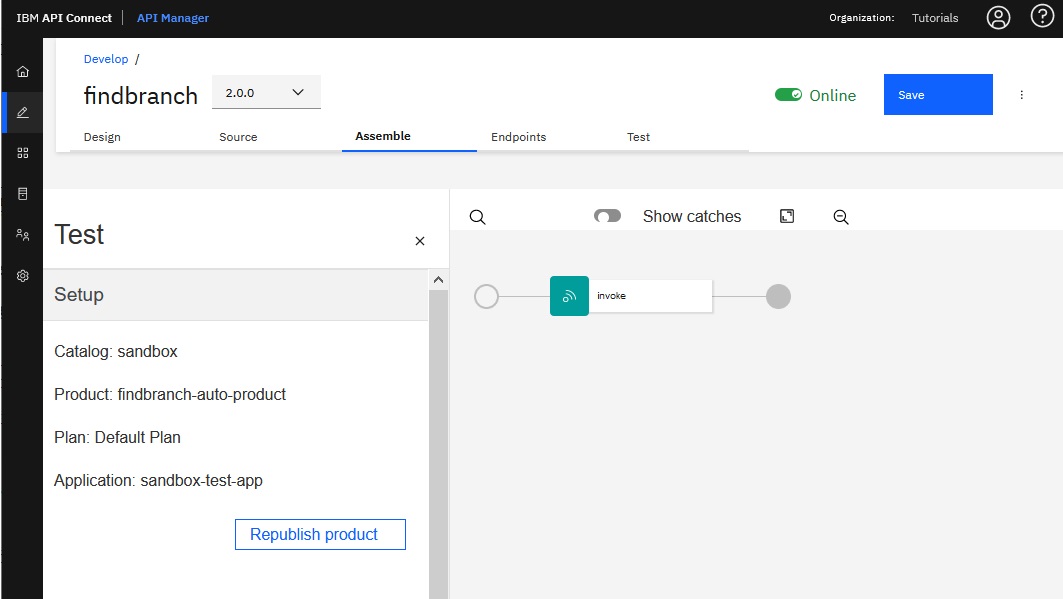
- You recently updated the API (to modify its security settings), so click Republish
product to ensure that the latest update is online and available for testing.
- In the
Operation
section of the Test panel, click the Operation
field and select the FindBranch API's get /details operation. 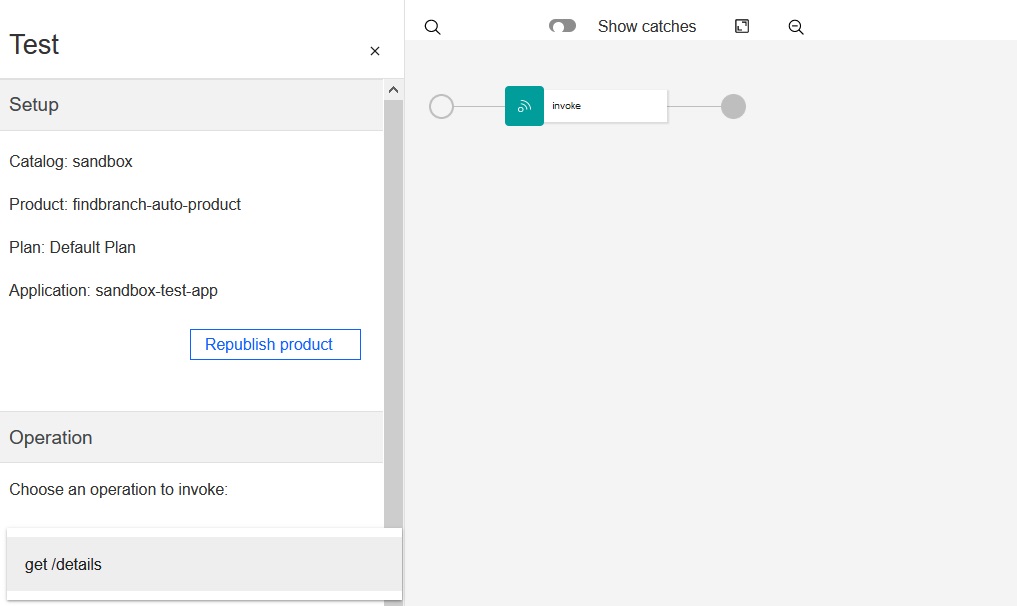
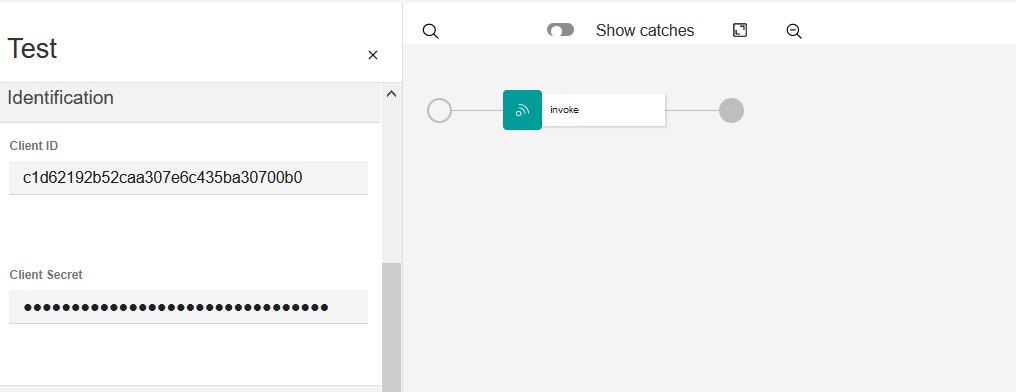
In the Identification
section, the Sandbox Test App's credentials are supplied
for you. You do not need to modify them.
- In the
Authorization
section, type or paste
https://example.com/redirect in the Redirect URI
field. The redirect URI must match the OAuth Redirect URL that you provided in the Sandbox Test
App.

In the Authorization
section, select the scope of the API that is secured with
the native OAuth provider (for the FindBranch API, the scope is details).
The authorization and token URLs defined for the API also display in the Authorization
section. The URLs are used for obtaining the authorization code and the access token that allow you
to execute the API.
- Complete the following steps to obtain the authorization code:
- Click Authorize to submit a request to the authorization URL.
You are
authenticated by the Httpbin.org application that you previously configured (with the user name and
password that you specified), and it returns your authorization code to the OAuth redirect URL that
you provided for testing (https://example.com/redirect).
When you
successfully authenticate, your browser redirects to a window that displays the page from the
redirect URL. Your authorization code is included in the address bar as a parameter to the
URL.
- Copy the authorization code from the URL in the window's address bar, capturing everything after
"code=".
For
example:
https://example.com/redirect?code= AALMmZCyKnhY1HpZGfpHkFH7wDdsNh9R2hgDfGwMVgdEzBOTlnq5LPZ3x6RFPa3V7CzsGacH8LLGlafnqa3ntbh921n5rJE7W0_jC1cAtzcZEg
- Paste the authorization code into the Authorization Code field in the
Test panel.
- Click explorer_get_token to submit the authorization code and request an
access token in return.
The access token is added to the Access Token field
for you.
Note: If the access token does not appear and you see a message about your authorization
code expiring, return to the previous step to request a new code, and then quickly paste it and
generate the access token.
When the access token displays, you are authorized to use the API.
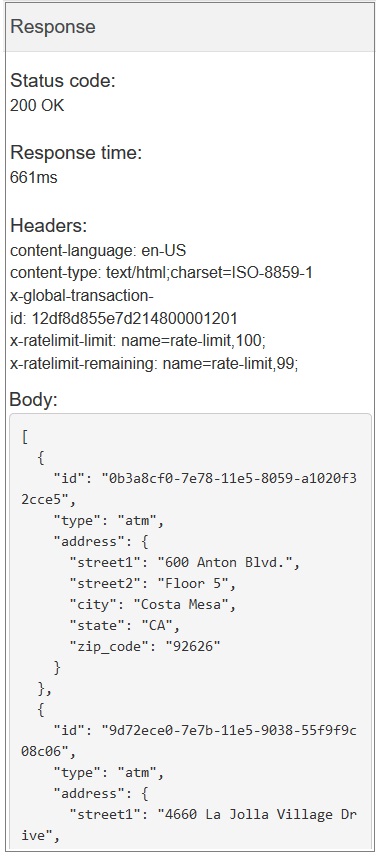
- Click Invoke.
The FindBranch API's response displays the Status code
200 OK and response header information, and the body contains the data
for each bank branch.
What you did in this tutorial
In this tutorial, you completed the following activities:
- Created a user registry for use with an OAuth provider.
- Created a native OAuth provider and made it available within the catalog.
- Added OAuth security to an API.
- Updated the Sandbox Test App (client application) to provide an OAuth redirect for testing.
- Tested the OAuth security by obtaining an authorization code, exchanging it for an access token,
and invoking the secured API.

 Develop.


 .
.


