IBM Cloud Pak SCIM Azure AD integration
From foundational services version 3.23 and later, Cloud Pak can use the Azure-IAM integration by using SCIM to manage the users and groups at the CloudPak end. The Azure-IAM integration will also help in managing the authentication and authorization for the resources.
Azure Active Directory (Azure AD) is an enterprise identity service that provides single sign-on, multifactor authentication, and conditional access to protect against cybersecurity attacks.

Configuration required for Azure integration using SSO/SAML and SCIM
Note:
-
Follow this process until you have the IBM Specific app published in Azure AD application gallery.
-
You can create free Azure dev org by signing up to Azure Dev portal. Both personal and official accounts are accepted. Once dev account is created, you can login to the dev account to get the Azure main dashboard.
Prerequisites:
- Cloud Pak must have foundational services version 3.23 or later.
- You must have a valid active Azure account and org.
- CP console route must be displayed with the trusted certificate.
- CP console route must be publicly accessible over an internet unless Azure is deployed into private tenant.
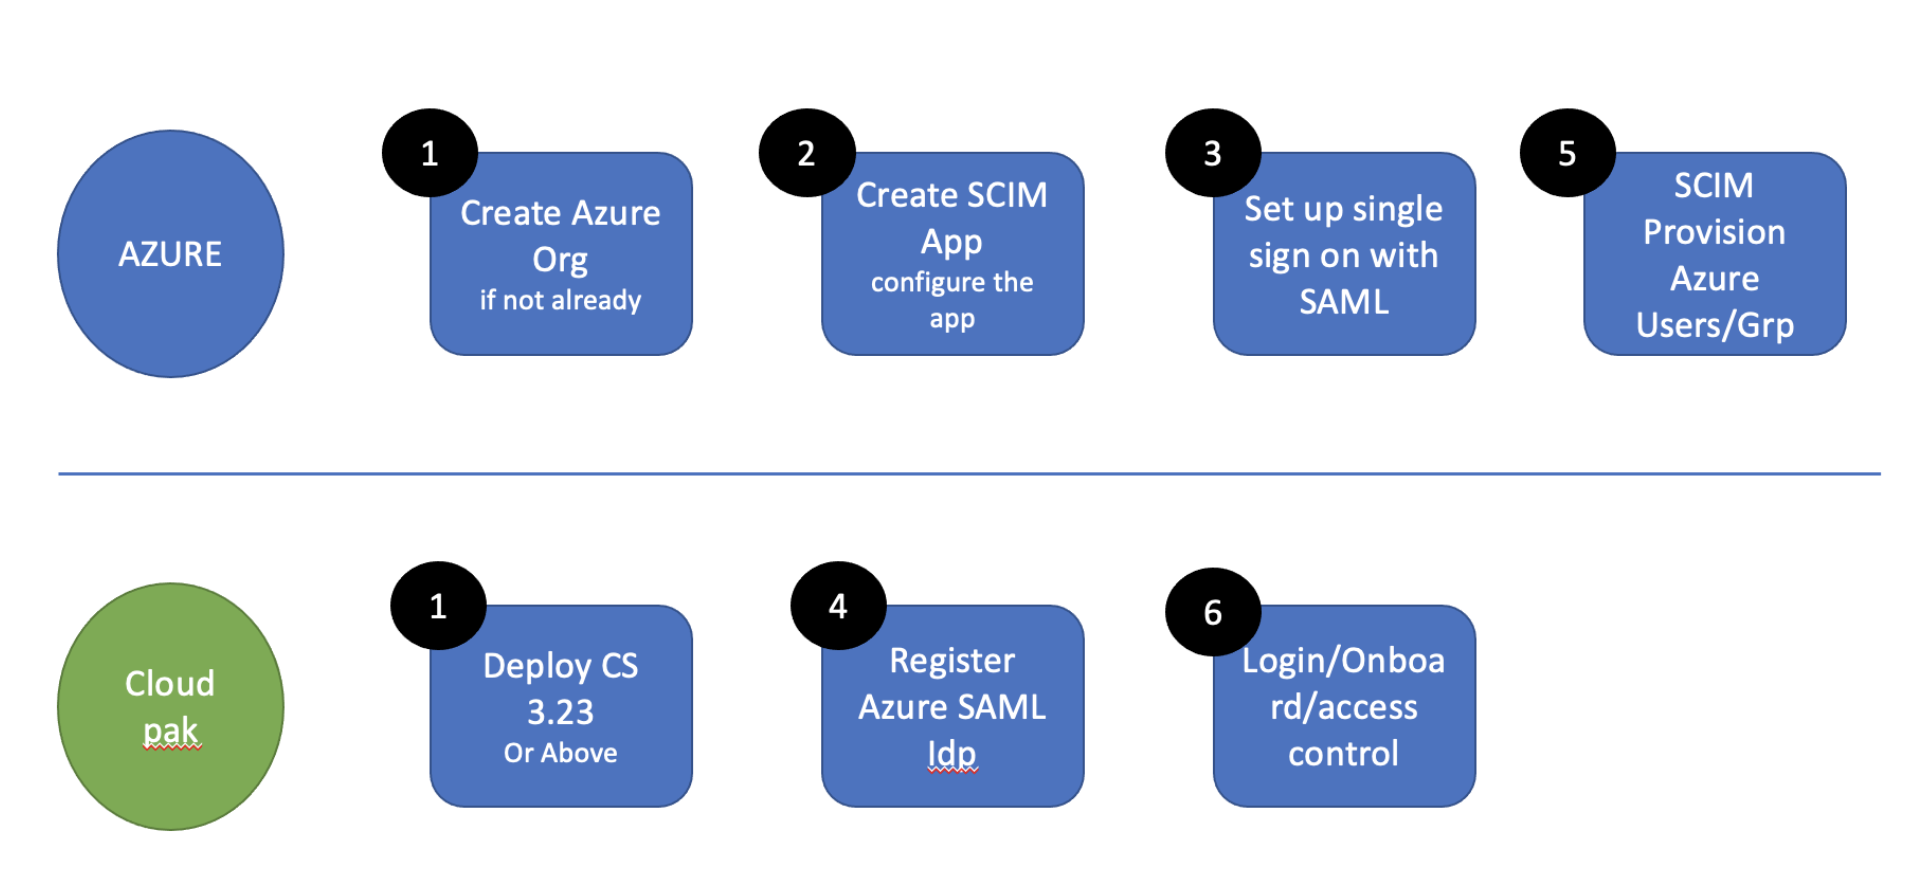
Follow the steps in sequence:
- Create Azure Org if you have not created the Azure Org. And, deploy the foundational services version 3.23 and later.
- Create the SCIM app and configure the app at Azure. For more information, see Configure CloudPak as SAML service provider (SP) at Azure.
- Set up single-sign-on with SAML.
- Register Azure SAML IdP at Cloud Pak. For more information, see Configure Azure as SAML IdP at CloudPak.
- Perform SCIM provisioning for Azure users and groups. For more information, see Manage users and Manage groups.
- Login or onboard to the Cloud Pak.
Primarily, the following main configurations are required to get Azure SCIM Integration working with CloudPak along with SAML SSO.
- Configure Cloud Pak as SAML service provider (SP) at Azure
- Configure Azure as SAML IdP at Cloud Pak
- Configure SCIM Integration with Cloud Pak SCIM Server
Configuring Cloud Pak as SAML SP at Azure and configuring Azure as SAML IdP at Cloud Pak are performed to make the e2e SSO work. And, configuring SCIM integration with CloudPak SCIM server is performed to enable SCIM provisioning.
Configure Cloud Pak as SAML service provider (SP) at Azure
Before you begin: You must have the SP, CloudPak CommonServices IAM liberty SAML metadata. You can use either the cloudctl command or samlmetadata API to get the SAML metadata. For more
information, see Export metadata.
Steps
- Login to Azure org. Azure home page appears.
- In the home page, select Manage Azure Active Directory by clicking View.
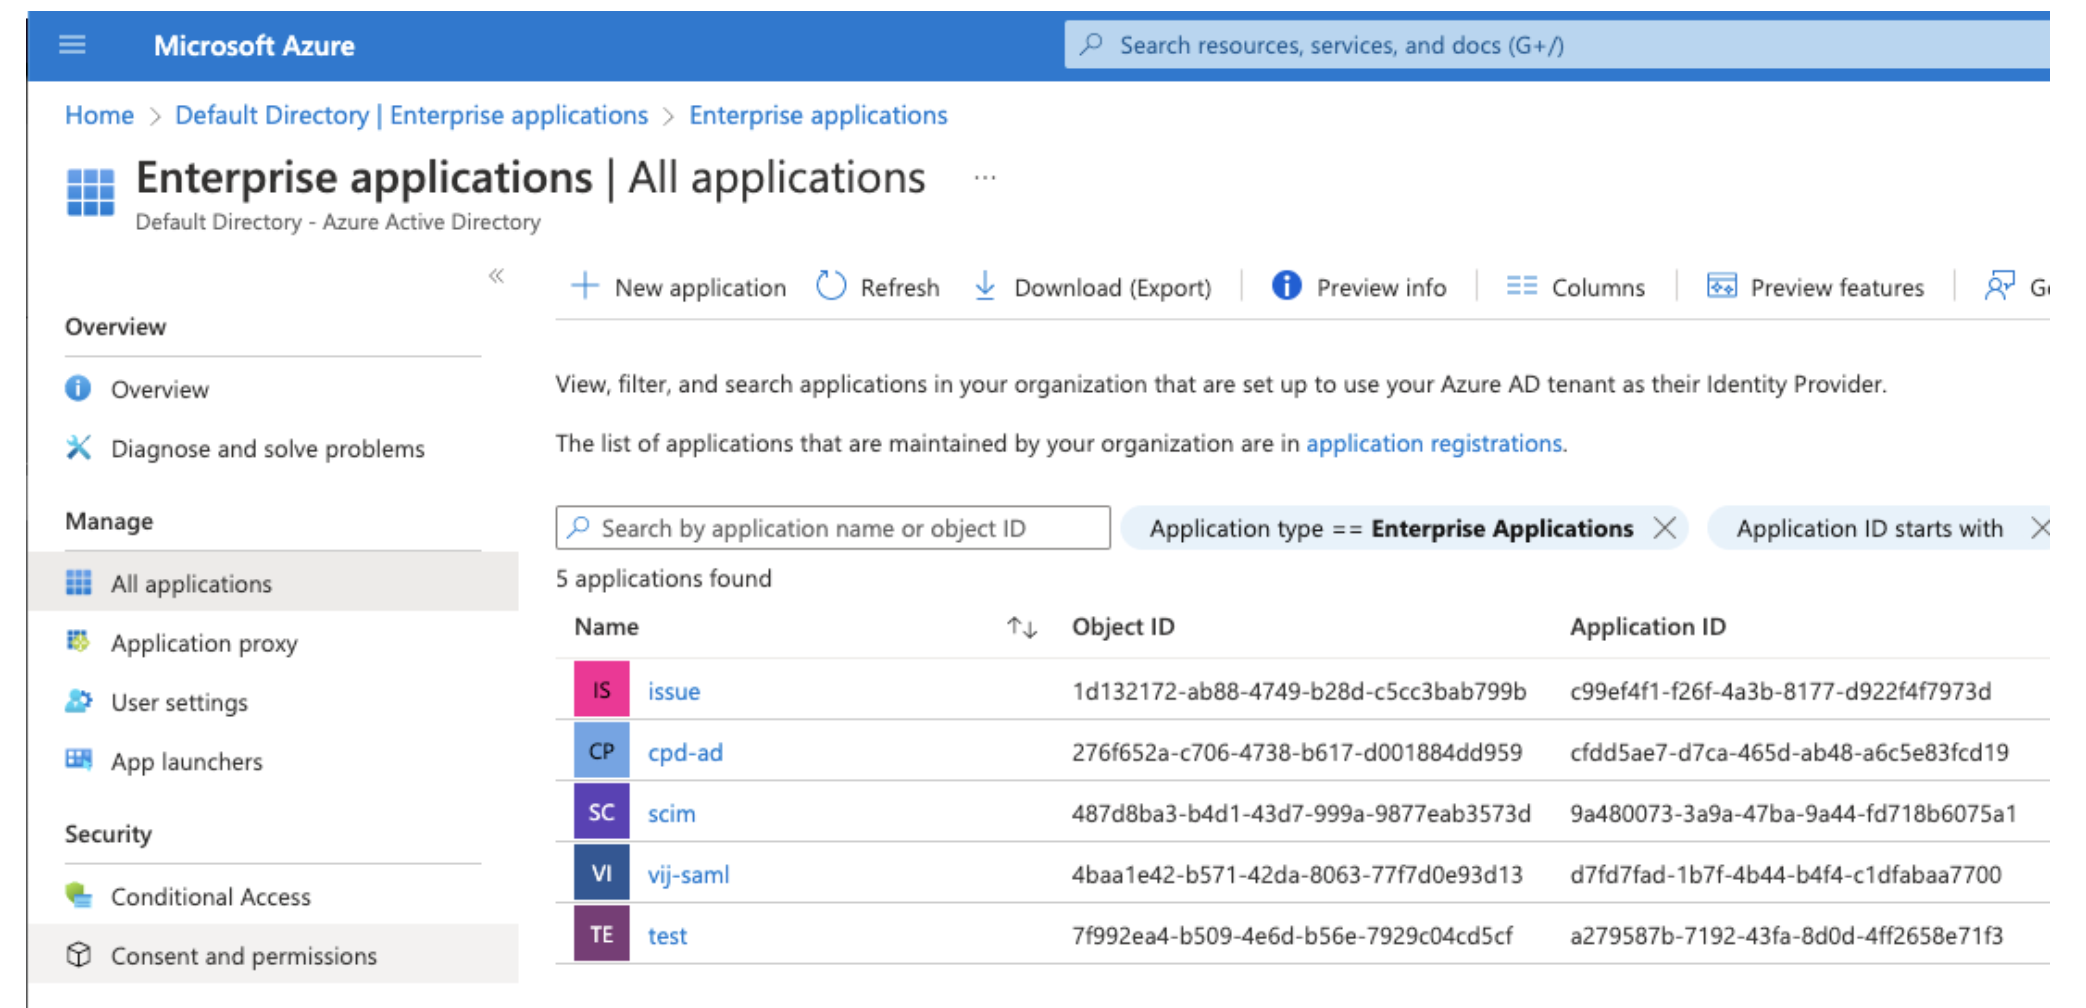
- In Default Directory page, click Enterprise applications in Manage section. The Enterprise applications page appears.
- Select the enterprise application from the list in Enterprise applications page.
-
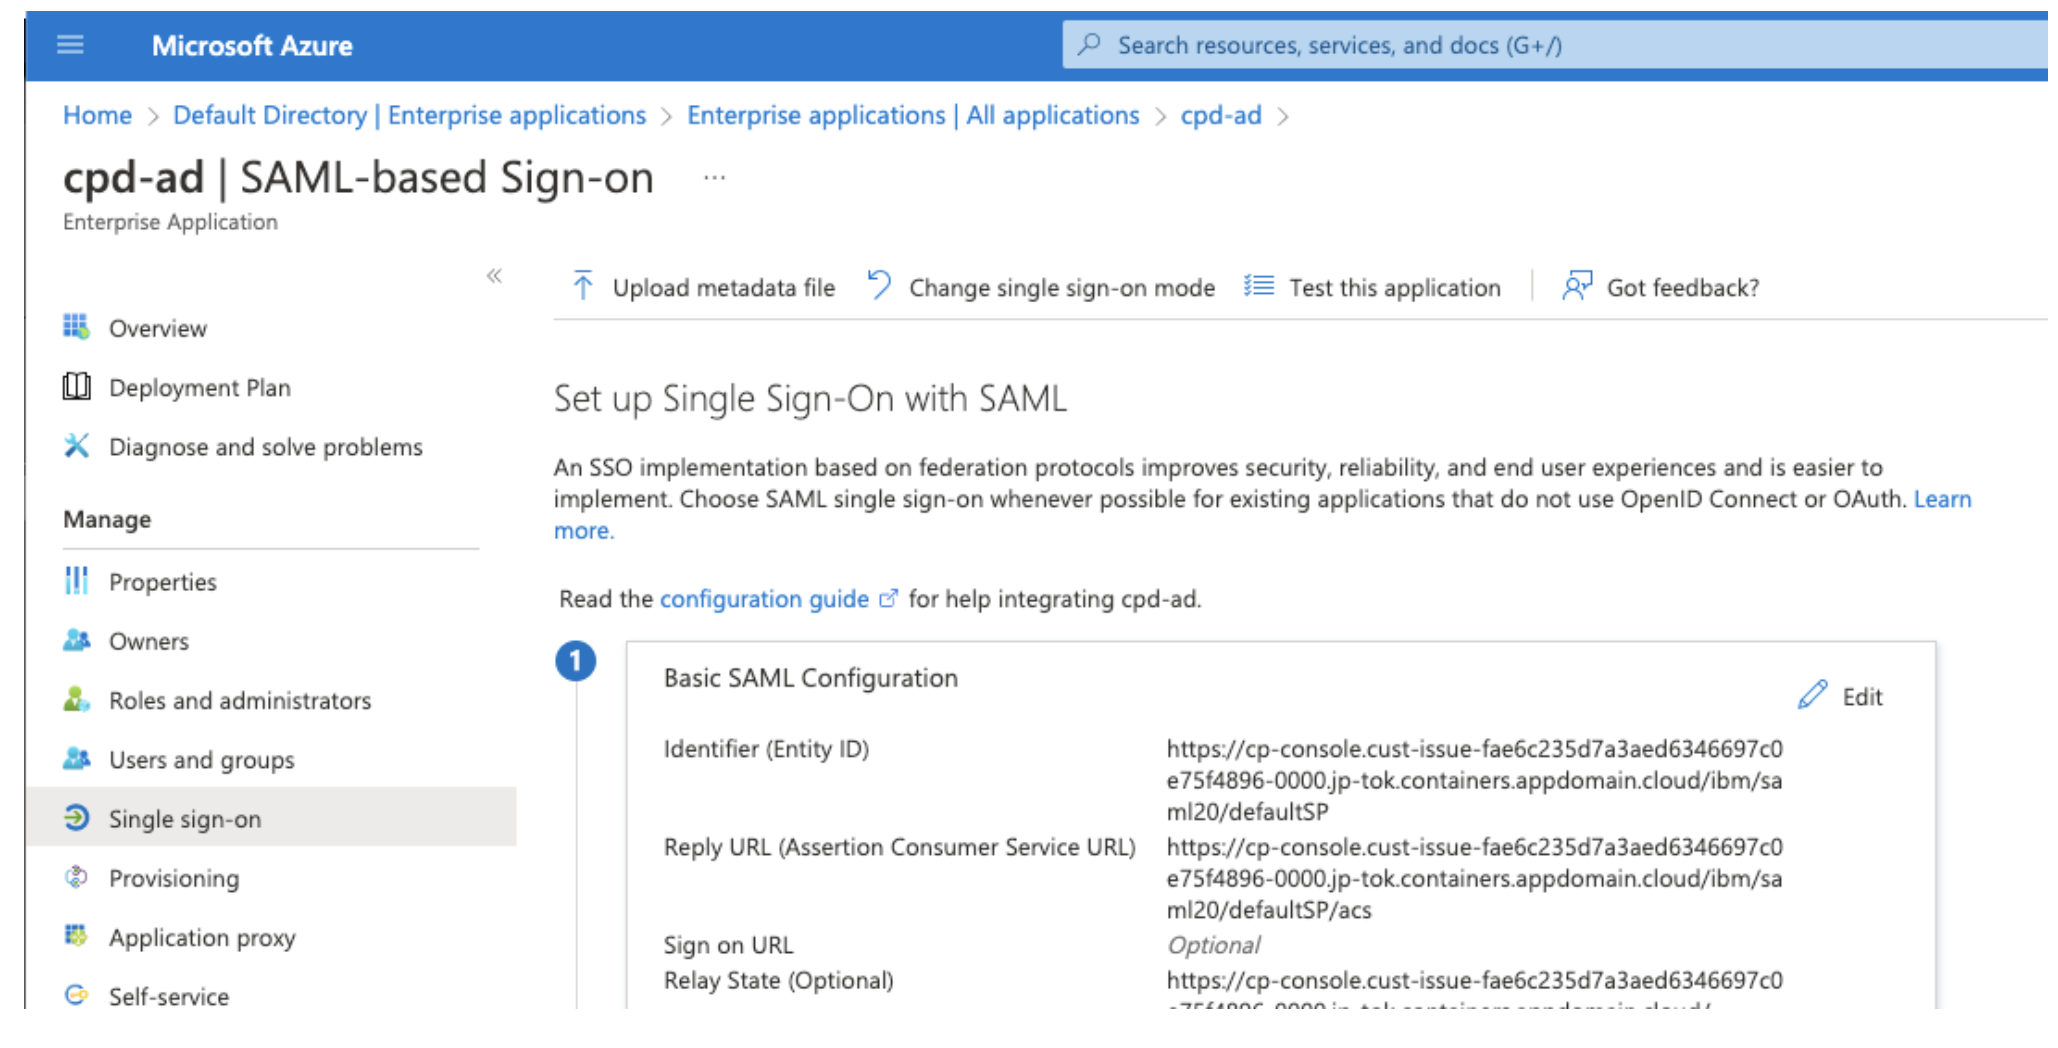
Select Set up single sign on by clicking Get started.
-
Configure group claim.
- On the Single Sing-On with SAML page, under Attributes and Claims, click Edit.
- Click Add a group claim. For more information, see Configure group claims for applications with Azure Active Directory in Microsoft documentation. Note: If an existing application expects to consume group information via claims, Azure Active Directory can be configured with different claim formats.
- Select Groups assigned to the application as the groups that should be returned in the claim, and click Save.
-
Select Upload metadata file option and upload the SP metadata file and click Add.
-
Confirm the Attributes & Claims names and values.
The default User attributes:
- Name: http://schemas.xmlsoap.org/ws/2005/05/identity/claims/name, Type: SAML, Value: userprincipalname
- Name: http://schemas.xmlsoap.org/ws/2005/05/identity/claims/givenname, Type: SAML, Value: user.givenname
- Name: http://schemas.xmlsoap.org/ws/2005/05/identity/claims/surname, Type: SAML, Value: user.surname
-
Name: http://schemas.xmlsoap.org/ws/2005/05/identity/claims/emailaddress, Type: SAML, Value: user.mail
The default Group attributes:
-
Name: http://schemas.microsoft.com/ws/2008/06/identity/claims/groups, Type: SAML, Filter: Equals (it can be adopted based on the groupName), Value: groupName (groupName should be the Azure groupName and it should be any of the following: None, All groups, Security groups, Directory roles, Groups assigned to the application)
Note: While registering the Azure IdP, you can use the same default keys of the Name field to specify the values in the
token_attribute_mappingssection. The values allows Azure to send the attributes in SAML response to Cloud Pak. In case, you have customized the attributes keys, use the customized keys only to specify the values in thetoken_attribute_mappingssection. For more information, see SAML authentication with Azure Active Directory. For example, if you are using the default attributes keys to specify the values intoken_attribute_mappingssection:"token_attribute_mappings": { "sub": "http://schemas.xmlsoap.org/ws/2005/05/identity/claims/name", "given_name": "http://schemas.xmlsoap.org/ws/2005/05/identity/claims/givenname", "family_name": "http://schemas.xmlsoap.org/ws/2005/05/identity/claims/surname", "groups": "http://schemas.microsoft.com/ws/2008/06/identity/claims/groups", "email": "http://schemas.xmlsoap.org/ws/2005/05/identity/claims/emailaddress", "first_name": "http://schemas.xmlsoap.org/ws/2005/05/identity/claims/givenname", "last_name": "http://schemas.xmlsoap.org/ws/2005/05/identity/claims/surname" } -
Once the metadata is saved, go to the SAML certificate section and download Federation Metadata XML and save as
idp-metadata-xml.xml. -
Click Test this application.
-
Verify the login by clicking Test single sign-on with cpd-ad section.
-
Go to SCIM app and assign the user and/or group who are required to login at Cloud Pak end. To assign the user and/or group:
- Under Manage section, select Enterprise applications from the menu. The Enterprise applications page appears.
- Select Assign users and groups. Then, select the users and groups that you want to assign.
If you want to assign existing LDAP users or group to the App, use Azure Active Directory (Azure AD) to create a domain in Azure and link the Azure AD to an on-premises AD domain. For more information, see Integrate on-premises AD with Azure. After this, the LDAP entities can be imported to Azure and it can be used for assignment.
Configure Azure as SAML IdP at Cloud Pak
Use the CloudPak foundational services version 3.23 IAM IdP V3 API to register Azure as SAML IdP. For now, the Azure registration is not supported through UI. Therefore, you need to perform the registration using API only. However, the process remains the same. For more information about the IdP v3 usage, see IdP V3 registration with Azure.
With the registration IdP v3 API, the required Oauth client is also created. This Oauth client will be used for configuring SCIM server Oauth authentication from Azure.
Note: Provide the redirect_uri for oauthClient registration.
Upon successful registration, you will get clientId and clientSecret name. From the clientSecret, both the clientId and clientSecret can be retrieved.
To be concluded, the IdP v3 Azure registration does the following:
- Register Azure as SAML IdP.
- Register Azure to Liberty
oauthClientwhile returning the client credentials.
Prerequisites:
- Download the
idp-metadata-xmlfrom Azure as mentioned in step 7 in Configuring Cloud Pak as SAML service provider (SP) at Azure. - Encode the
idp-metadata-xmlcontent as base64. For example,cat idp-metadata-xml |base64. - You need to pass the
redirect_urifor Azure Oauth client creation along with IdP V3 registration.
Steps
-
Use the IdP V3 API to register Azure as SAML IdP.
The following sample for Azure registration as SAML IdP. To get
accessToken, see Get access token by using cpclient_credentials.curl --location --request POST 'https://cpconsoleroute/idprovider/v3/auth/idsource' \ --header 'Authorization: Bearer $accessToken' \ --header 'Content-Type: application/json' \ --data-raw '{ "name": "AzureSAML", "description": "AzureSAML", "protocol": "saml", "type": "okta", "idp_config": { "token_attribute_mappings": { "sub": "http://schemas.xmlsoap.org/ws/2005/05/identity/claims/name", "given_name": "http://schemas.xmlsoap.org/ws/2005/05/identity/claims/givenname", "family_name": "http://schemas.xmlsoap.org/ws/2005/05/identity/claims/surname", "groups": "http://schemas.microsoft.com/ws/2008/06/identity/claims/groups", "email": "http://schemas.xmlsoap.org/ws/2005/05/identity/claims/emailaddress", "first_name": "http://schemas.xmlsoap.org/ws/2005/05/identity/claims/givenname", "last_name": "http://schemas.xmlsoap.org/ws/2005/05/identity/claims/surname" }, "idp_metadata": "Base64-encoded-metadata" }, "jit": false, "scim_config": { "redirect_url": ["azure_redirect_url"], "scim_attribute_mappings": { "user": { "principalName": "userName", "name": { "givenName": "givenName", "familyName": "familyName" }, "displayName": "displayName", "emails": [ { "value": "emails", "type": "home" } ], "id": "id", "userName": "userName" }, "group": { "principalName": "displayName", "displayName": "displayName", "id": "externalId", } } } }'Note: From 3.23.1, the type will be supported as
azuread. -
Upon successful registration, you might get the status similar to the following:
 {
    "status": "success",
    "message": "Identity provider {AzureSAML} is successfully registered with unique identifier : defaultSP, oktaclient created with clientId: yx3a5pwtdrmn0sf8ockyf97dg55lswo7 , client secret: okta-oidcclient-secret"
 }
The error message resembles the following:
  401 "error": "Insufficient user permission for role : rolename"
  400 "error": "schema error:schema validation error followed by error"
  400 "error": "duplicate : Idp with protocol=saml is already created"
  500 "error": "Other errors"
token_attribute_mappings:
token_attribute_mappingsis a custom mapping that user can provide based on the SAML attribute mapping that is configured at Azure. User should modify the values, not the key, based on the Azure SAML attribute configuration. For more information about attributes, see Step 6 in Configure CloudPak as SAML service provider (SP) at Azure.scim_attribute_mappings: Provide the mapping attributes as in the CURL command. The defined mapping will be used in filter query, creating attributes and the response that is to be sent.
Note: You can get the client credential details from the secret that has been created. This client credential details are sent back as a response.
To get the Oauth client credentials:
-
Login to the OpenShift Container platform by using
ocCLI. -
Run the following commands:
oc get secrets/okta-oidcclient-secret --template={{.data.CLIENT_ID} | base64 -Doc get secrets/okta-oidcclient-secret --template={{.data.CLIENT_SECRET}} | base64 -D
Once the registration is done, the SAML configuration can be validated by login through the cp-console directly. The default role will be Viewer.
For Platform UI SAML login, you need to first complete the Azure SCIM integration so that the provisioned user or group can be onboarded at Platform UI end. If you have not already completed the SCIM Integration and provisioned required for the users and groups, then complete the steps that are mentioned in Configure SCIM integration with CloudPak SCIM server before you proceed further.
To login Platform UI console, follow these steps:
-
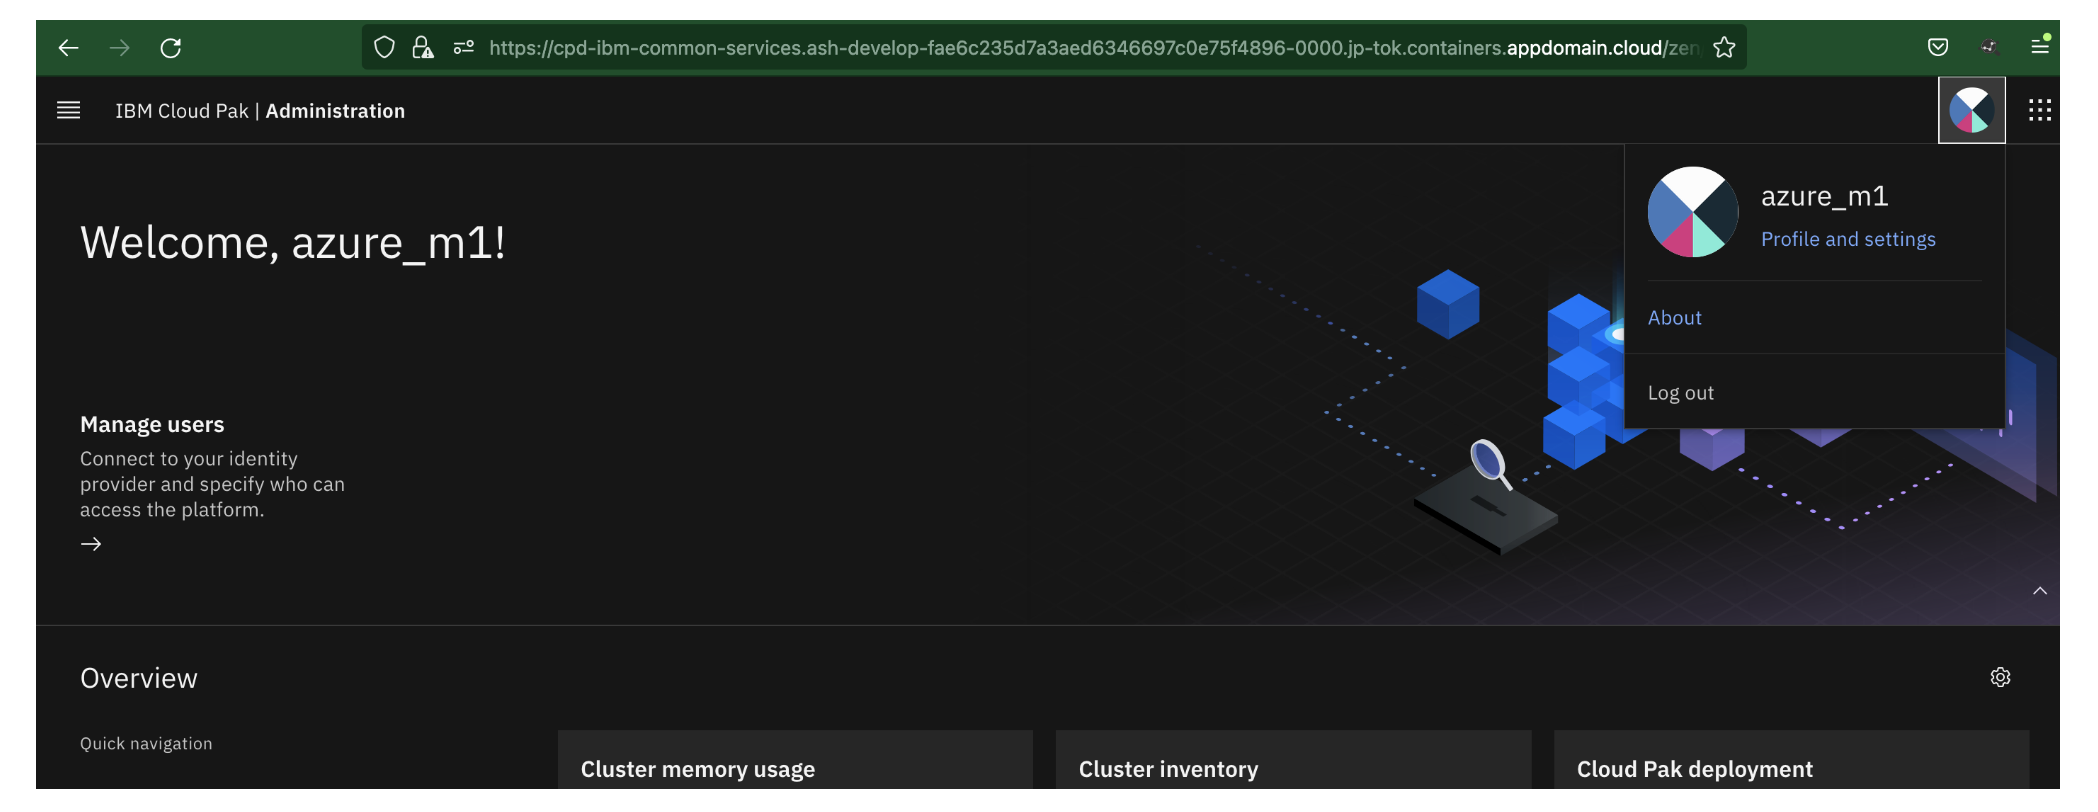
Onboard the user to Platform UI from the IAM ScimServer. For example, azure_m1@vijayanjaygmail.onmicrosoft.com, a user that has been provisioned from Azure to IAM SCIMServer. For more information, see steps that are mentioned in Configure SCIM integration with Cloud Pak SCIM server.
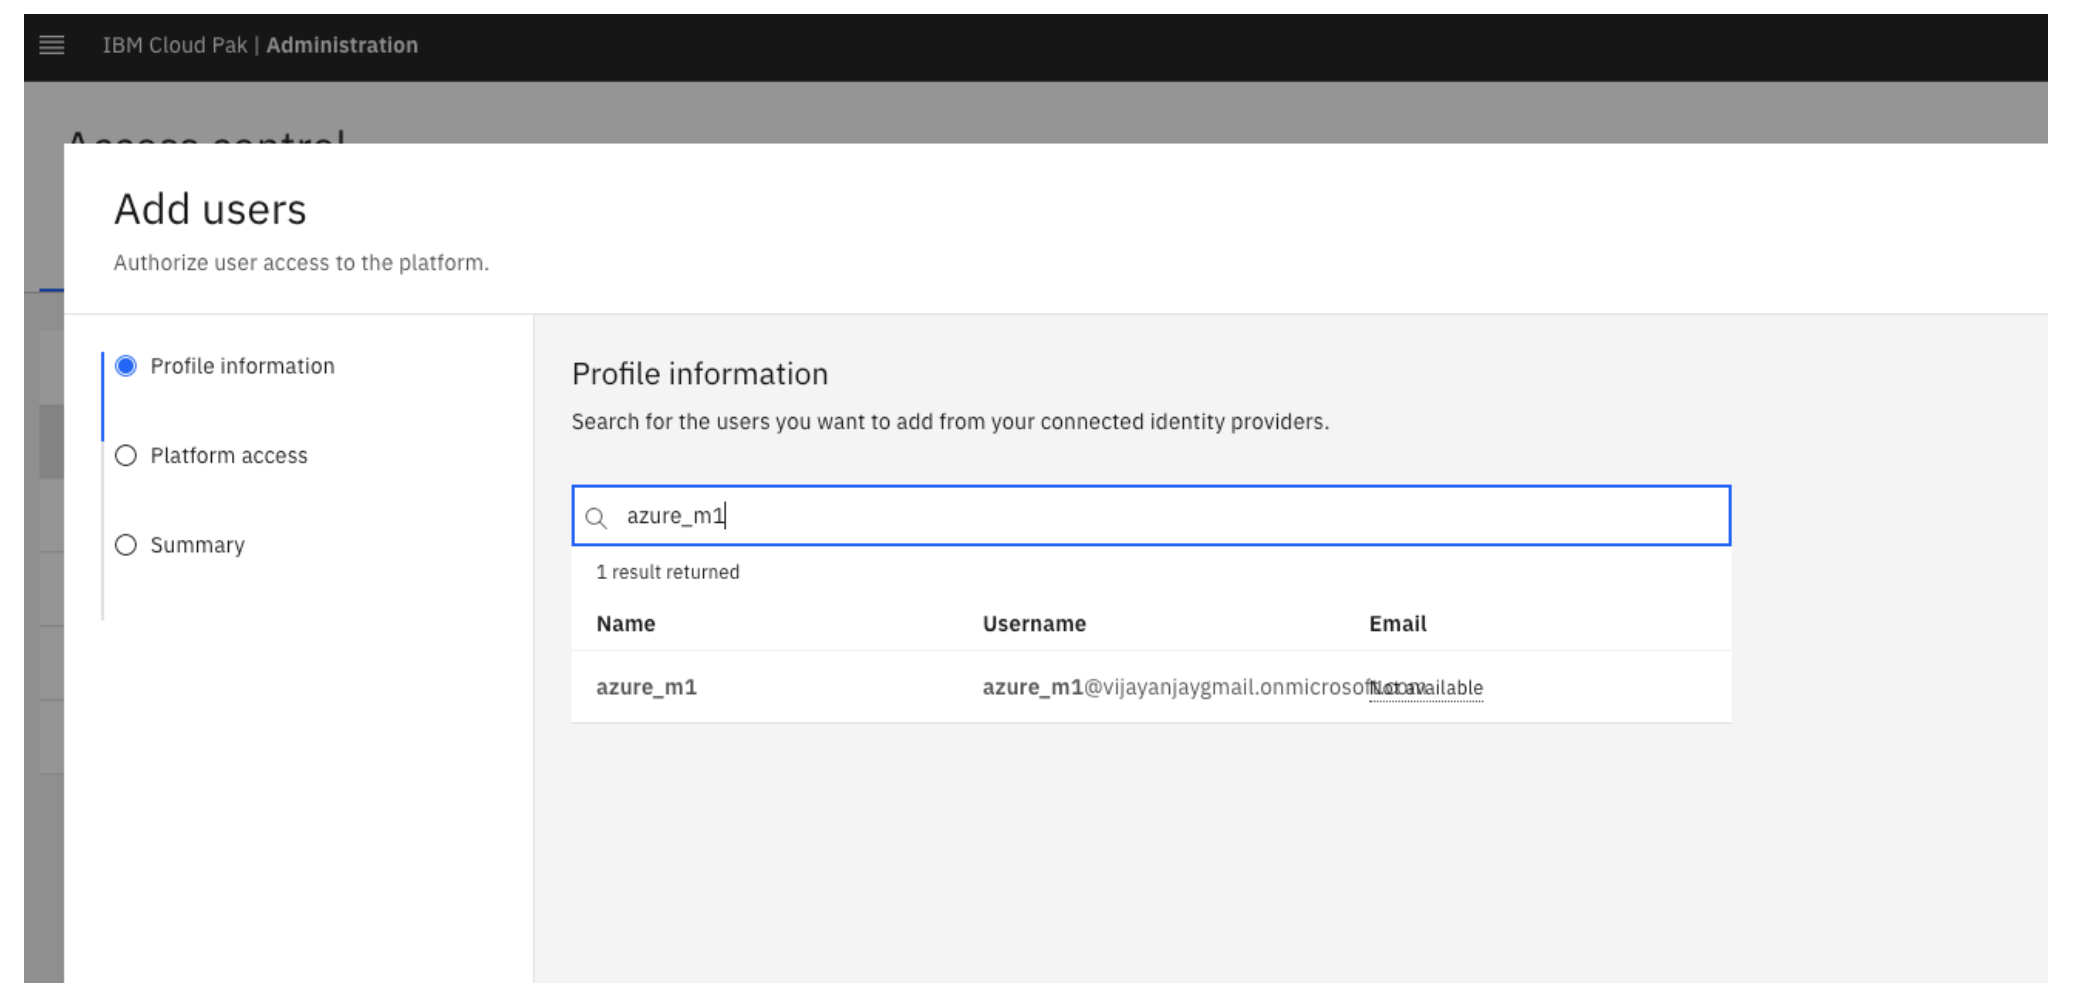

-
Once the user is onboarded, login to the Platform UI console with that user.
-
Similarly, the provisioned group can also onboarded to Platform UI console from the IAM ScimServer.
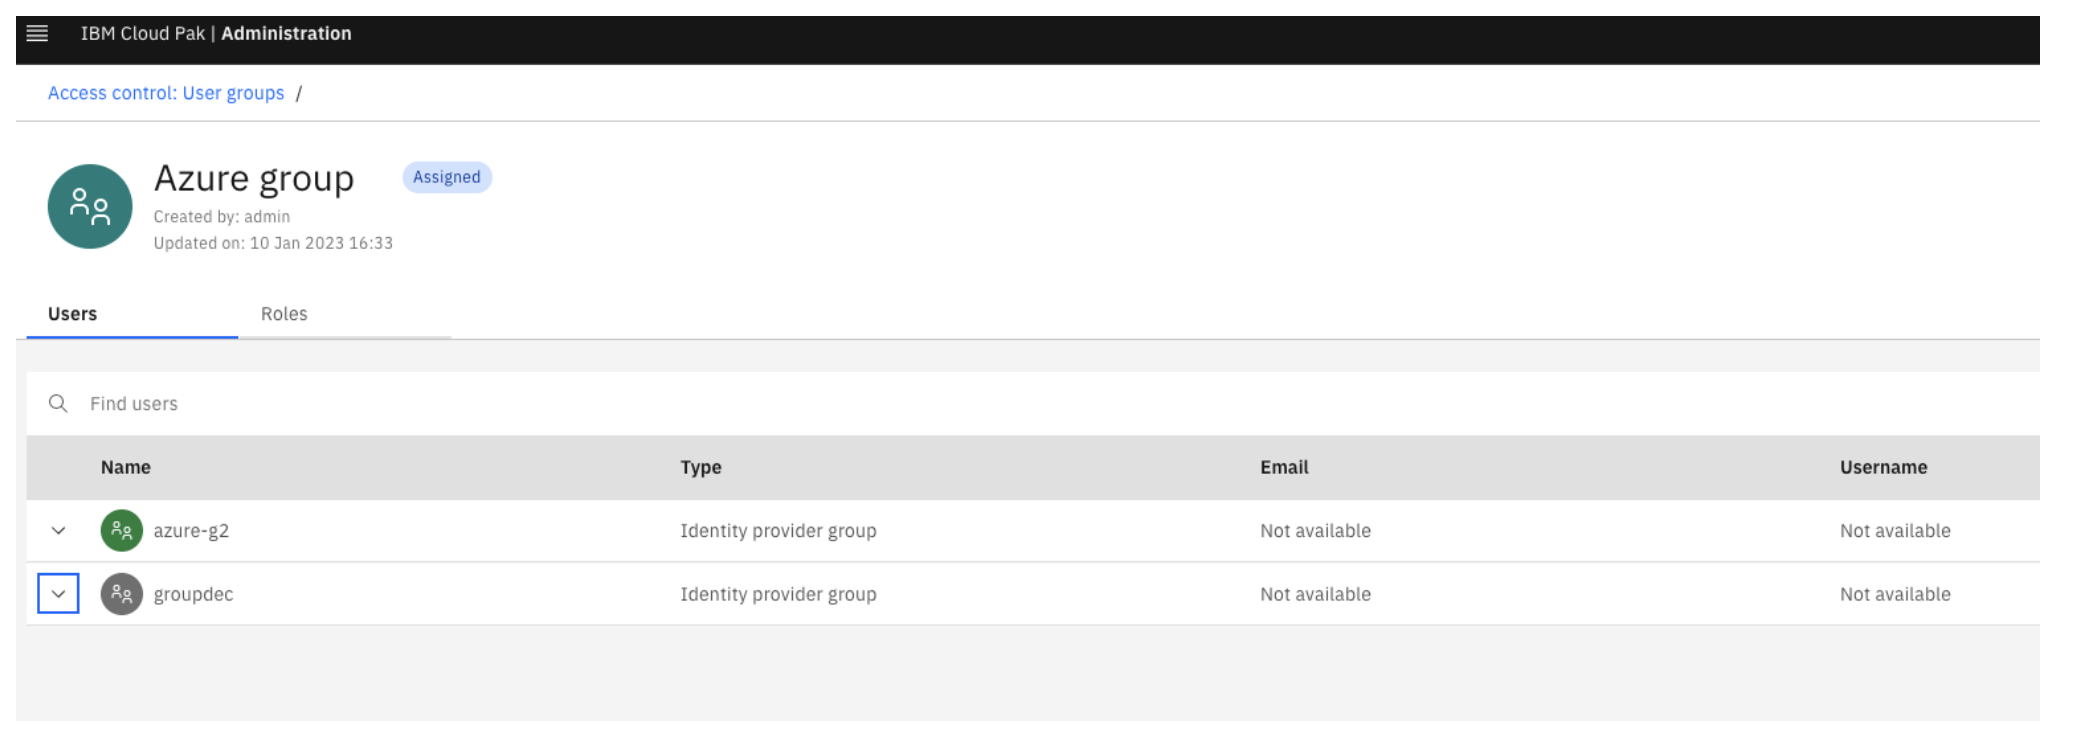
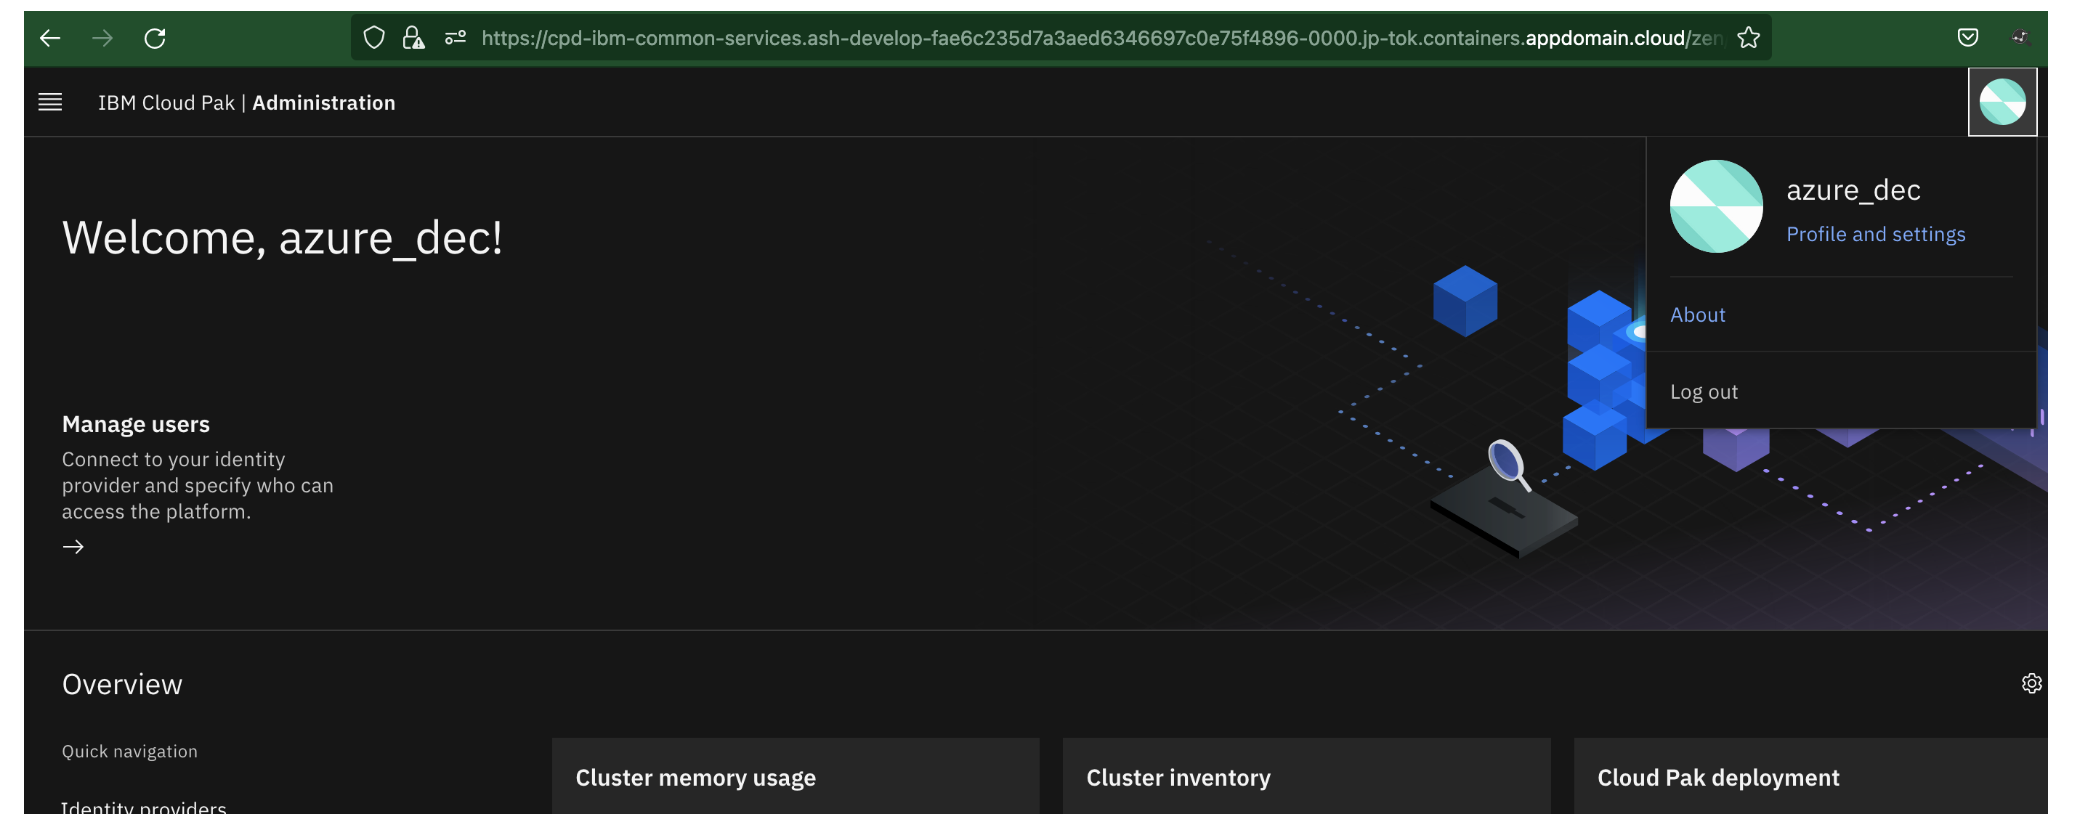
Azure_dec is the member which is available inside groupdec.
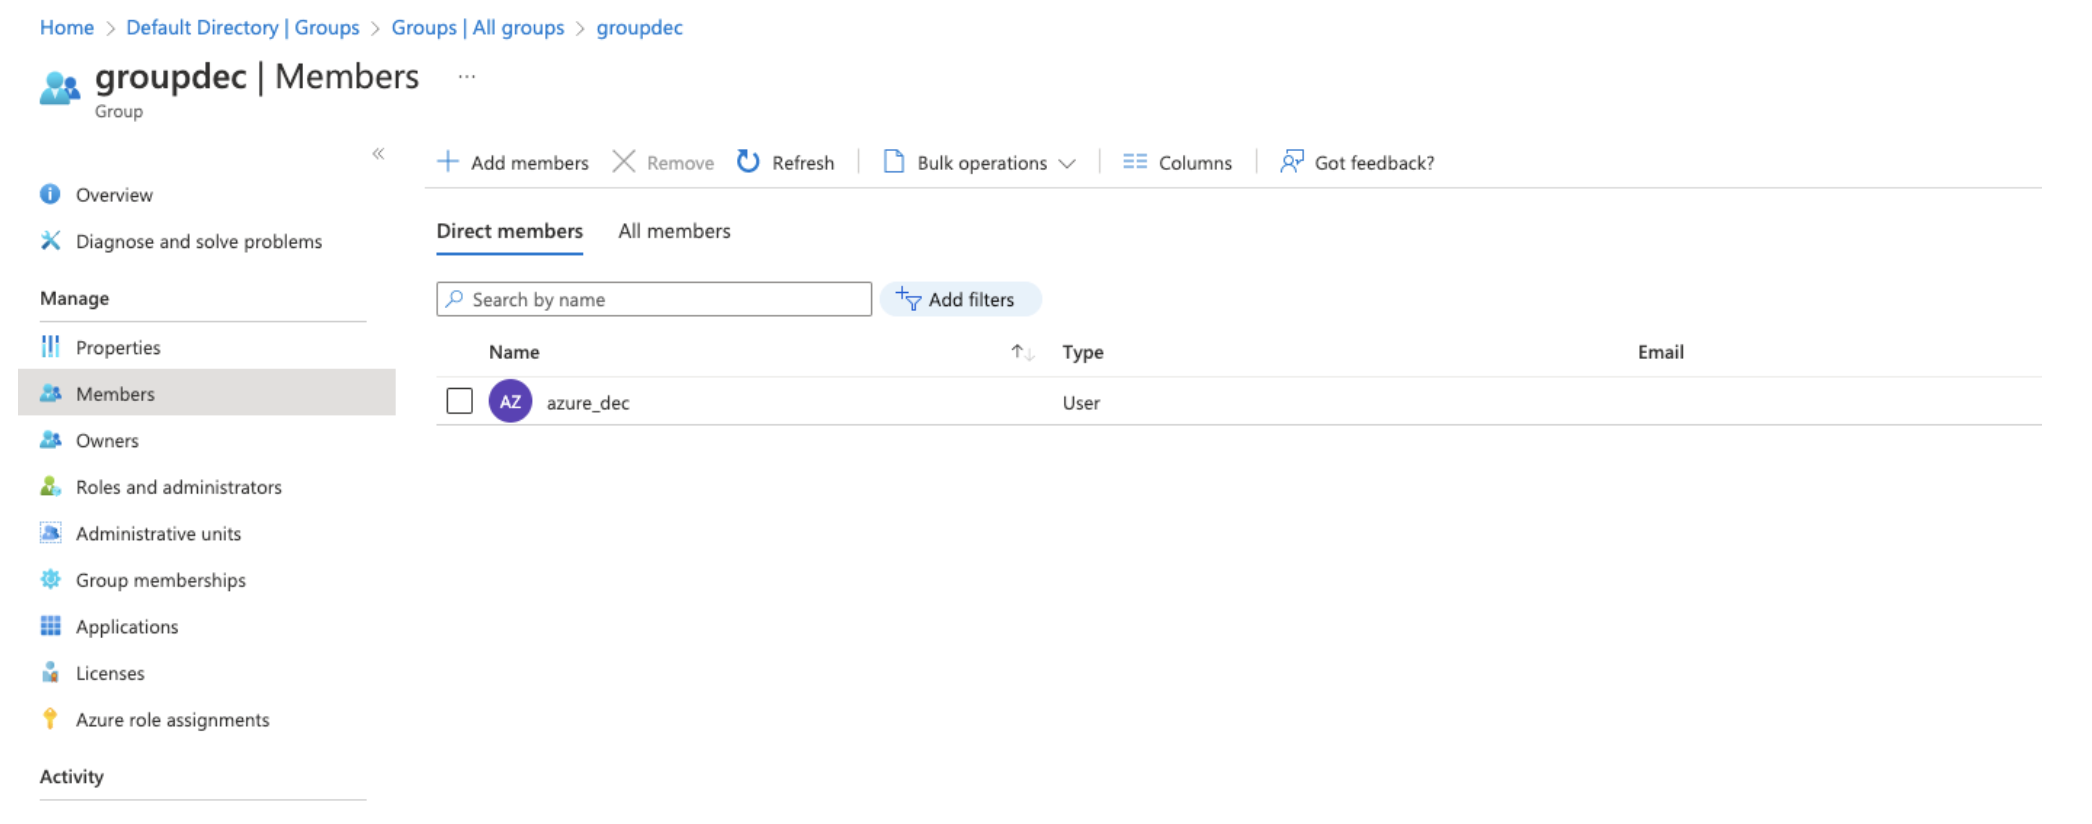
Member of the groups can login to the Platform UI console.
Configure SCIM integration with CloudPak SCIM server
Note: You can follow this configuration process until the IAM SCIM App is published to Azure AD app gallery. Later, you can use the proper Oauth configurations with clientID and clientSecret with the IBM Specific Integration App that has been created as a part of IdP V3 registration in Configure Azure as SAML IdP at Cloud Pak.
Steps
- Go to Azure Active Directory dashboard .
- Under Manage section, select Enterprise applications from the menu. The Enterprise applications page appears.
-
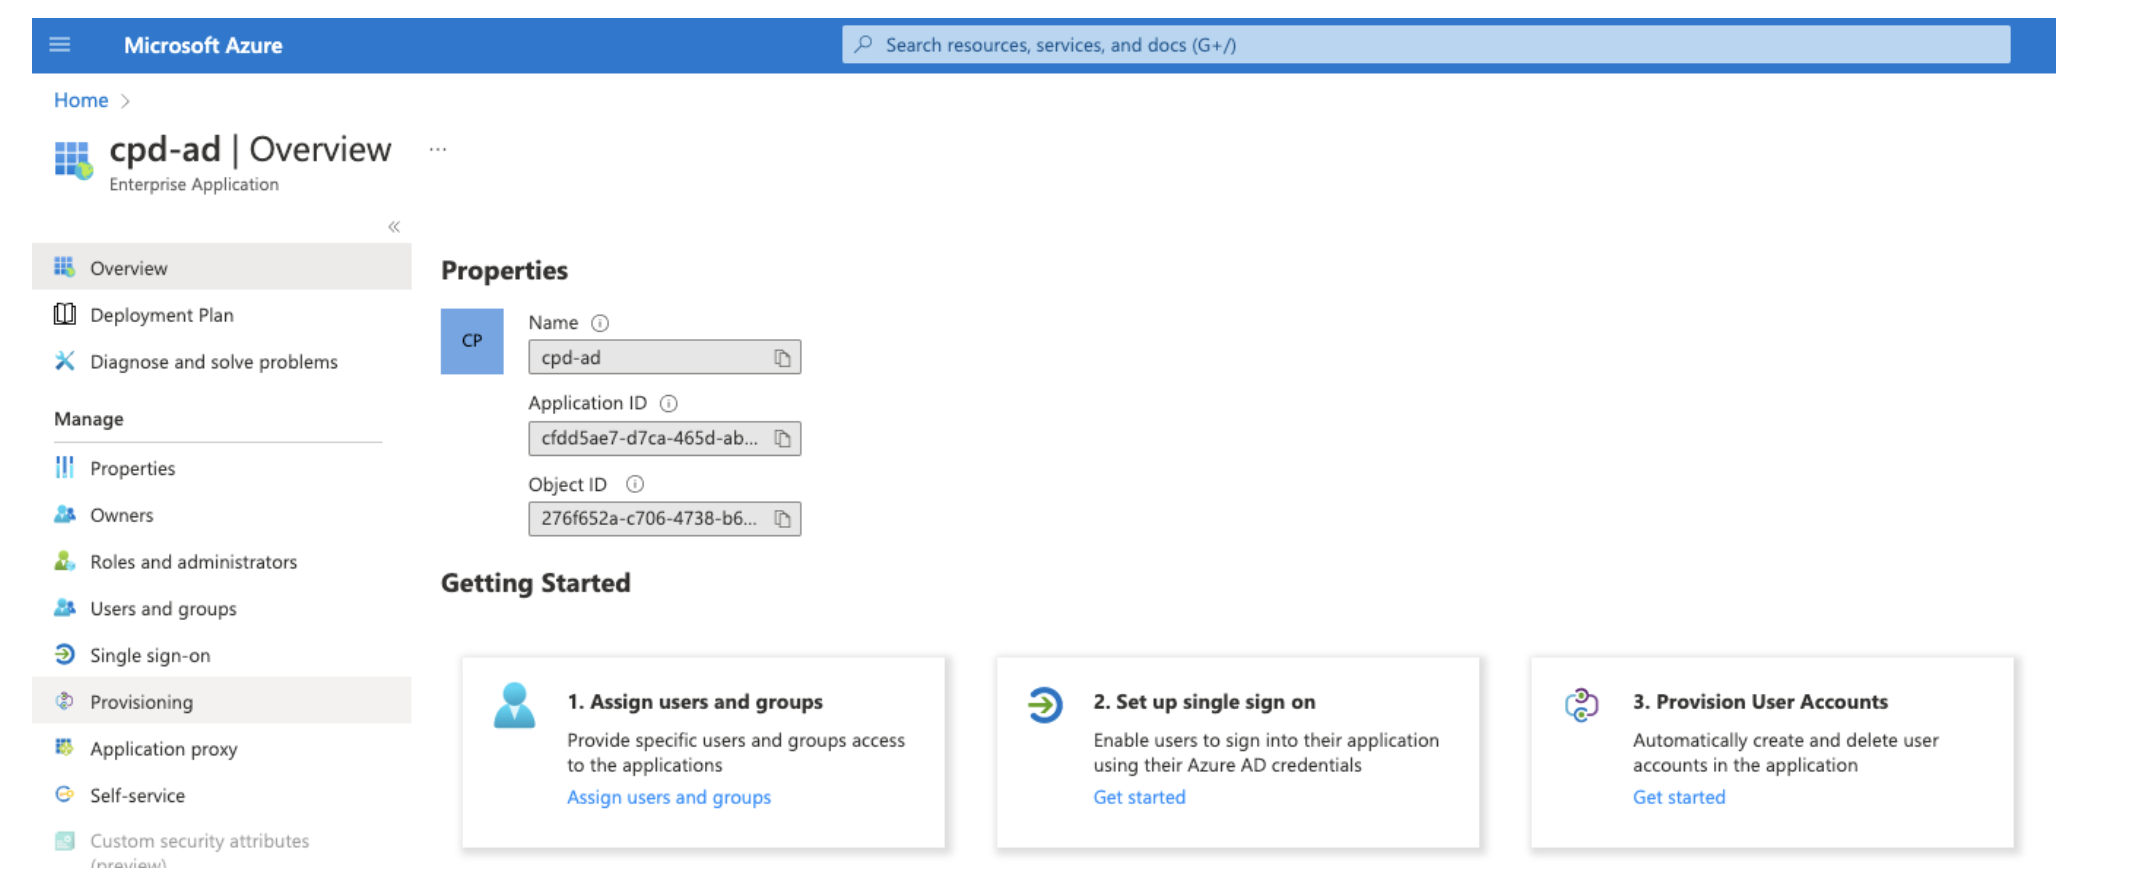
Select the enterprise application from the list that is displayed on Enterprise applications page. Then, select Provisioning from the left menu.
-
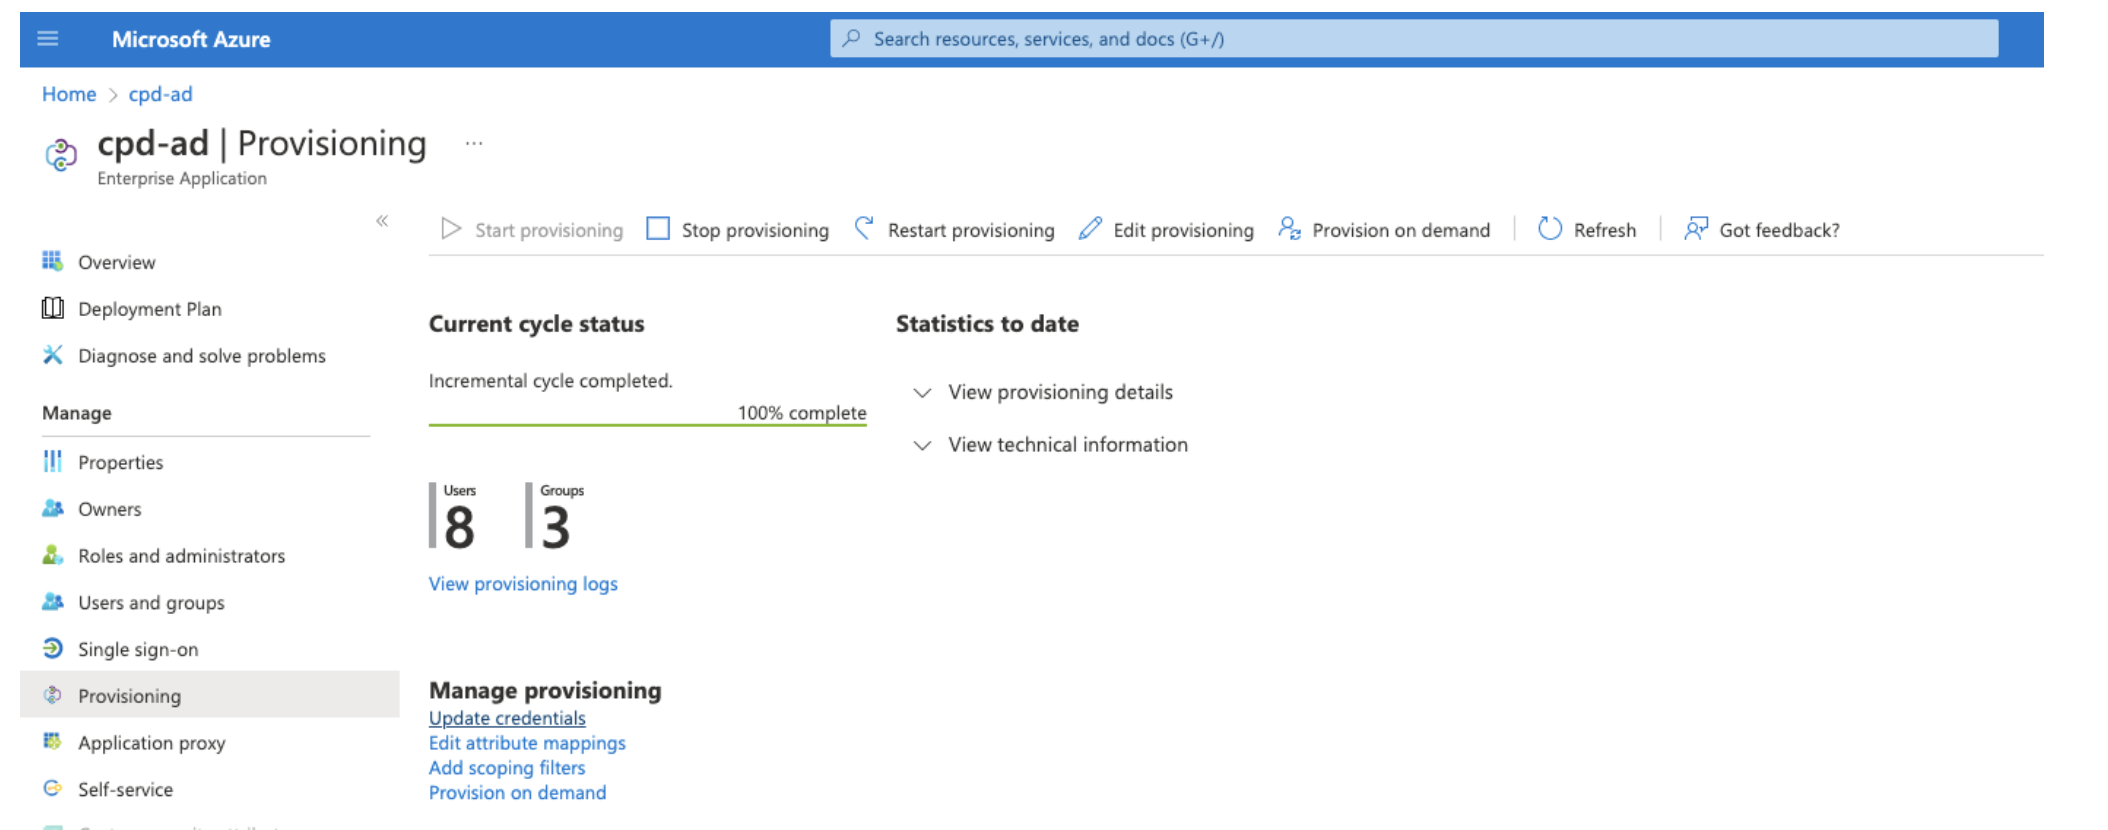
Click Update credentials under Manage provisioning.
-
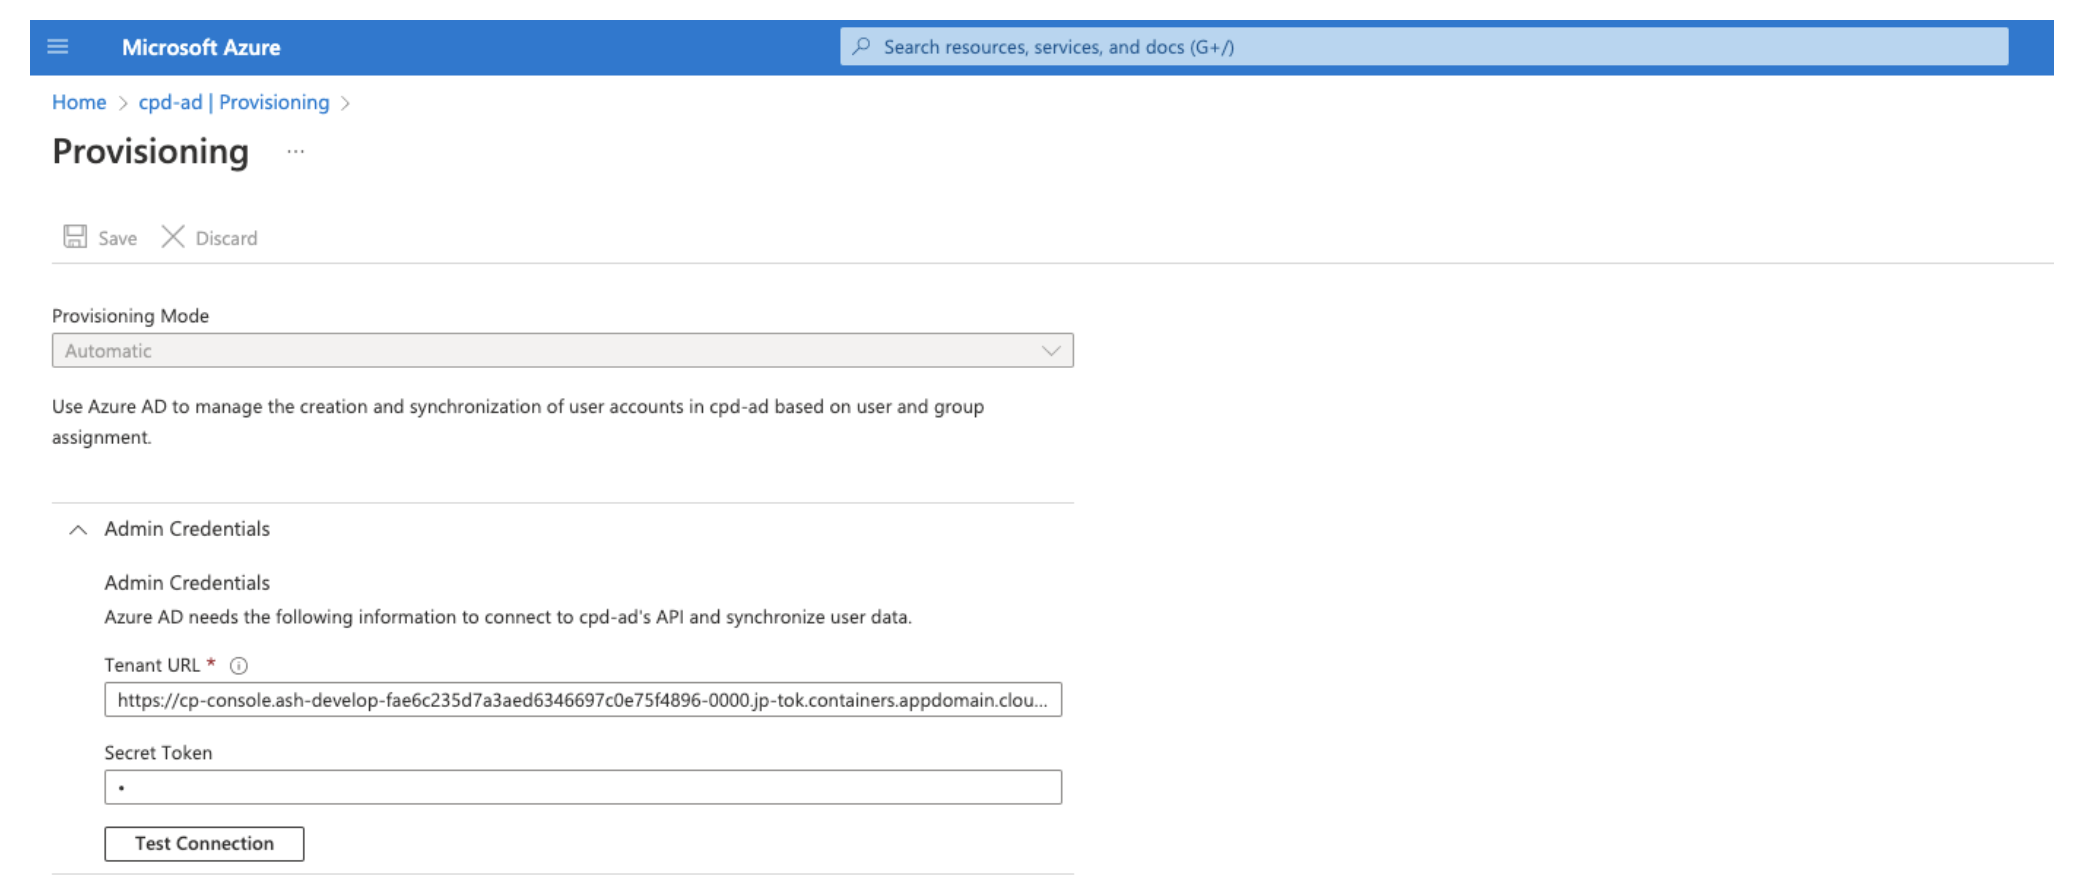
In Provisioning page, under Admin Credentials, provide Tenant URL and Secret Token.
-
Tenant URL: https://cpconsoleroute/idmgmt/identity/api/v1/scim
Note: To get
cpconsoleroutefrom cluster, see Getting the host details. -
Secret token: Update the Secret Token as Oauth Bearer Token. To get the OAuth Bearer Token from cluster:
- Login to OpenShift Container Platform cluster using
ocCLI. -
Run the following commands:
oc get secrets/platform-auth-scim-credentials --template={{.data.scim_admin_password}} | base64 -Dcurl -k -X POST -H "Content-Type: application/x-www-form-urlencoded;charset=UTF-8" -d "grant_type=password&username=scimadmin&password=passwordfromabove&scope=openid" https://cpconsoleroute/idprovider/v1/auth/identitytoken --insecure
- Login to OpenShift Container Platform cluster using
-
-
Click Test Connection to test API Credential. For more information, see Validate a SCIM endpoint.
-
Once the token is verified, follow the process to start provisioning for Managing users and Managing groups.
If you want to provision existing LDAP users or group to the app, follow the step to integrate on-premise AD with Azure.